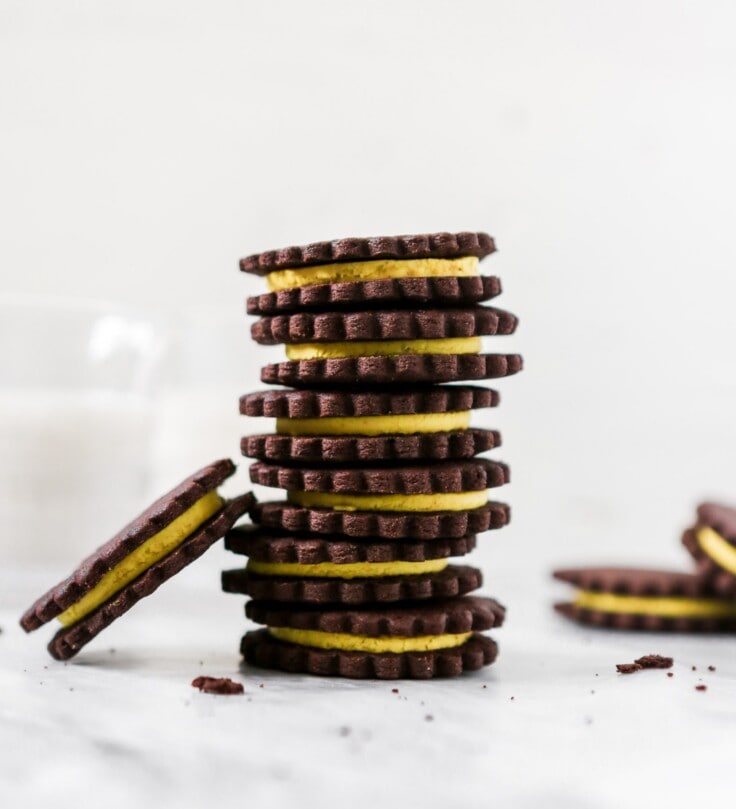
These homemade gluten-free Oreos are so much better than the real thing. Crisp, chocolatey cookies sandwich a filling that’s flavorful and irresistibly similar to the classic dunkable cookie. Even better, this recipe can also be made with regular flour—everyone wins!
When it comes to Oreos I’m strictly a wafer person. You know how some people are there for the filling, and the filling only? While others really only want the chocolately wafers? Those who don’t discriminate between the sweet crème filling and the crisp wafer cookies simply aren’t human. You’ve got to have a preference.
Stepping off the box.
Anyway, I’m not much of a filling person, or any kind of filling/frosting for that matter. But this recipe…now this recipe for gluten-free Oreos just might change things for me. I kind of feel like I cracked the code. I’ve looked at, and tried, a number of other homemade Oreo recipes and I’ve always had two main complaints. One, the cookies aren’t crisp enough. And two, the filling is often too soft and too “whippy.”

To address the first point, making a crisp yet chocolately cookie isn’t hard. And this recipe is s.i.m.p.l.e. All you need is butter (softened and melted), sugar, dark cocoa powder, salt, one egg yolk, and flour. No leavener, no fear of over mixing (but don’t push it), and best of all it comes together very quickly.
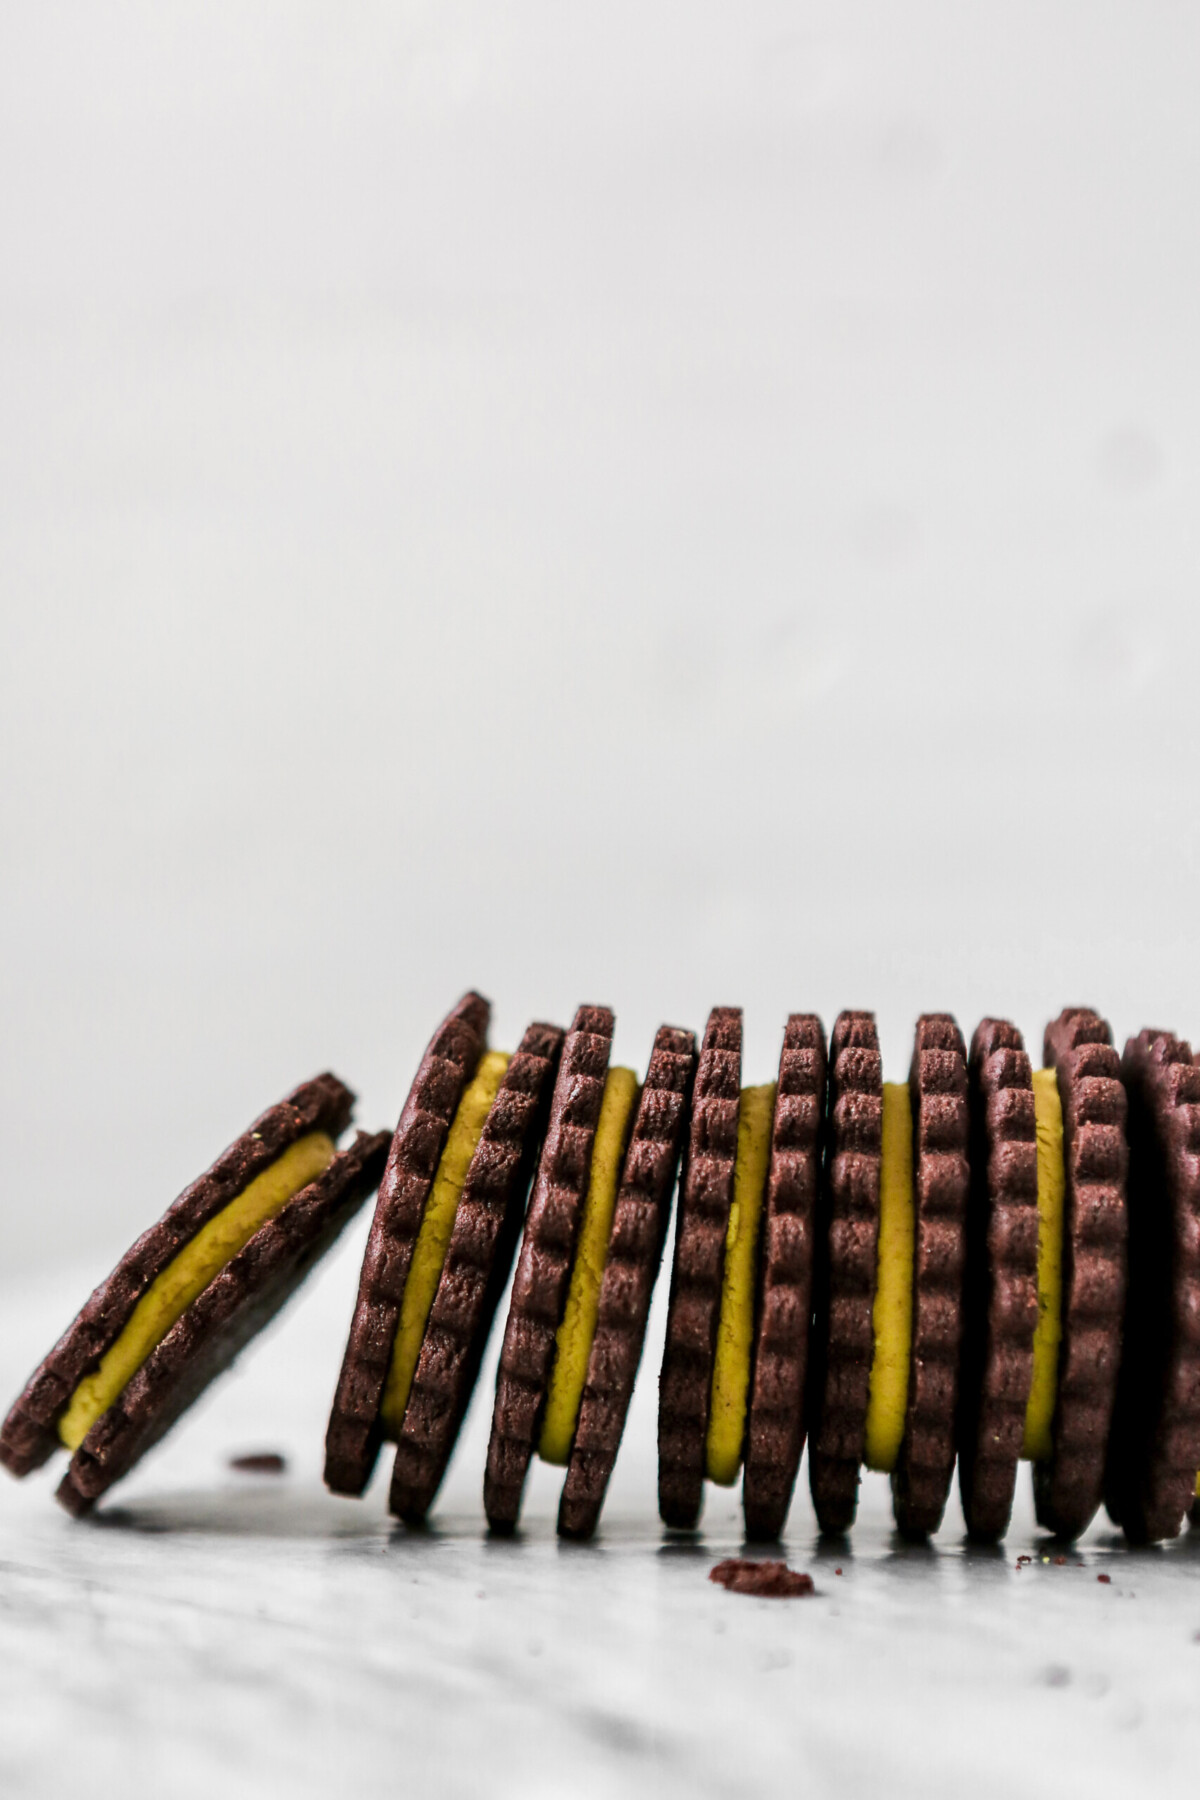
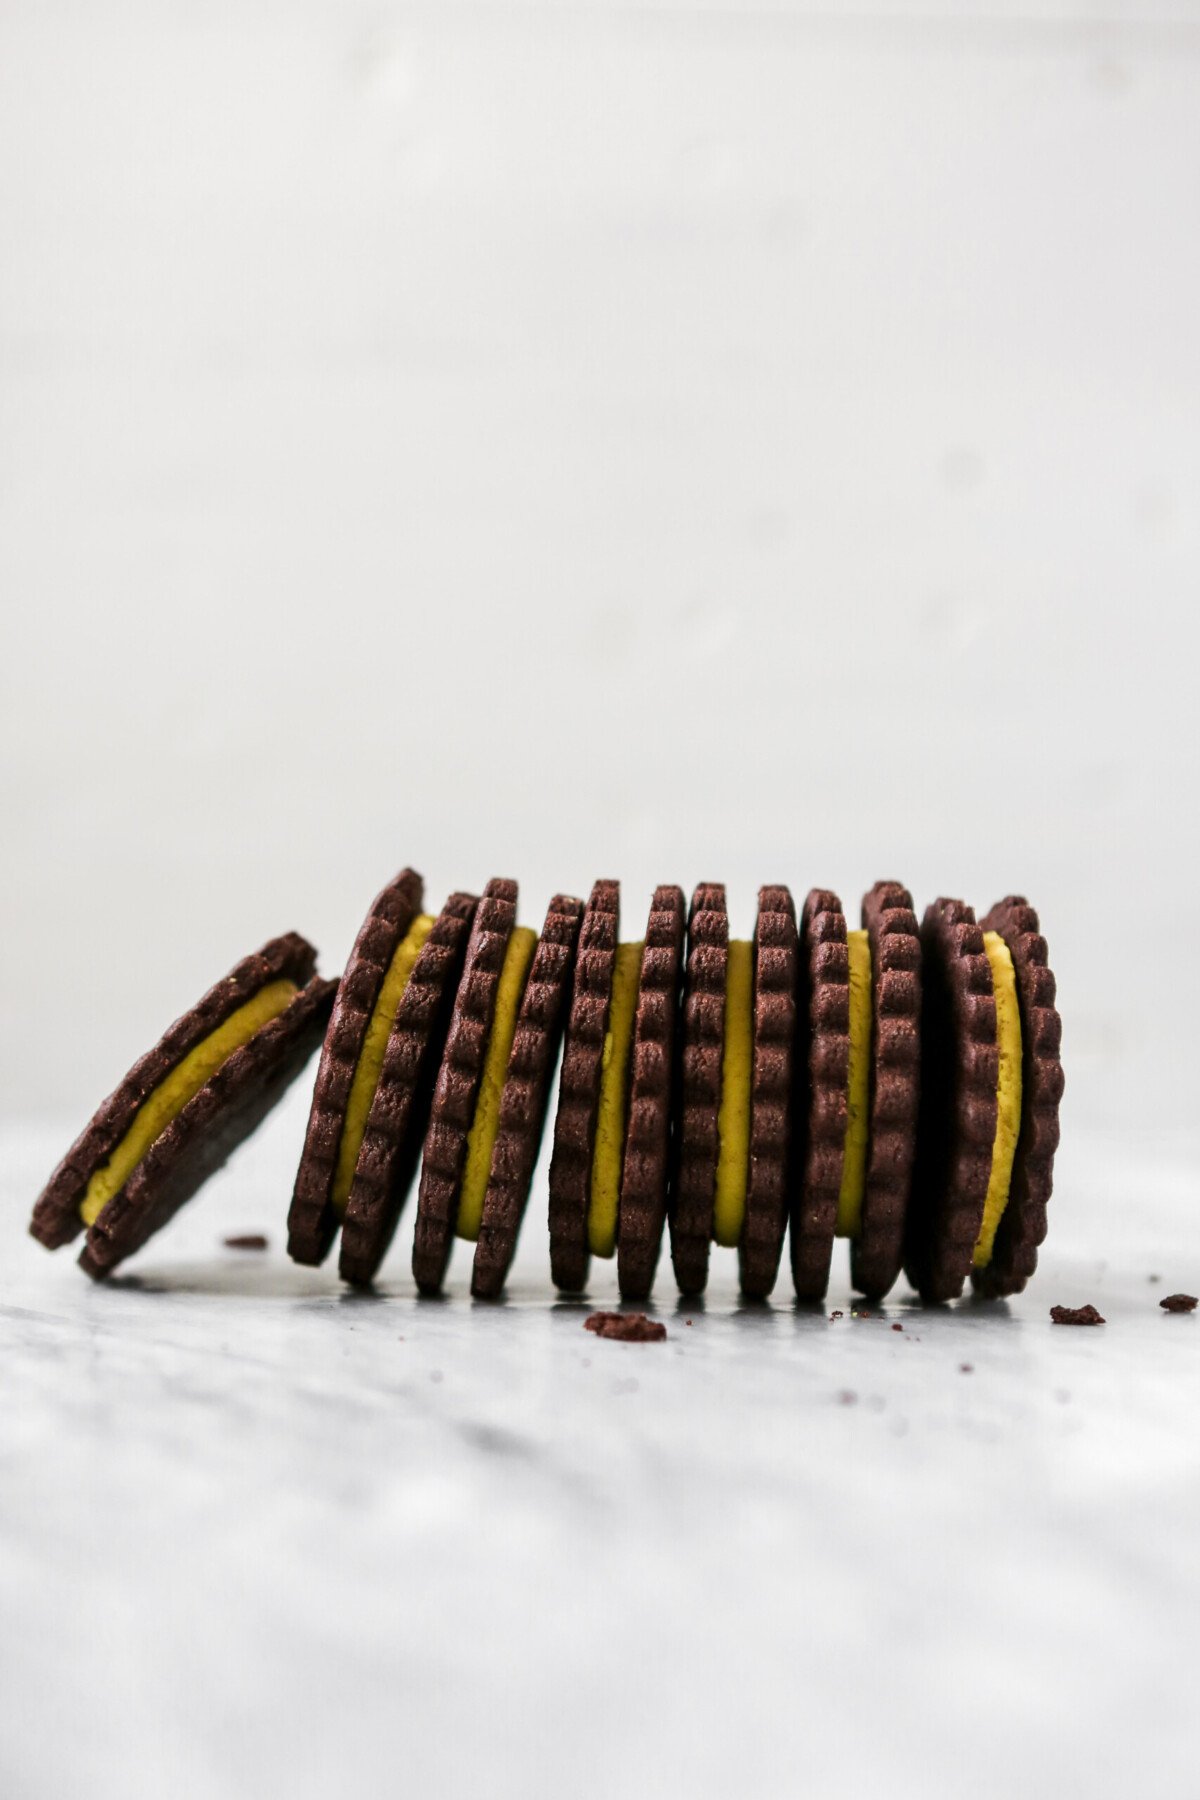
The most important part is rolling the dough thin enough so the cookies become crisp, not burnt, in the oven.
My second point—the damn frosting-like filling that some recipes call for that—to put it bluntly—don’t resemble Oreo filling one iota.
Let me just step on the box one more time. If I wanted a chocolate sandwich cookie, I would Google that. But if I’m looking to make a homemade Oreo, well I want it to taste, and have the texture, of a GD Oreo!
So the question is…what is the secret to making a homemade filling that resembles the real deal? Let me first tell you that it’s not in the shortening or the butter that every other recipe out there calls for (although I do use a touch of butter).
The answer lies in this incredible and flavorful thing called coconut butter. Yes! Not coconut oil—coconut buttah.
First off, the flavor is out-of-this-world. And secondly, if offers that dry yet creamy texture that’s quintessential to Oreo filling. It’s seriously ma·gi·cal.
So what is coconut butter and how is it different from coconut oil?
Coconut butter is essentially puréed raw coconut meat while coconut oil is the pure fat extracted from coconut meat.
Coconut oil is great for cooking and sautéing while coconut butter can be used like a nut butter, added to smoothies or frostings, and more.
How do you make homemade gluten free Oreos?
This recipe is simple to follow (whether you’re making them gluten-free or not!) and results in a cookie that is better than the packaged variety.
- To start, you make a simple paste of melted butter, cocoa powder and instant espresso powder.
- Then it’s on to creaming butter, sugar, and an egg yolk with the espresso mixture with an electric mixer.
- Gradually add in the gluten-free flour blend and briefly mix to combine.
- All that’s left for the cookies is to roll, cut and bake!
- For the filling you simply beat together confectioners’ sugar, coconut butter, butter and vanilla.
- Roll the filling out like cookie dough, cut into rounds then sandwich the rounds between cookies.
- Enjoy!
How long do homemade Oreos last?
Stored in an airtight container, homemade Oreos can last up to 1 week.
For longer storage, store baked, but not filled, cookies in an airtight container in the freezer for up to one month.
Form filling into a disk, wrap tightly with plastic wrap, and freeze for up to 1 month. Thaw the filling completely before rolling, cutting, and filling cookies.
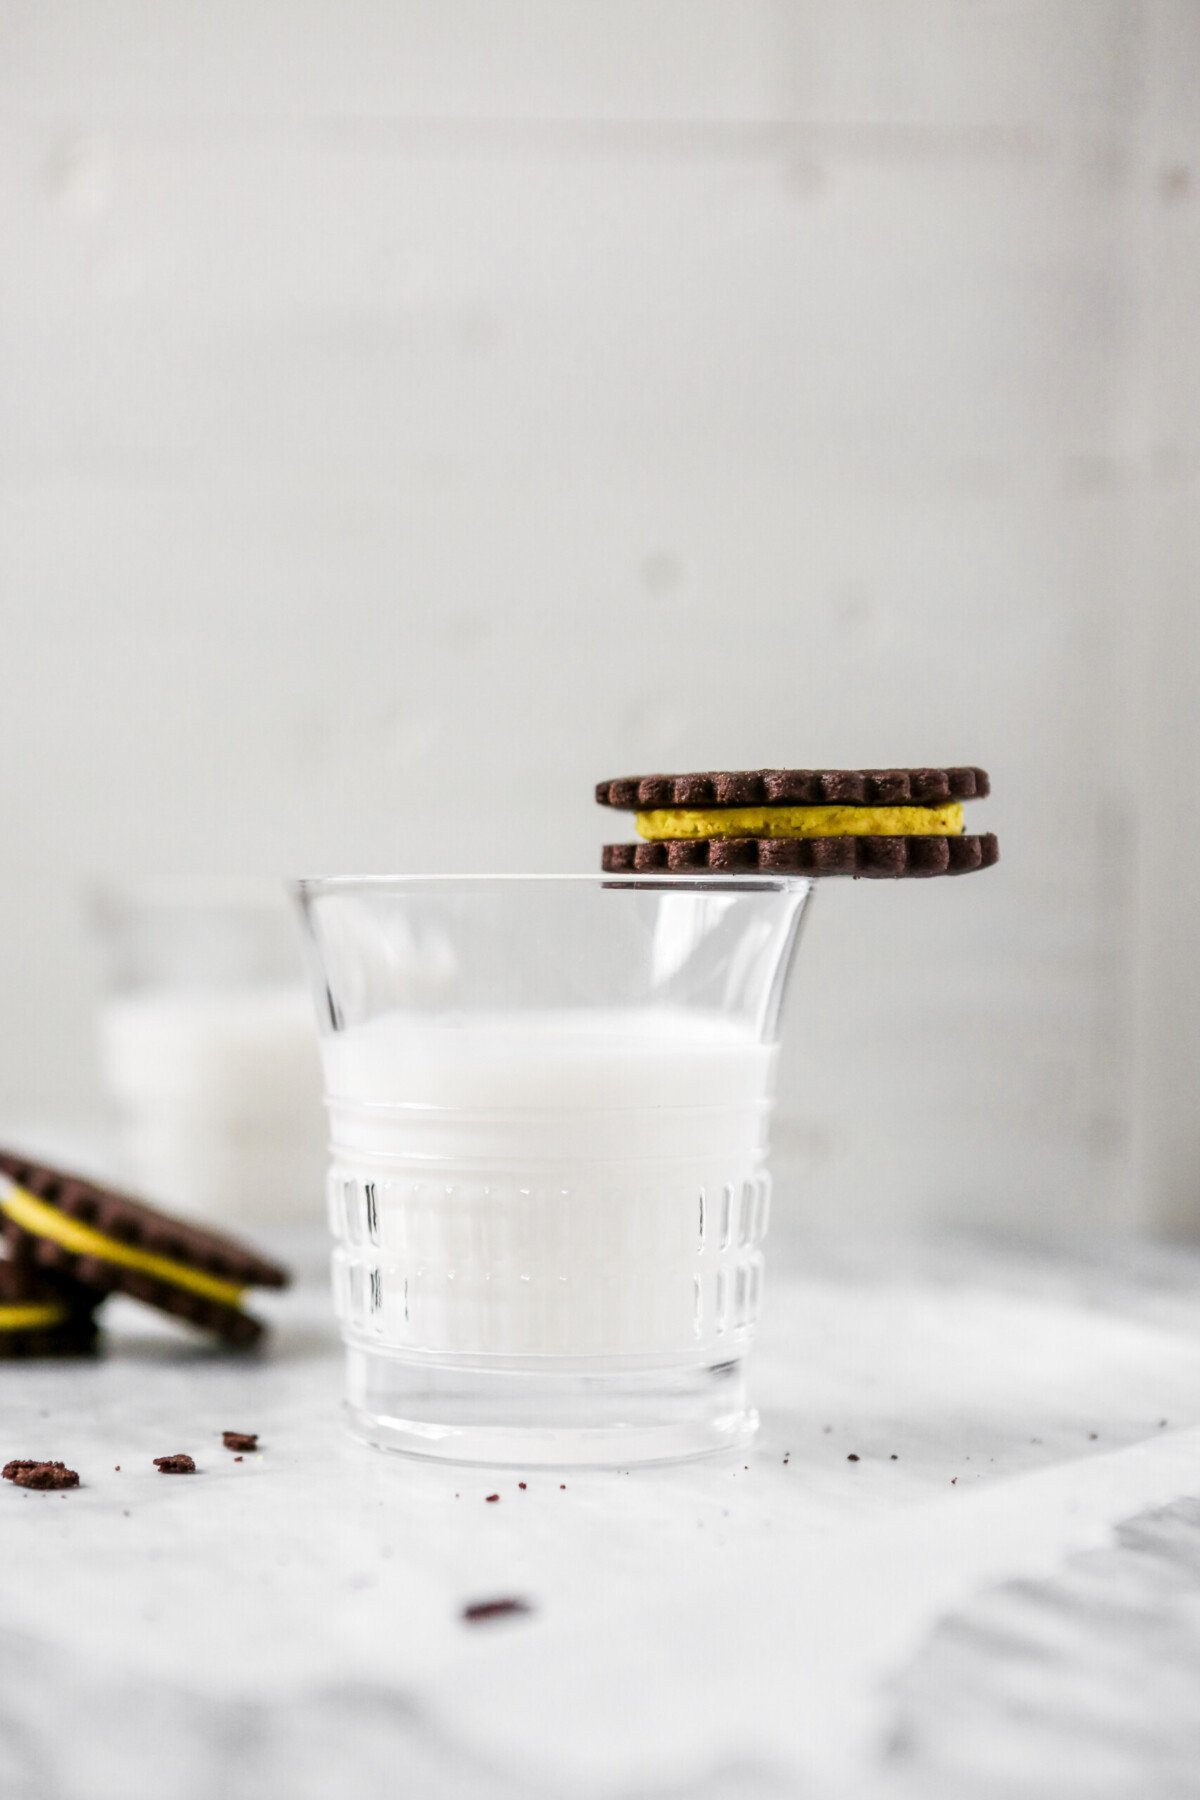
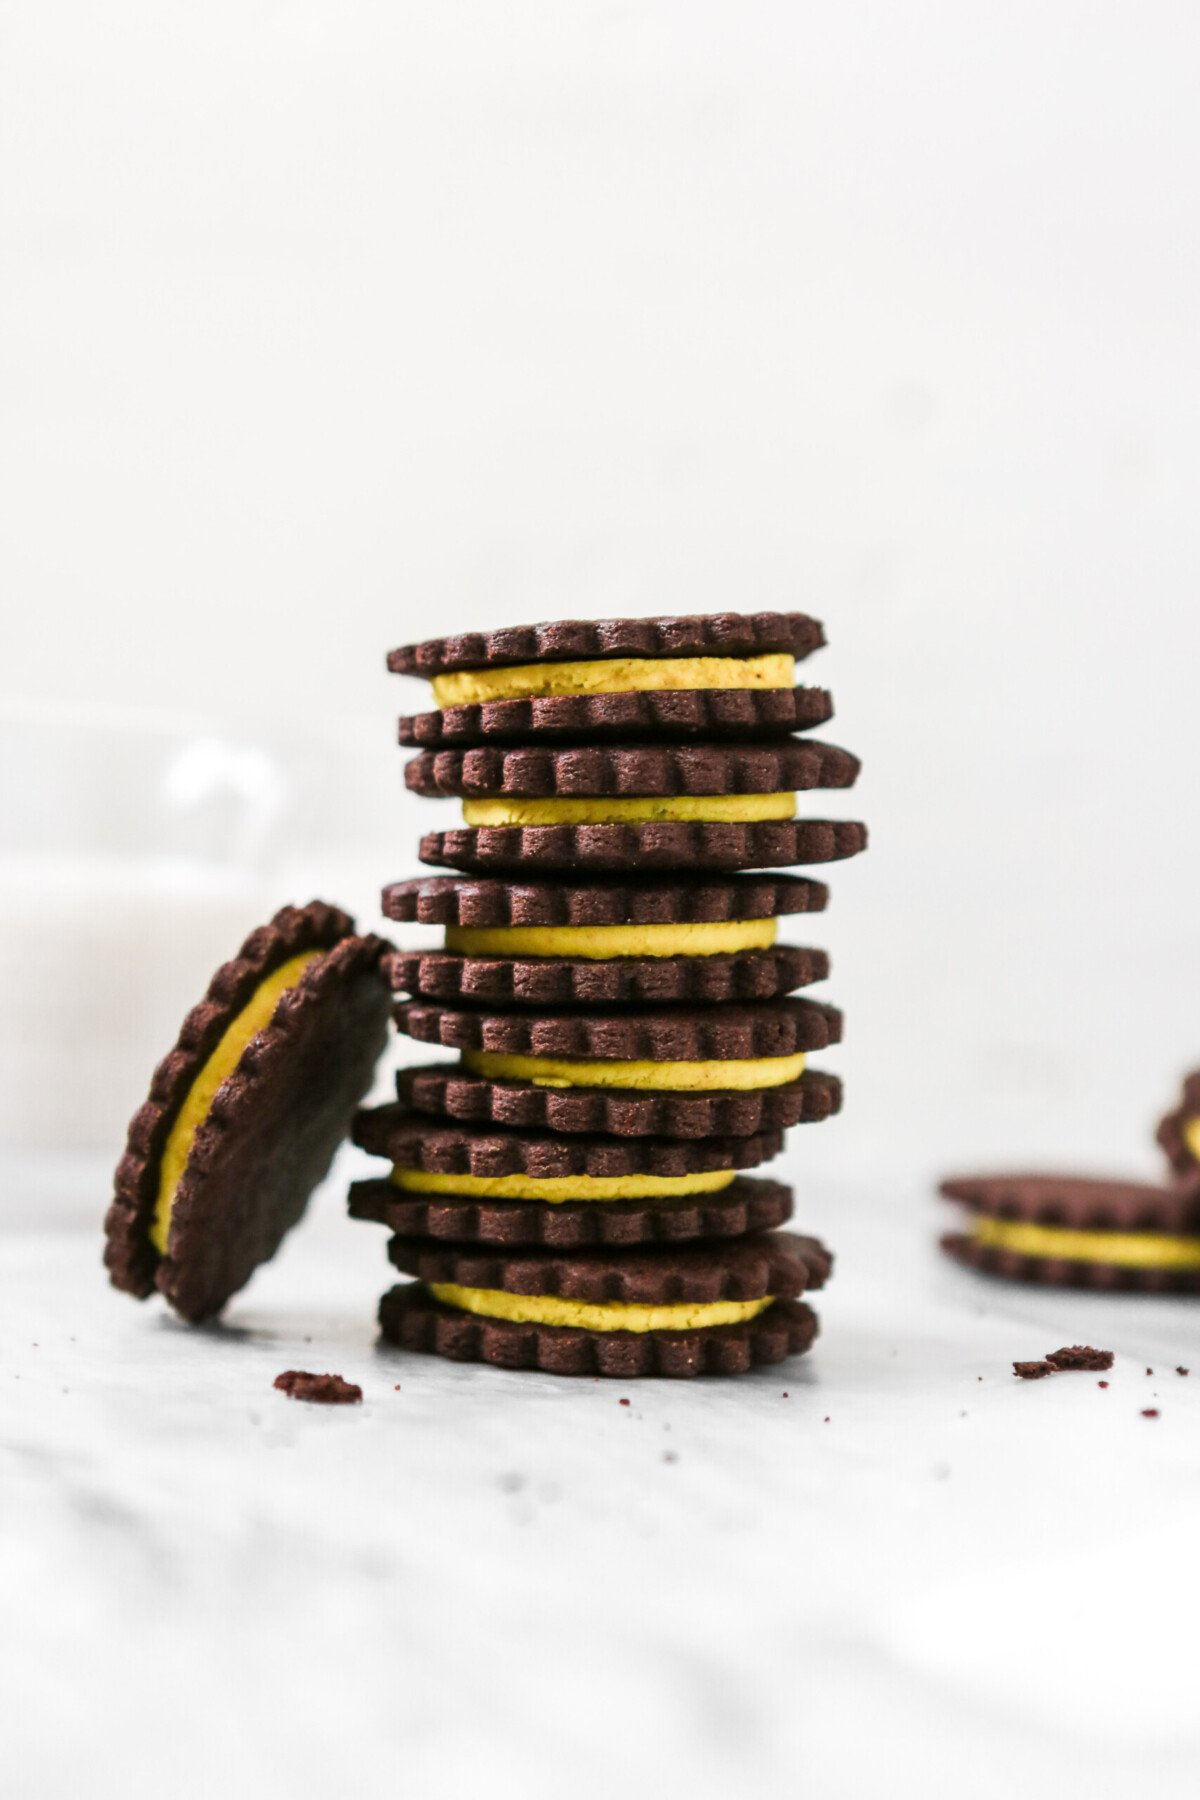
One last note. You may be wondering about the yellow filling. It’s simply a nod to the fall season full or orange and yellow colors!
Print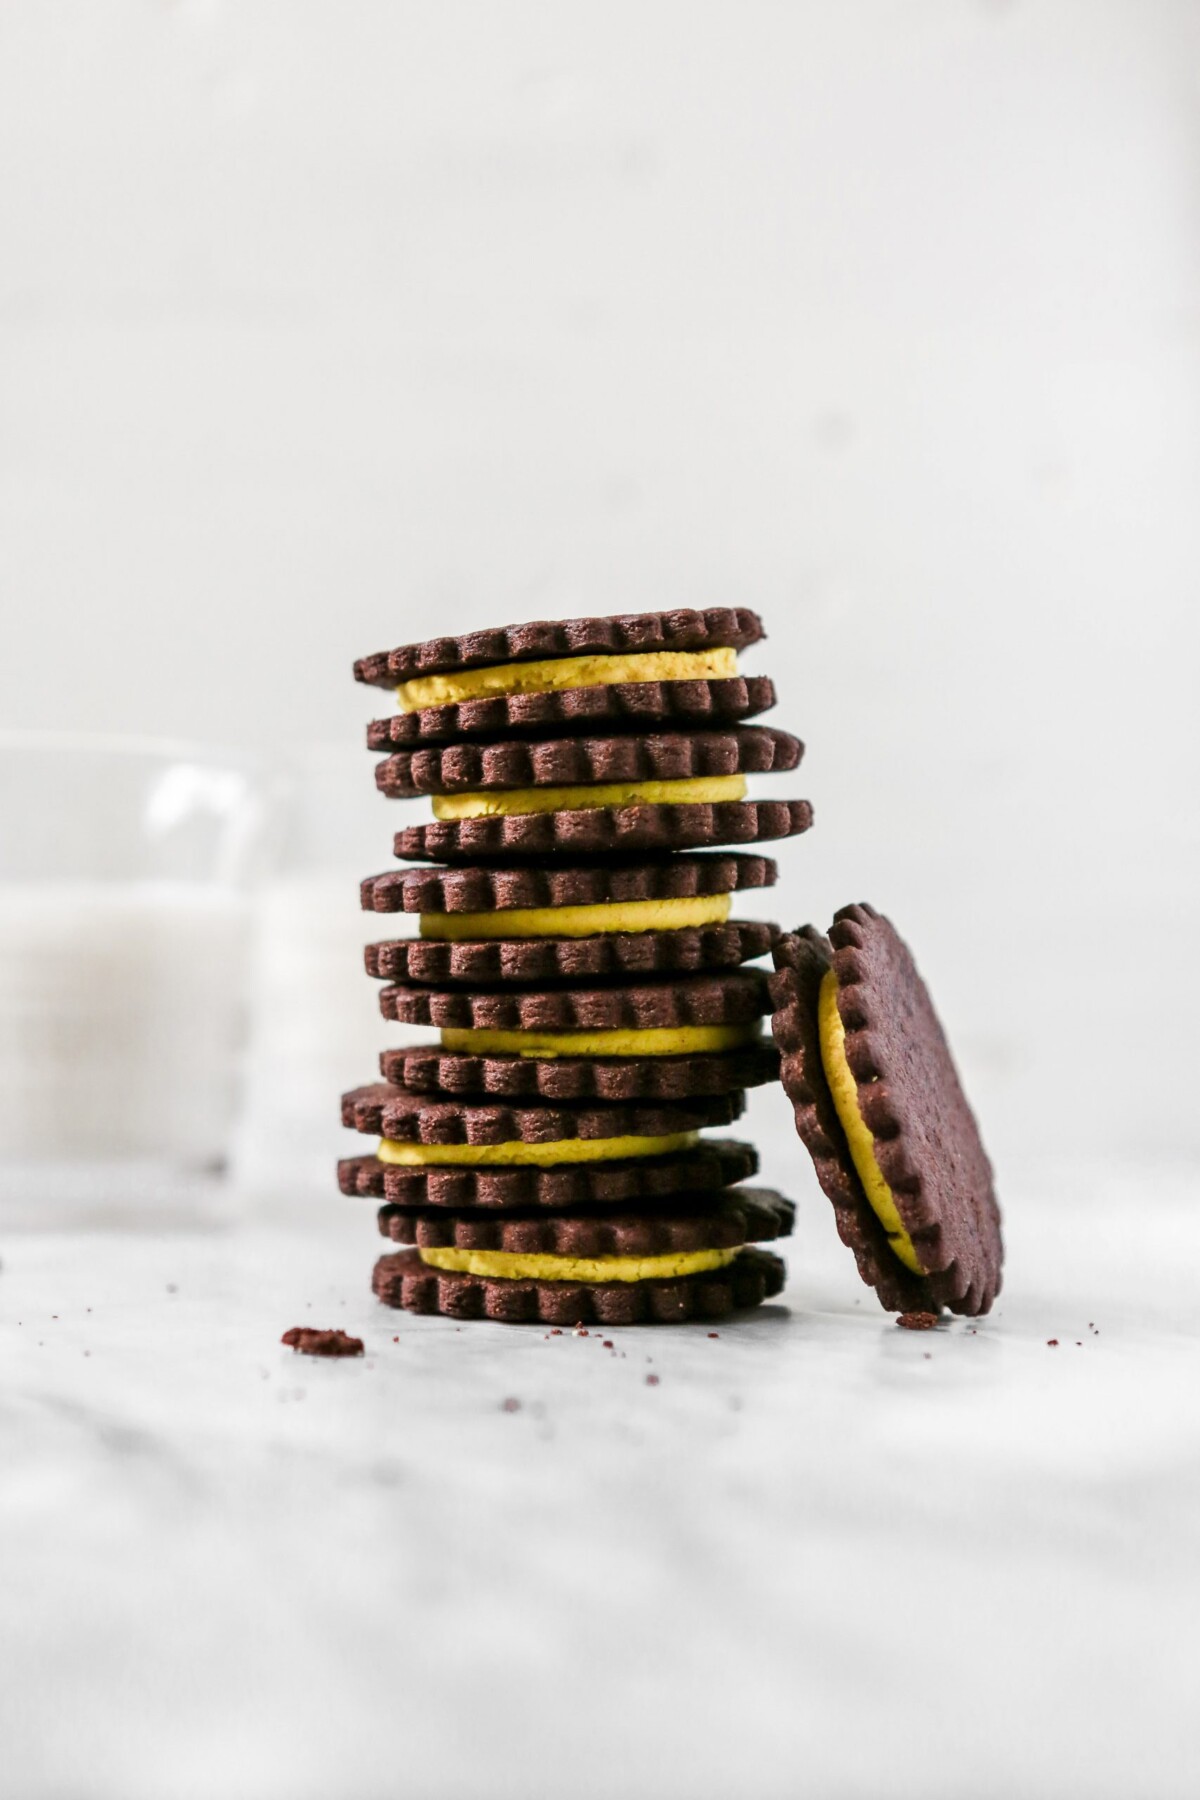
Gluten-Free Oreos
- Yield: 15 sandwich cookies 1x
Description
Crisp, chocolatey cookies sandwich a filling that’s flavorful and irresistibly similar to the classic dunkable cookie. Even better, these homemade Oreos can made regular or gluten-free—everyone wins!
Ingredients
For the cookies:
- 8 tablespoons unsalted butter (1 stick), softened and divided
- ⅓ cup special dark (or black) cocoa powder (1⅛ oz)
- 1 teaspoon instant espresso powder
- ½ cup sugar (3½ ounces)
- ½ teaspoon table salt
- 1 large egg yolk
- 1½ teaspoons pure vanilla extract
- 1 ¼ cups gluten-free flour blend (3¼ ounces) or all-purpose flour
For the filling:
- 1 cup sifted confectioners’ sugar
- ¼ cup coconut butter
- 2 tablespoons unsalted butter, softened
- ½ teaspoon pure vanilla extract
- ½–1 tsp ground turmeric (for color, optional)
Instructions
For the cookies:
Melt 3 tablespoons butter in a microwave-safe bowl. Whisk cocoa powder and espresso power into melted butter until smooth; set aside.
Using a stand mixer fitted with the paddle attachment, beat remaining 5 tablespoons of softened butter, sugar, salt, and cocoa mixture on medium-high speed until fluffy, about 2 minutes, scraping down sides of bowl as needed.
Add yolk and vanilla and beat until combined, about 30 seconds.
Meanwhile, whisk together flours.
Decrease mixer to low speed and add flour in three additions, mixing well after each addition; scraping down sides of bowl as needed. Continue to mix until a cohesive dough comes together, about 30 seconds.
Form dough into two disks, wrap in plastic wrap and refrigerate until firm, at least 1 hour or up to 3 days.
Adjust oven rack to middle position and heat oven to 325°. Line 2 baking sheets with parchment paper. Working with half of the dough at a time, roll dough to ⅛-inch thick on a sheet of parchment paper, dusting with cocoa powder as needed to avoid dough from sticking to rolling pin.
Cut dough into rounds using a 2½-inch round cookie cutter. Transfer rounds to prepared baking sheets, spaced 1 inch apart, and freeze until firm, about 10 minutes. Repeat rolling, cutting, and chilling process with remaining half of dough and dough scraps.
Bake cookies until firm and reveal a slight indentation when pressed with your finger, 14–16 minutes; rotating sheet halfway through baking. Let cookies cool on sheet 5 minutes then transfer to wire racks to cool completely.
For the filling:
Beat confectioners’ sugar, coconut butter, butter, and vanilla together in a stand mixer fitted with the paddle attachment (or with a hand-held blender) until combined. Add ½ teaspoon turmeric and beat to combine. Add an additional ¼-½ teaspoon turmeric to reach desired color.
Roll filling to ¼-inch thick on a piece of parchment paper. Cut filling into rounds using a 2-inch round cookie cutter.
Place filling rounds in center of bottom of half of the cookies, then top with remaining cookes, bottom side down, gently pressing until filing starts to spread toward edges.
Store cookies in an airtight container for up to 1 week.
Notes
Don’t need these cookies to be gluten-free? They work just as well with all-purpose flour! Use ¼ cups all-purpose flour in place of the gluten-free flour blend and the black sorghum flour.
It’s so important to roll the dough to ⅛-inch thick. If rolled thicker than ⅛-inch the cookies will come out chewy, not crispy.
Not so sure about using turmeric as a natural food coloring? Use just a bit of your favorite gel food coloring!
Make ahead tips:
Cookie dough can be made up to 3 days before rolling, cutting, and baking. Just form the dough into a disk (or two), wrap tightly with plastic wrap, and refrigerate.
Filling can be made up to 3 days in advance. Form the filling into a disk, wrap tightly with plastic wrap, and refrigerate until ready to use. The filling will need to sit at room temperature for 30–60 minutes before being soft enough to work with. Because of that, I recommend pulling it of the refrigerator when you start rolling out your cookie dough.

This post was sponsored by NuLife Market, as always the thoughts, opinions, recipe, photos, and content are all my own.
This post contains affiliate links, thanks for supporting all things ZK!
Hello! I have yet to make this recipe (although I plan to) and I was wondering if the instant expresso is necessary. My mom and I are gluten free and, while I love coffee, she can’t stand the flavour. How important is it to the recipe? Just for colour, for flavour, etc.? Thank you!
Hi Lillian! You can totally skip the espresso powder—it’s just there to enhance the chocolate flavor! A teaspoon of espresso shouldn’t give a discernible coffee flavor, it should just enhance the chocolate! But you can totally skip it. 🙂
Can I use regular sorghum flour ?
It’s impossible to find black sorghum in my country ..
Yes, definitely! Regular sorghum flour will work great here.