This post may contain affiliate links.
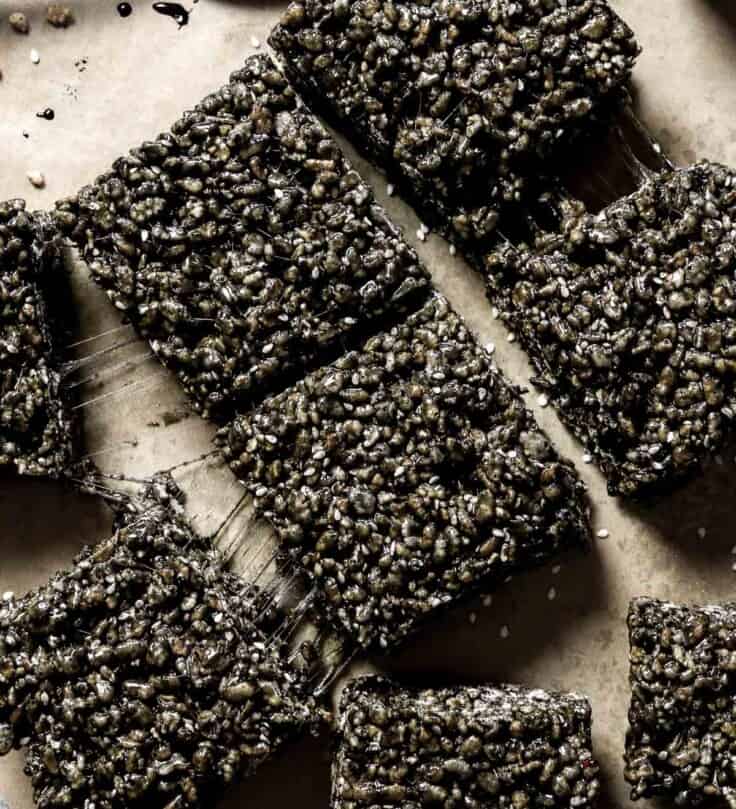
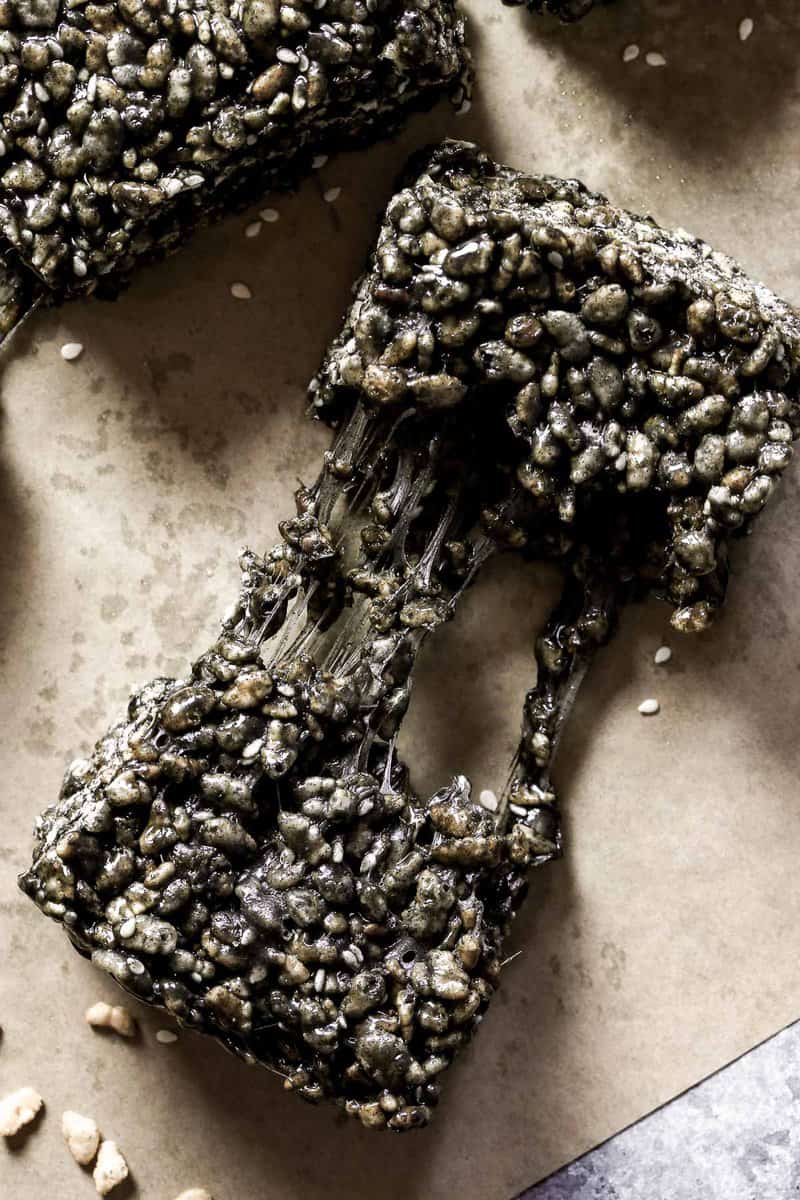
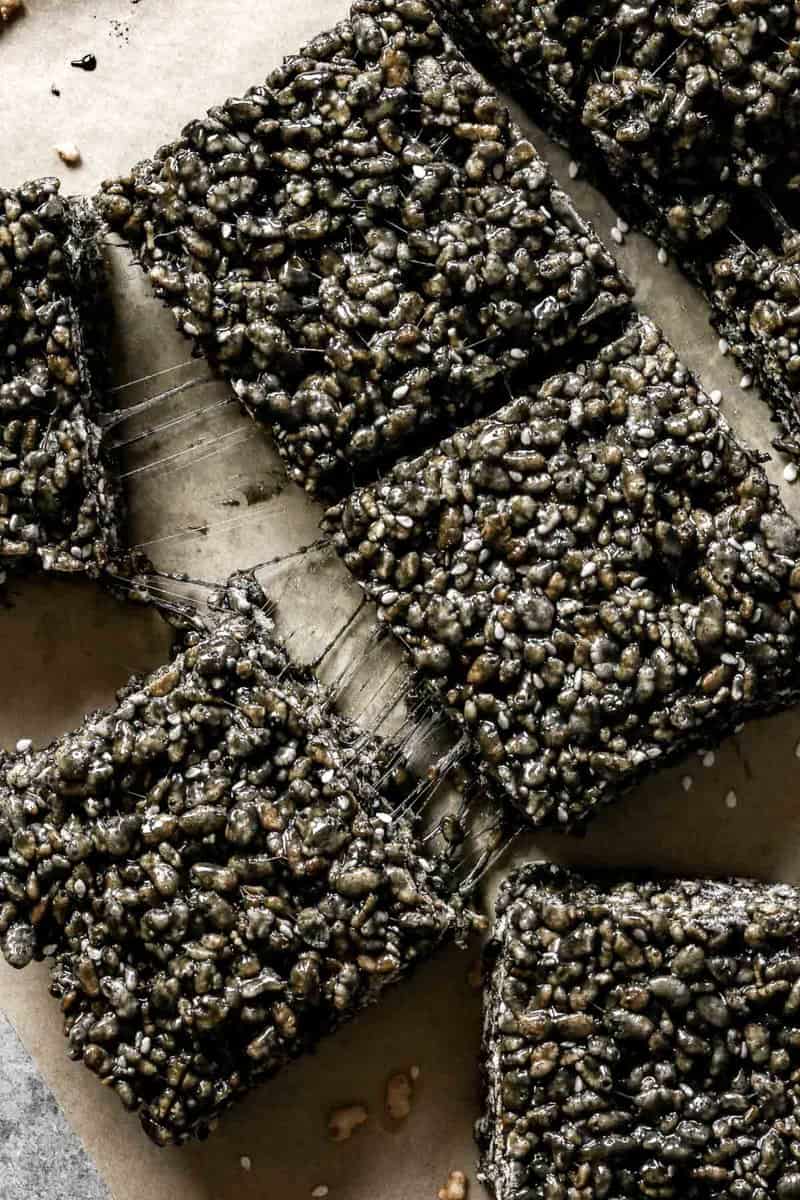
Nutty and chewy, these Black Sesame Rice Krispies are an elevated take on the classic dessert bar. Made with browned butter, black sesame and a touch of vanilla—these black sesame rice krispie treats really deliver on flavor!
The Beauty of Black Sesame
These rice krispie treats are made with black sesame paste—also sold as black tahini. The flavor of these black tahini rice krispies is somewhat reminiscent of scotcharoos or peanut butter rice krispies, but with a deeper more nuances and nutty flavor. They’re nutty, sweet and perfectly chewy.
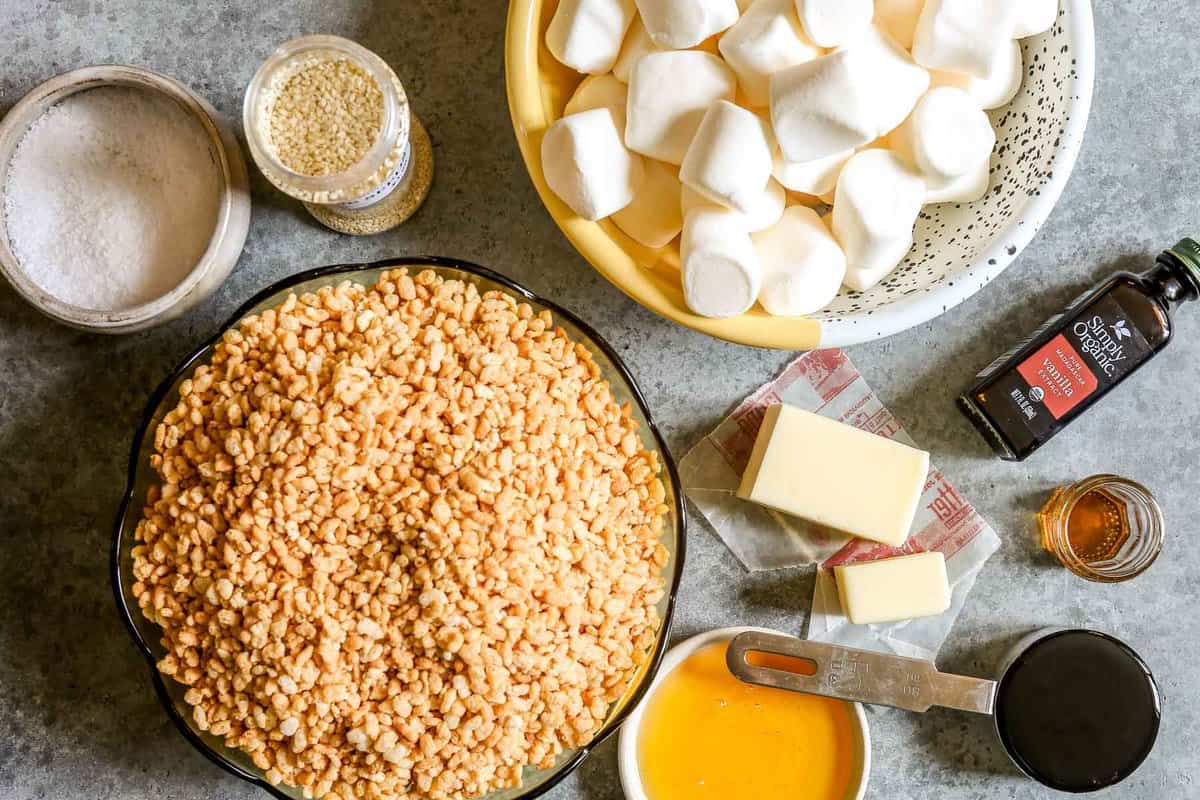
Ingredients Needed
- Black Sesame: aka black tahini. I buy black sesame paste on Amazon.
- Rice Krispie Cereal: I’ve tested this recipe with Kelloggs Rice Krispies as well as 365 Brown Rice Crisps. Both work well—Kelloggs Rice Krispies will make a lighter, crispier treat while 365 Brown Rice Crisps will make a crunchier bar.
- Unsalted Butter: I always recommend using unsalted butter so you can control the seasoning level. Eight tablespoons will get melted and two tablespoons should be at room temperature—this incorporates the correct amount of moisture.
- Marshmallows: you’ll need one (12-ounce) bag of regular marshmallows.
- Honey: two tablespoons of honey makes these bars soft and chewy. You can also use corn syrup. Without this addition the bars will be too hard.
- White or Black Sesame Seeds: these are optional but I like to add them to the browned butter. The seeds toast a little bit and infuse the bars with even more flavor.
- Vanilla Extract: half of a teaspoon of good vanilla is all these bars need! I like Simply Organic vanilla extract.
- Toasted Sesame Oil: just a splash is needed to coat the pan and parchment paper so the bars easily release out of the pan. You can also use nonstick cooking spray or any oil you have on hand. But, not surprisingly, toasted sesame oil adds a lot more flavor.
How to Make Black Sesame Rice Krispies
- Brown some of the butter: melt 6 tablespoons of butter in a large pot. Reserve 2 tablespoons for when you add the marshmallows—this achieves the perfect amount of moisture in the bars. Continue cooking the butter until the milk solids start to turn brown. Add the sesame seeds and cook briefly until they start to toast.
- Add the marshmallows: add the remaining 2 tablespoons of butter and the marshmallows to the pot. Stir to coat the marshmallows in butter and continue cooking until they start to melt.
- Add the black sesame: Once the marshmallows are partially melted, add the black sesame paste, honey, salt and vanilla. Continue cooking until the marshmallows are fully melted.
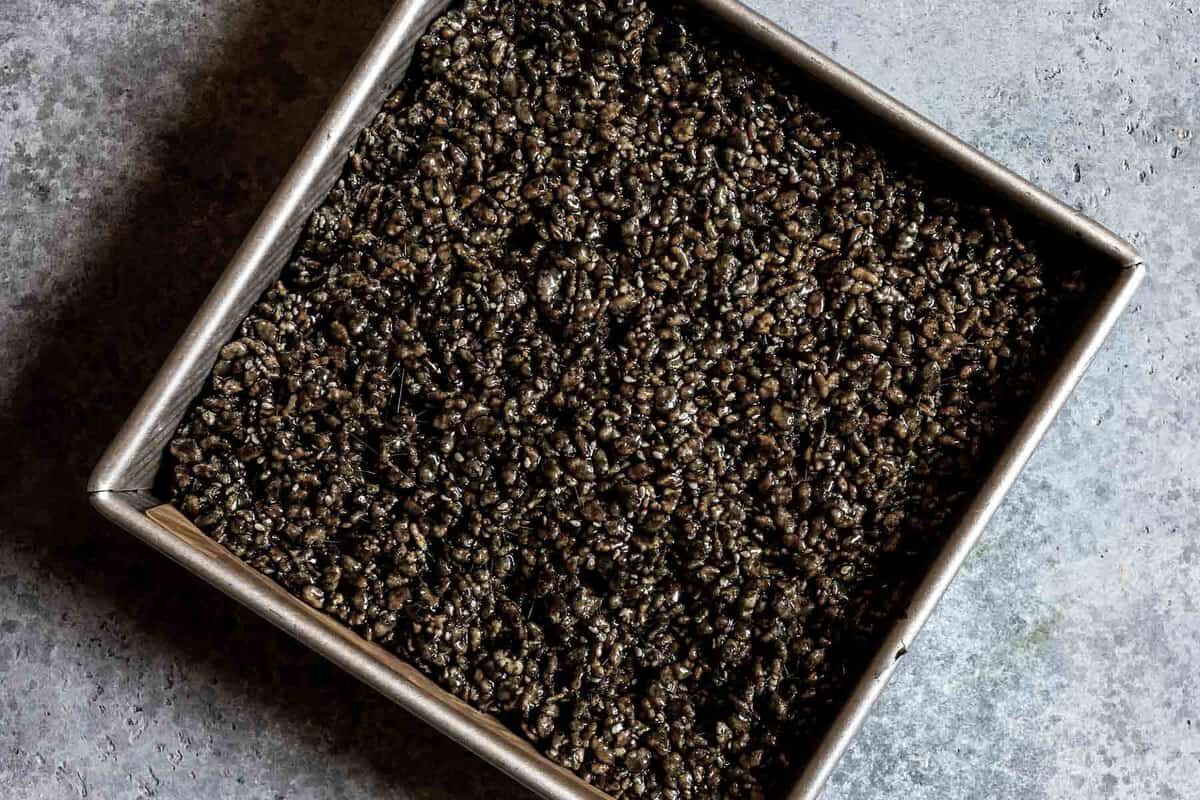
- Add the rice krispies: remove the pot from heat and stir in the rice krispie cereal. Stir quickly to combine! Transfer the mixture to a parchment-lined and greased 8×8-inch baking pan or dish. Lightly press the rice krispie mixture into an even layer—avoid pressing it too hard or it will be too compact.
- Cool and cut: allow the rice krispie treat to cool for about 30 minutes before cutting.
Storage
Store the rice krispie treats in an airtight container or resealable zipper-lock bag for up to 1 week. I do not recommend refrigerating or freezing these.
More Unique Dessert Recipes to Try


- Got more black sesame to use up? Make these Chewy Black Sesame Cookies!
- If you’re looking for dessert bars to add to your recipe arsenal, try my chewy Monster Cookie Bars or Cereal Bars. I also love these Lemon Bars—they have a nutty pistachio shortbread crust!
- Another no-bake dessert that’s always a hit is Chocolate Salami. It’s SO easy to make and gorgeous!

Black Sesame Rice Krispies
Description
Chewy and ultra-nutty Black Sesame Rice Krispie Treats! An elevated yet easy take on classic rice krispy treats!
Save This Recipe!
Ingredients
- Toasted sesame oil
- 8 tablespoons unsalted butter, divided
- 2 tablespoons white sesame seeds
- 1 (12-ounce) bag marshmallows
- ⅓ cup black sesame paste (tahini)
- 2 tablespoons honey
- ¾ teaspoon kosher salt
- ½ teaspoon pure vanilla extract
- 6 cups rice krispie cereal
Instructions
- Line an 8×8-inch or 9×9-inch baking pan with parchment paper. Coat paper with a splash of toasted sesame oil.
- In a large pot, melt 6 tablespoons butter over medium heat. Continue cooking, swirling pan occasionally, until butter solids start to brown, about 4 minutes.
- Reduce heat to low and stir in 2 tablespoons sesame seeds and cook 1 minute.
- Add remaining 2 tablespoons butter and 12 ounces marshmallows and cook, stirring constantly, until marshmallows begin to melt, about 3 minutes.
- Stir in ⅓ cup black sesame tahini, 2 tablespoons honey, ¾ teaspoon salt and ½ teaspoon vanilla; continue cooking just until marshmallows are fully melted.
- Off heat, stir in 6 cups rice krispie cereal to coat.
- Transfer rice krispie mixture to prepared pan and lightly press into an even layer. Avoid pressing too hard or packing too tightly. Cool at room temperature for 30 minutes before cutting into 9 squares.
- Store in an airtight container or resealable zipper-lock bag for up to 1 week.
Equipment
Notes
Store the rice krispie treats in an airtight container or resealable zipper-lock bag for up to 1 week. I do not recommend refrigerating or freezing these.
These rice krispie treats are made with black sesame paste—also sold as black tahini.
An 8×8-inch baking pan will make thicker bars while a 9×9-inch baking pan will make thinner bars.
Nutrition
Serving: 1barCalories: 235kcalCarbohydrates: 40gProtein: 2.5gFat: 8gSaturated Fat: 4gCholesterol: 15mgSodium: 149mgFiber: 1gSugar: 26g
Like this? Leave a comment below!I love hearing from you and I want to hear how it went with this recipe! Leave a comment and rating below, then share on social media @zestfulkitchen and #zestfulkitchen!

I’m making these for a Halloween party today and they are SO good. I didn’t have toasted sesame oil so I went to use normal sesame oil but it smelled a bit too much like a stir fry so I went with coconut oil instead. It definitely helps to move quickly when putting these in the pan. If you find that the marshmallow is sticking too much, try coating a spatula to press them down a bit. I know you don’t want them to be too compacted, but you also want them to retain their shape when you cut! Here’s the metric covnersion for anyone abroad:
115 grams unsalted butter, divided – (85 grams/30 grams)
2 tablespoons white sesame seeds
340 grams marshmallows
80 ml black sesame paste (tahini)
30 ml honey
¾ teaspoon kosher salt
½ teaspoon vanilla extract
180 grams rice krispie cereal
Thanks for your feedback Erin! I’m so glad you enjoyed them!
everyone enjoyed these at a potluck – i cut into smaller pieces making 36 for bite size. i liked how prominent the black sesame flavor was compared to other recipes i’ve tried. i made the black sesame paste myself – it’s a pain but doable 😀 – toast 2 cups black sesame seeds on medium in a dry skillet for 8-10 minutes, grind in vitamix scraping down often, added about 1t honey towards the end. if i do it againe i will do a larger volume of seeds so i don’t have scrape down as often. the amount i made was about double what i needed for this recipe.
Hi Katy! Genius idea to cut them into bite-sized pieces. My grandma does that with her Scotcharoo recipe (Special K bars) and I love how poppable they are. Thanks for sharing the info on how to make black sesame paste—I’ve gotta try this the next time I make these!
These were absolutely delicious! I didn’t have black tahini paste in the house but used pre-ground black sesame powder and they were awesome. Thanks for sharing!
Yum!! Sounds like a delicious ingredient swap. So glad you enjoyed these!
well I haven’t tasted it yet but..I usually can tell by the ingredients that I’ll like it! Thank you I have been looking for a recipe to use my black tahini. I just cut the honey down to 1 TBL because I used my manuka honey and it’s expensive! it reminded me of making the original when I was a kid. Do you have a suggestion the best way to cut? Oil the knife?
I might have pushed down too hard…
Hi Jodie!
I can’t wait to hear what you think of them! I usually just use by chefs knife, but an oiled chefs knife would be even better!