This post may contain affiliate links.
I’ve been developing cocktail recipes for years—both for my site and for Taste of Home Magazine, so I love exploring new methods for making cocktails. And milk clarification is definitely one of the most intimidating cocktail methods out there.
I’ve had the chance to enjoy milk punch cocktails at some of the world’s best bars including Death & Co, schmuck. and Double Chicken Please. The incredible milk punches I’ve enjoyed at these bars set the standard for what I wanted to create.
After many weeks of testing and rounds of clarification, I’ve landed on what I think is the best method for making milk punch at home. I hope you try your hand at this method and enjoy!
History of Clarified Milk Punch
Benjamin Franklin actually wrote a recipe for milk punch in a letter back in 1763. However, according to the widely hailed cocktail historian, David Wondrich, the oldest known milk punch recipe dates back to 1711. Why did they use this method back then? It’s been noted that the liquor back in the 1700s and 1800s was particularly harsh, and this method mellows and softens those harsh edges.
How Milk Clarification Works for Milk Punch
When milk is added to an acidic mixture (with or without alcohol) the casein proteins in the milk clump and trap tannins, polyphenols, pigments and some flavors.
Those clumps are then strained out leaving a liquid that is clear in color, soft in flavor and generally refined. Plus, the milk leaves behind water that is rich in whey protein which adds a lovely rounded mouthfeel to the drink.
Benefits of Milk Clarification
Aside from creating a delicious cocktail, this method is also great for mocktails. Mocktails can have great flavor and nuance, but rarely does it have a mouthfeel similar to a cocktail. There’s a certain viscosity missing.
Milk clarification fills that textural void and turns a basic nonalcoholic drink into a mocktail that could easily land itself on the menu at your favorite bar.
Milk clarification is also great for hosting. It’s a makehead cocktail that can last week in the fridge and requires nothing more than simply serving over ice. It’s a great hostess hack when you want to impress without tons of work.
Rum Milk Punch Ingredients
- Milk: whole milk is what you’ll need to make a clarified milk punch. Don’t go any lower in fat and stay away from half-and-half or heavy cream.
- Citrus Juice: lemon or lime juice works here. As always, fresh is best.
- Brewed Tea: I recommend using black tea, at least for your first go around. Once you have made this and understand the process—and results—feel free to play around with different types of teas, herbs, spices, etc.
- Liquor or juice: for a boozy milk punch use rum or whiskey. For a non-alcoholic drink use 100% cranberry juice or tart cherry juice. Again, once you understand the process, play around with different liquor or juices.
- Sugar: just a ¼ cup of granulated sugar is what you need for this. I haven’t tested this with honey or maple syrup but I assume it would work just fine.
- Strainer: you’ll need a fine mesh strainer for this. Don’t use any large-hole strainer (like what you use for draining pasta or washing produce).
- Coffee Filters: you can also use many layers of cheesecloth, but I prefer to use coffee filters. I think they are easier to use, make for faster straining, and are easier to clean up. Plus, you’re more likely to already have them on hand.
How to Make Clarified Milk Punch
The process is easy and requires a bit of (hands-off) patience.
- Combine the base spirit(s), citrus juice and sugar.
- Pour the liquor mixture into the milk and allow to sit for at least 30 minutes.
- Slowly and gently pour the mixture into a coffee filter set inside a fine mesh sieve set over a large liquid measuring cup.
- Allow the mixture to slowly filter until drips are spaced out by 10 seconds or more (if you’re really patient you can let the mixture filter for a few hours).
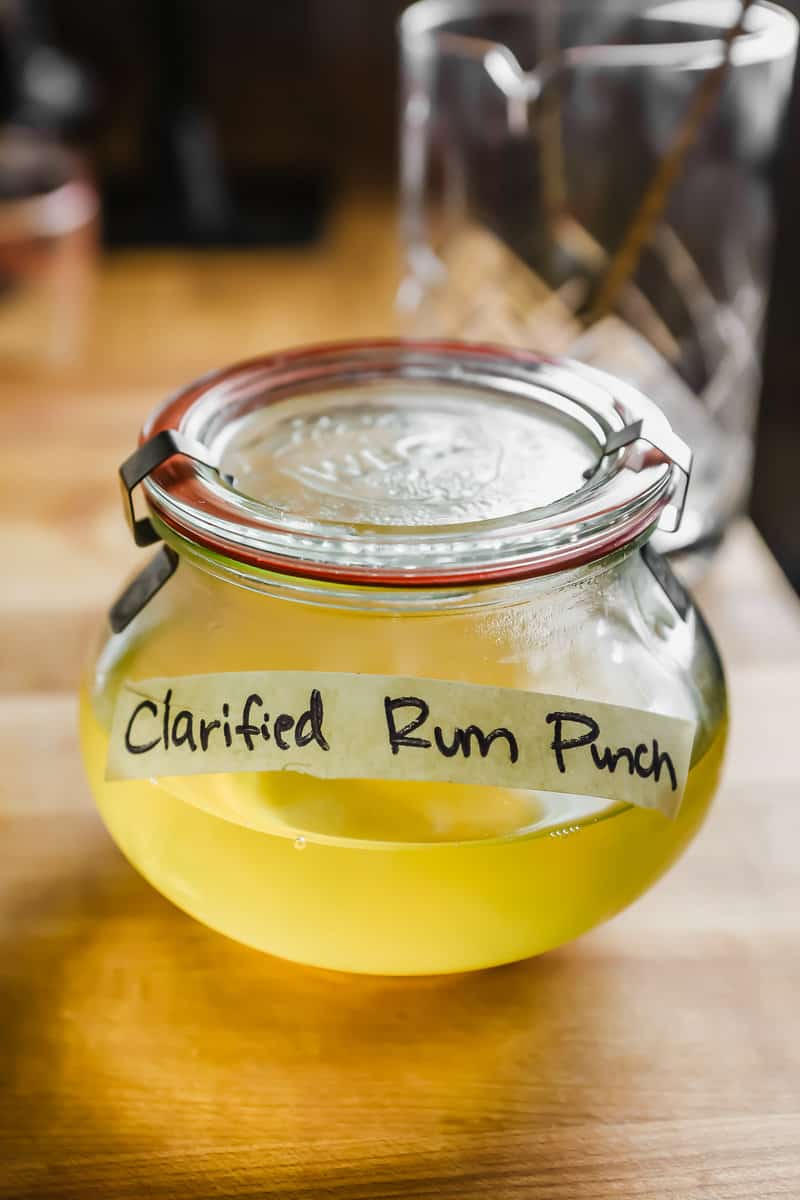
- Store the milk punch in a glass container in the refrigerator.
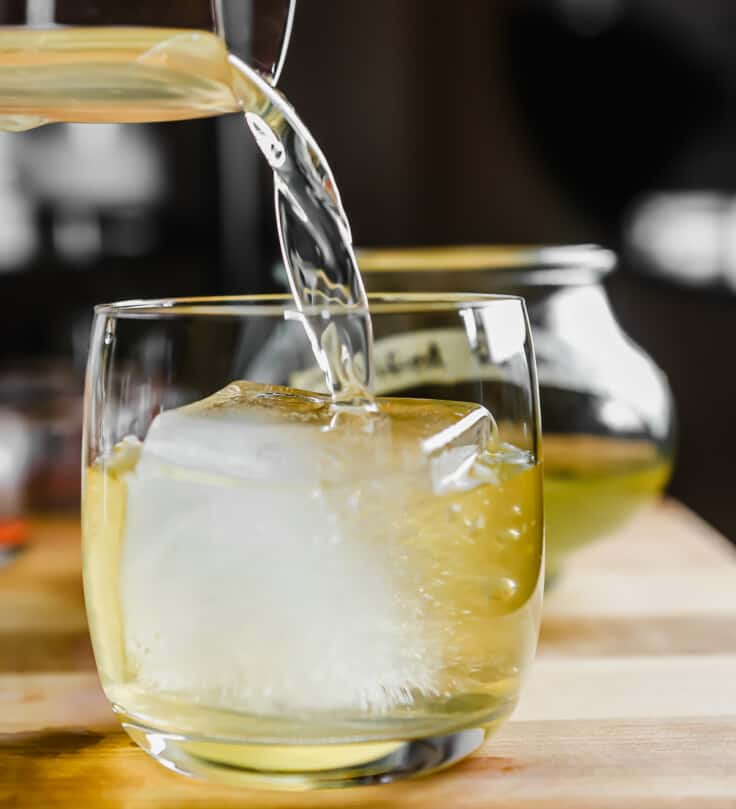
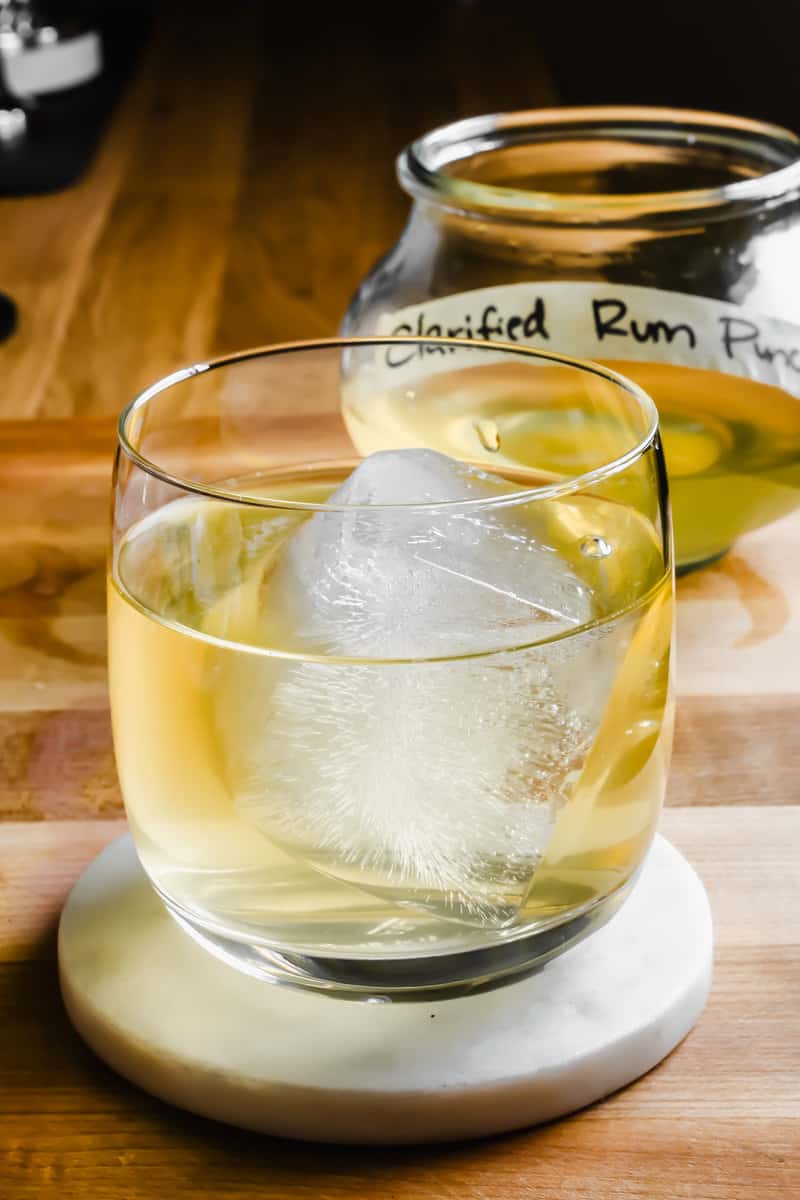
- When ready to serve, simply pour over ice and enjoy.
Expert Tips
- Boozy Milk Punch will last in the refrigerator for at least 2 weeks.
- Non-alcoholic milk punch will last in the fridge for 1 week.
- Do not pour the milk into the acidic liquor base. This will cause the milk proteins to coagulate into large curds, decreasing the amount of filtration possible. Pouring the other way creates smaller, more evenly distributed curds and better filtration.
- Contrary to popular belief, you do not need to heat up the milk. The clarification process actually works best with cold milk.
- Milk punch cocktails are great when shaken too. Additionally, the whey protein content in the cocktail aids in foaming when an egg white is added and shaken.

Clarified Milk Punch Mocktails
I had an incredible mocktail at Sanjusan in Minneapolis and it started me down the path of using milk clarification to add body to NA drinks. Like I said earlier, mocktails can have good flavor but they rarely have that “body” that makes a good cocktail.
Milk clarification addresses that missing link by infusing the drink with whey protein-rich water. It adds body, smoothness and also refines the overall flavor of the drink.
A few things to keep in mind for milk clarifying mocktails. First, alcohol is not necessary to the process. You simply need milk and something acidic (with a pH below 4). I recommend using lemon juice or lime juice (you could use vinegar but will need to experiment and play around with balance of ingredients).
Second, you will likely need a bit more milk for NA milk punches than boozy ones. While alcohol isn’t necessary, it does help the curdling process.
And finally, I find an NA milk punch really needs a few dashes of bitters. To keep it completely booze-free, use NA bitters such as Apothékary or Bab Louie & Co.
More Cocktails to Try
- If you’re a classic cocktail fan then you’ve gotta try my Old Fashioned. I tested 10 different iterations and this is my go-to formula. A classic Manhattan Cocktail is another one that needs to be in your mixology arsenal.
- The New York Sour is a show-stopping cocktail and appeals to all kinds of drinkers.
- Another favorite around here (and great when you don’t have much one hand) is a Bourbon Smash. It’s bright and balanced.
- For another rum cocktail, try my Frozen Piña Coladas—I use frozen cubes of pineapple juice to keep the added ice cubes (aka dilution) to a minimum.

Milk Punch Recipe (Clarified Cocktail)
Description
Video
Save This Recipe!
Ingredients
Clarified Milk Punch Cocktail
- 1 cup brewed black tea
- ⅓ cup rum
- ¼ cup fresh lemon juice
- ¼ cup sugar
- ⅛ teaspoon kosher salt
- ½ cup whole milk
Clarified Milk Punch Mocktail
- ½ cup brewed black tea
- ⅓ cup 100% cranberry juice
- ¼ cup fresh lemon juice
- ¼ cup sugar
- ⅛ teaspoon kosher salt
- ¾ cup whole milk
- Non-alcoholic bitters, optional *see notes
Instructions
Clarified Milk Punch Cocktail
- In a liquid measuring cup combine tea, rum, lemon juice, sugar and salt. Stir until the sugar and salt is dissolved.
- Add milk to a second, larger, liquid measuring cup.
- Pour tea mixture into milk and let sit, without stirring, for 30 minutes.
- Place a coffee filter in a fine mesh sieve; place over a liquid measuring cup, jar or bowl.
- Gently and carefully pour curdled milk punch into filter and allow mixture to drip into cup. The first few drops may be cloudy, once the mixture runs clear, pour the strained liquid back into the filter and continue to strain until most of the liquid has passed through (if the drips are more than 10 seconds apart, you’re done).
- For even more clarity, pass the liquid through a filter and sieve once more, not necessary but will help with clarification.
- Store in a glass container in the refrigerator for up to 2 weeks.
- To serve, add 3 ounces to a mixing glass filled partially with ice. Stir to chill then strain over a large ice cube set in a rocks glass
Clarified Milk Punch Mocktail
- In a liquid measuring cup combine tea, cranberry juice, lemon juice, sugar and salt. Stir until the sugar and salt is dissolved.
- Add milk to a second, larger, liquid measuring cup.
- Pour tea mixture into milk and let sit, without stirring, for 30 minutes.
- Place a coffee filter in a fine mesh sieve; place over a liquid measuring cup, jar or bowl.
- Gently and carefully pour curdled milk punch into filter and allow mixture to drip into cup. The first few drops may be cloudy, once the mixture runs clear, pour the strained liquid back into the filter and continue to strain until most of the liquid has passed through (if the drips are more than 10 seconds apart, you’re done).
- For even more clarity, pass the liquid through a filter and sieve once more, not necessary but will help with clarification.
- Store in a glass container in the refrigerator for up to 1 week.
- To serve, add 3 ounces milk punch and 3 dashes N/A citrus bitters to a mixing glass filled partially with ice. Stir to chill then strain over a large ice cube set in a rocks glass
Notes
Nutrition


I found using a 100% cotton flour sack towel works really well as a filter after making a different version of milk punch (lemonade). The cheesecloth was sad and I didn’t have any coffee filters at the time.
That’s genius—I’m sure it’s faster then coffee filters! I’ll be trying that next time.