This post may contain affiliate links.

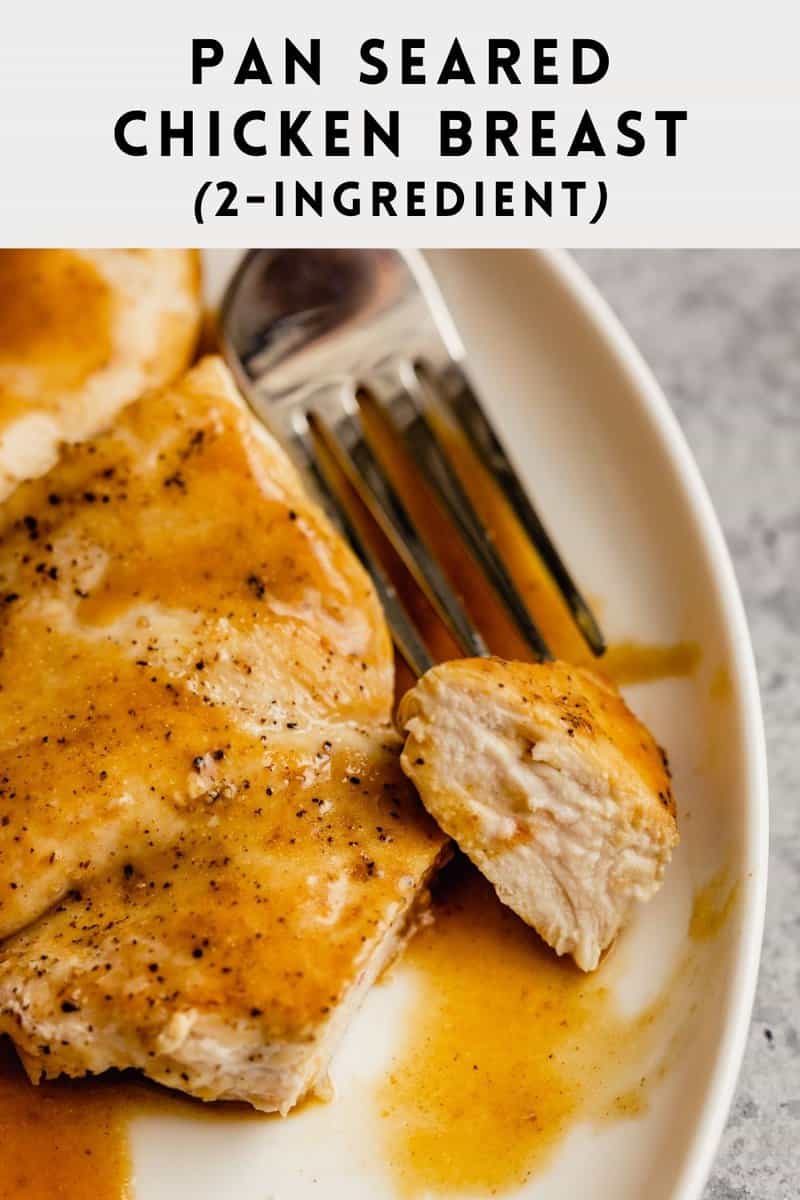
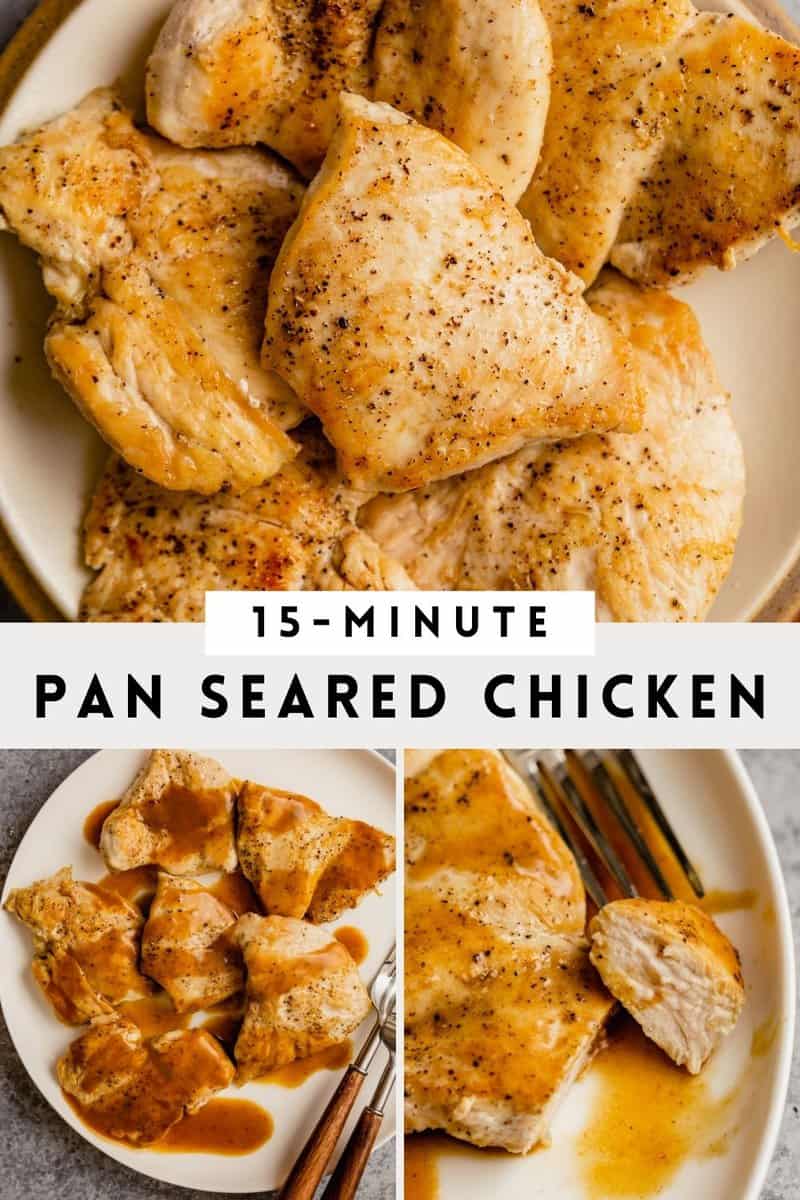
This quick and easy recipe for the perfect pan-seared chicken breast is the truly the best out there. After many tests and trials, I’ve honed in on the ideal method for keeping pan seared chicken moist and juicy. Plus, the drippings leftover in the pan get turned into a delicious pan sauce to drizzle over top.
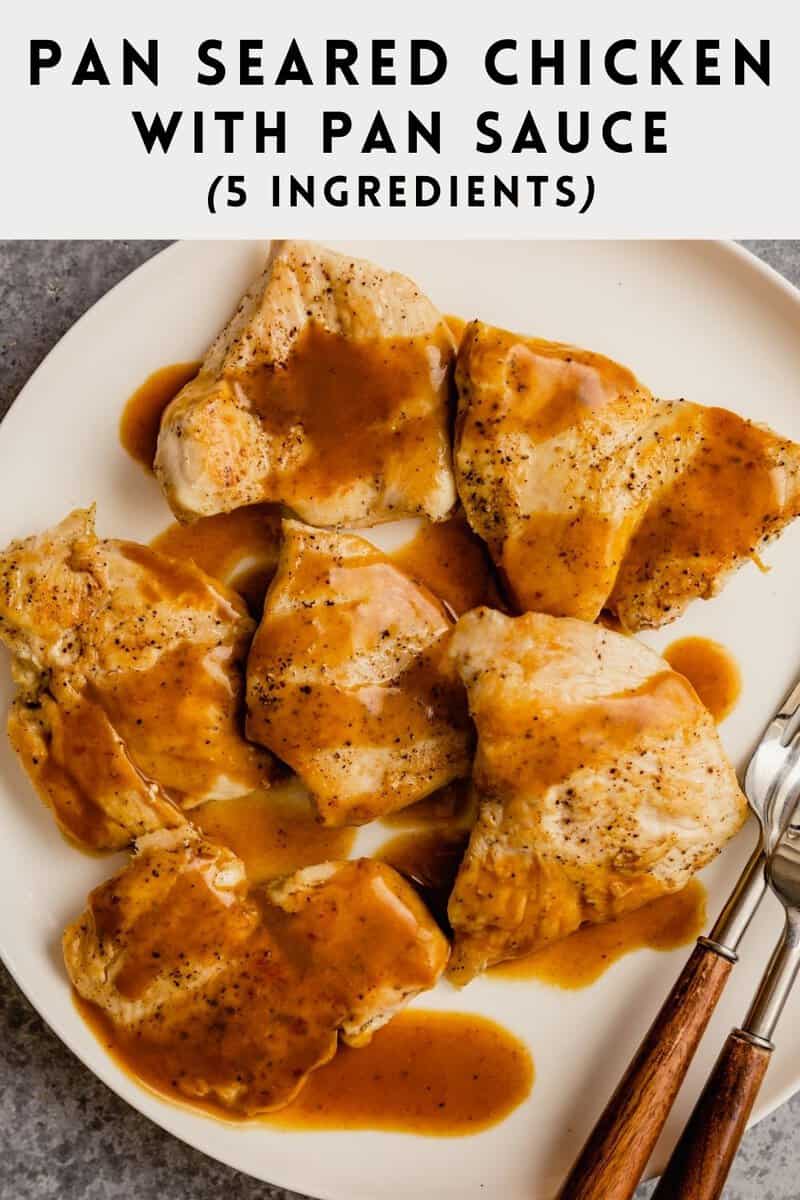
For this recipe, you need just 5 simple ingredients for both the chicken and the pan sauce. And if you’d rather skip the pan sauce all you’ll need is 2 ingredients—chicken and grapeseed oil. I have no doubt this will become your new favorite chicken recipe!
Over the past few months, I’ve been working to master pan-seared chicken breast. I’ve tried numerous methods and have filled the house with smoke more times than I’d like to admit. Cooking boneless, skinless chicken breast on the stove top is not an easy feat.
If you’ve tried it, you know often times the chicken is gorgeously browned on the outside and raw on the inside, all while the drippings in the pan are burning and smoke is billowing out of the skillet. Not ideal!
Through my testing I found the KEY to cooking juicy, moist chicken breast in a skillet comes down to how you prep the chicken breast prior to cooking. Instead of cooking the chicken breasts whole, you need to break them down into pieces that are even in size and thickness.
Reader Review
“Very helpful advice for prepping chicken breasts, thanks! I used to try to pound them flat, but they were always a shredded up, torn up mess by the time I got them to an even thickness. Now I used your method of cutting in three and pressing flat with my hand whenever I prepare them. It makes them a lot more visually appealing and makes them cook more evenly too! Thanks!”
– Lainey H.
Why You’ll Love This Pan Seared Chicken Breast
- Easy to master: this recipe is so simple. It’s all about the method with this one. Make it a few times and it’ll become second nature. Plus, you don’t need any specialty ingredients or equipment.
- The pan-sauce: the flavorful drippings and bits in the skillet become the foundation for a very simple and savory pan sauce. All you need is some butter,chicken broth and a bit of cornstarch to bring it together. It takes perfectly cooked chicken and makes it restaurant-worthy.
- Serve it with anything: the chicken alone can be served with anything—in tacos, stir fried noodles, ramen, sandwiches, salads, pilaf, mashed potatoes—the list goes on. Add any side dish and dinner is done.
Ingredients Needed for Pan Seared Chicken
- Grapeseed oil: Grapeseed oil is a great option for pan searing because it has a high smoke point. You can also use canola or vegetable oil.
- Kosher salt and black pepper
- Boneless, skinless chicken breasts: look for chicken breasts that are between 10 and 12 ounces each.
- Butter: a couple tablespoons are added to the drippings to make the easy pan sauce.
- Low-sodium chicken broth: If you choose to make the pan sauce, you’ll need this. Be sure to use low-sodium broth—the residual salt from the seasoned chicken breast will season the pan sauce.
- Cornstarch: added to the pan sauce to make it thick and silky.
Tips for Making the Best Seared Chicken
- Make sure all of the chicken pieces are even in thickness. This guarantees each piece will cook at the same rate and will be cooked through at the same time. The whole process is very similar to that used for Chicken Paillard.
Each piece should be about ¼-inch thick. Too much thicker and the chicken will take too long to cook through and you risk burning the pan drippings. - Seasoning well is essential. In order for your chicken to be flavorful you need to season the chicken pieces, on both sides, with a fairly generous amount of kosher salt and black pepper.
- Watch your heat. Make sure you preheat the skillet before adding oil. This ensures the cooking surface is evenly, and adequately, heated. Maintain a medium heat throughout cooking and avoid rushing the process by bumping up the heat. Increasing the heat will cause the outside of the chicken to brown too quickly (or burn) before the interior is cooked through.
How to Pan Sear Chicken Breast

Cut each chicken breast in half crosswise to create two halves, one that’s thicker and one that’s thinner.

Cut the thicker pieces in half horizontally to create two thin pieces.

Using the heel of your hand, pound out all chicken pieces to 1/4-inch thick.
Preheat a 12-inch skillet over medium for a few minutes. Add oil to the preheated skillet and swirl to coat.
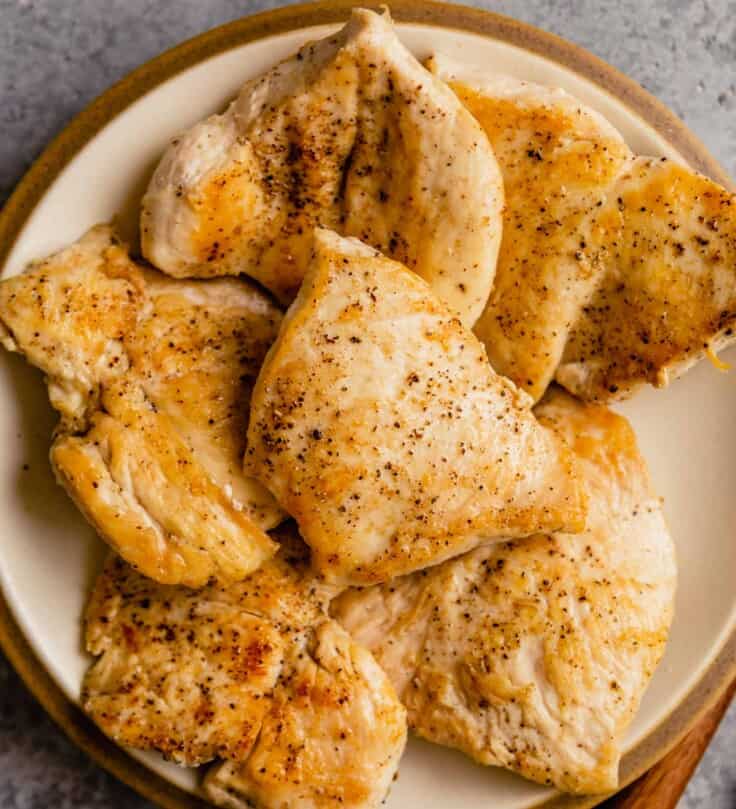
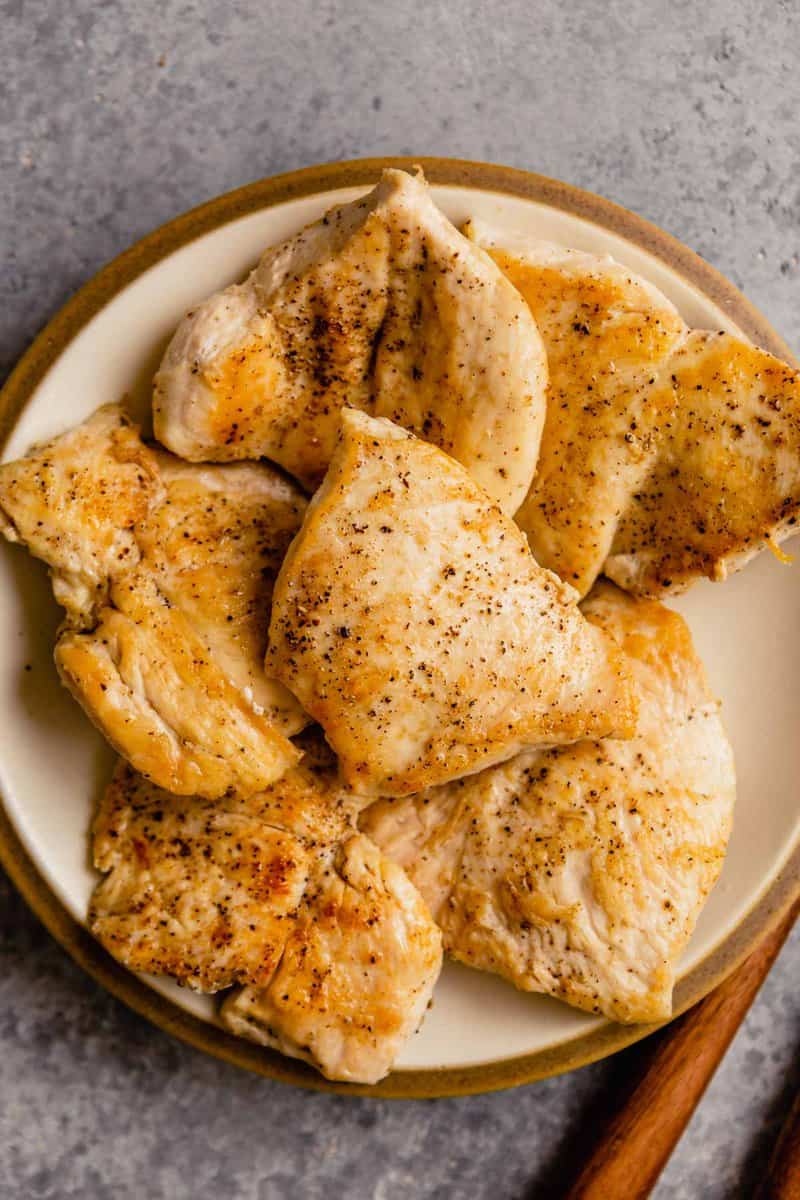
Season the chicken with salt and pepper then add to the skillet in an even layer and cook, without moving, until golden brown.

Flip the chicken and continue to cook until golden brown and cooked through. You’ll know they are done cooking when an instant-read thermometer inserted in the centers registers 163–165ºF.
Transfer chicken to a plate and reserve those drippings for the sauce.

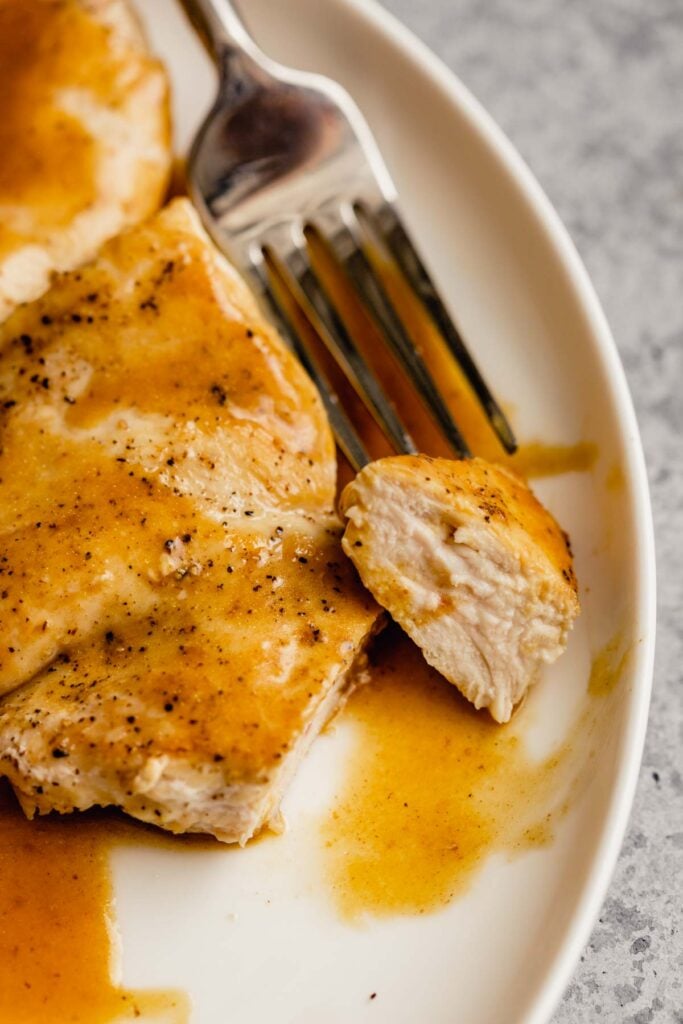
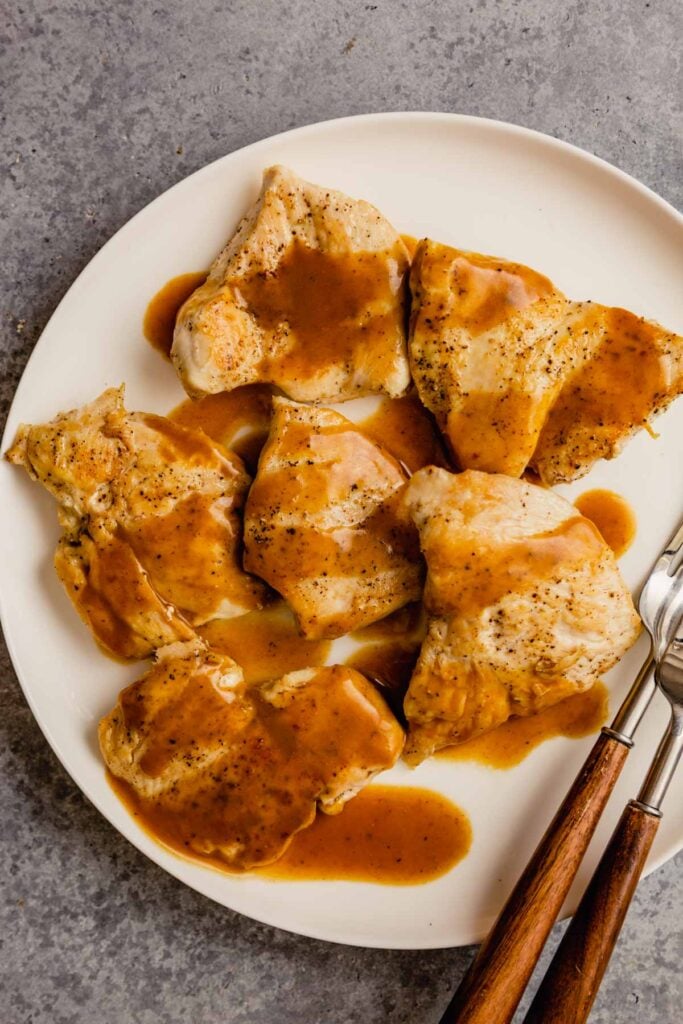
Add the butter to the skillet. Whisk together the broth and cornstarch then very carefully add it to the skillet, it will splatter so stand back! Increase the heat and cook, whisking constantly, until thickened. Serve the sauce over the chicken breast.
Pan Seared Chicken Recipe Variations
- In addition to salt and pepper, season chicken pieces with dried rosemary and thyme. Add a dash of each to the pan sauce as well.
- Add minced garlic to the butter to create a delicious garlic butter pan sauce.
- Add spinach to the pan sauce for a side dish that resembles creamed spinach.
- Deglaze the skillet with white wine to create a white wine butter pan sauce.
Storage and Reheating
Pan-seared chicken is best serve right after cooking, when it’s the juiciest and most moist it will ever be! If you have leftovers, store them in an airtight container in the refrigerator for up to 4 days.
For longer storage, you can freeze the cooked chicken for up to 3 months. Thaw overnight in the fridge before reheating.
Reheat leftover seared chicken in a skillet, covered, over medium-low heat with a splash of broth. Or in a 300ºF oven in a baking dish, covered, with a splash of broth. Both methods gently reheat the chicken while keeping it moist.
Serving Suggestions for Pan Seared Chicken Breast
This chicken, with the delicious pan sauce, is the perfect main dish to pair with light and flavorful Celery Root Mashed Potatoes. Add my popular Roasted Green Beans on the side and you have a restaurant meal at home!
Juicy Pan Seared Chicken Breast Recipe
Description
Save This Recipe!
Ingredients
- 2 (10–12-ounce) boneless, skinless chicken breasts
- Kosher salt and black pepper
- 1 tablespoon grapeseed, canola or vegetable oil
- 2 tablespoons unsalted butter
- ¾ cup low-sodium chicken broth or water
- 1 teaspoon cornstarch
Instructions
- Cut each chicken breast in half crosswise to create two halves, one that’s naturally thicker and one that’s naturally thinner.
- Slice thicker halves in half horizontally to create two thinner halves.
- Using the heel of your hand, firmly press all six chicken pieces (3-4 ounces each) into an even ¼-inch thickness.
- Preheat a 12-inch skillet over medium heat. Add oil and heat until shimmering; swirl to coat pan.
- Season both sides of chicken with salt and pepper (about ¾ teaspoon each).
- Add chicken pieces in an even layer and cook until bottom sides are golden brown, about 3 minutes. Flip and continue to cook until second side is golden brown and an instant-read thermometer inserted in the centers registers 163–165ºF, 3–5 minutes more (the smaller pieces will likely be done first, pull them as they come to temperature and are finished cooking). Transfer chicken pieces to a plate and set aside.
- Decrease heat to low, add butter to skillet and swirl until melted. Whisk together broth and cornstarch then carefully add to pan (stand back as it will splatter). Increase heat to medium-high and cook, whisking constantly, until thickened, about 3 minute. Drizzle sauce over chicken and serve.
Very helpful advice for prepping chicken breasts, thanks! I used to try to pound them flat, but they were always a shredded up, torn up mess by the time I got them to an even thickness. Now I used your method of cutting in three and pressing flat with my hand whenever I prepare them. It makes them a lot more visually appealing and makes them cook more evenly too! Thanks!
Amazing!!! This makes my day!!!
Loved this post! It’s brimming with valuable insights and presented in an interesting way. Looking forward to more content like this. Fantastic job!