This post may contain affiliate links.
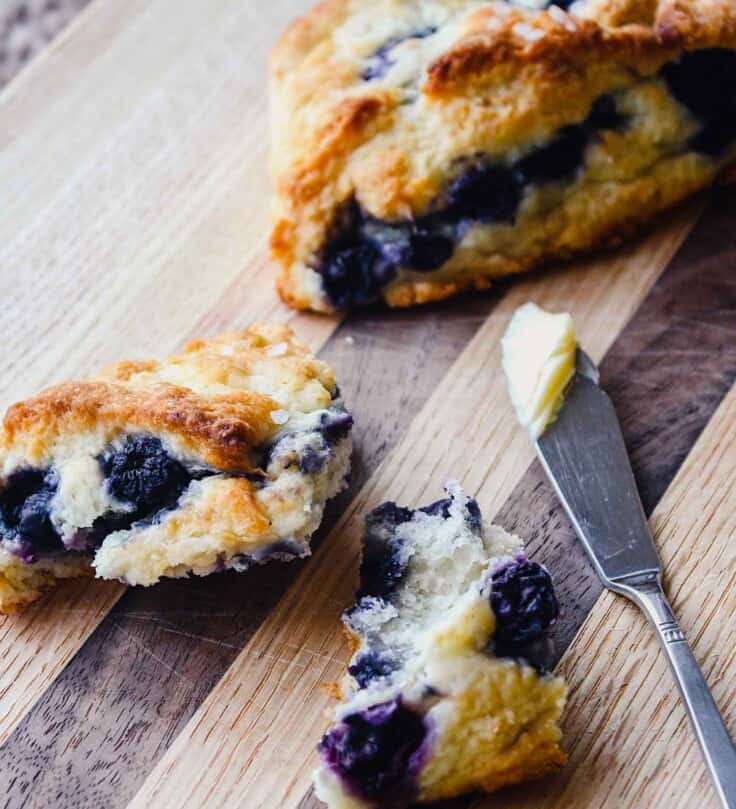
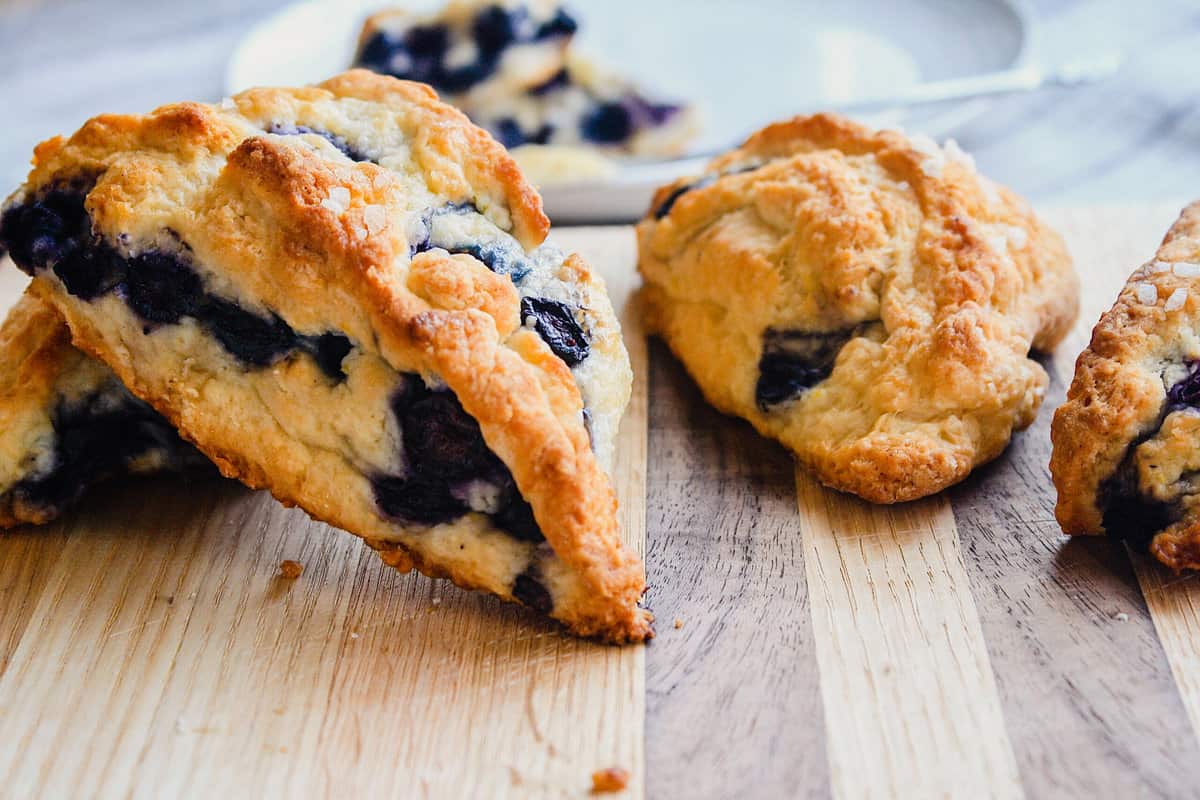
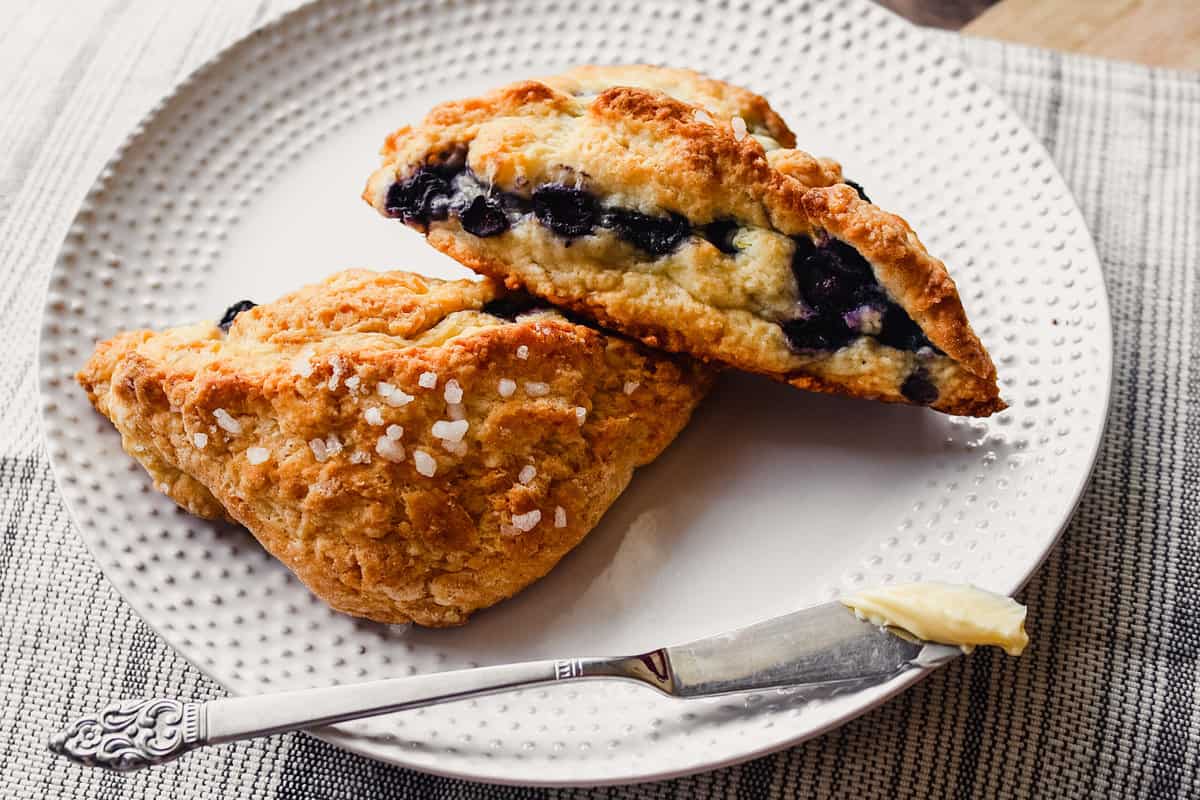
Bakery-worthy scones made with Greek yogurt. The addition of Greek yogurt means the overall amount of butter needed is cut by more than half! The beauty of this recipe is even though it has less butter, it maintains the integrity of what a scone should be—crispy edges, tender interior, and buttery flavor.
Most scone recipes call for whole milk, butter and/or shortening and sour cream. My goal was to decrease butter content, swap whole milk for lower-fat milk, and eliminate the sour cream all together. I needed to make sure that the changes and substitutions were well balanced in order to create a crunchy outside and tender inside.
How to Make Greek Yogurt Scones
The biggest challenge of making scones with Greek yogurt is finding a way to create scones that still have crispy edges and tender interiors. Fat and sugar work together to create those of those qualities, so it was a challenge, but here’s how to do it!
You still need fat!
In order to maintain the integrity of a classic scone you still need to use some fat. For these scones I drastically cut down the amount of butter from and average of 16 tablespoons to just six!
Choose you wet ingredients wisely
Classic scone recipes often call for sour cream and whole milk, I swapped those out in favor of lighter ingredients like Greek yogurt and buttermilk. Together they offer the tang (and acid) of sour cream and the liquid properties of whole milk.
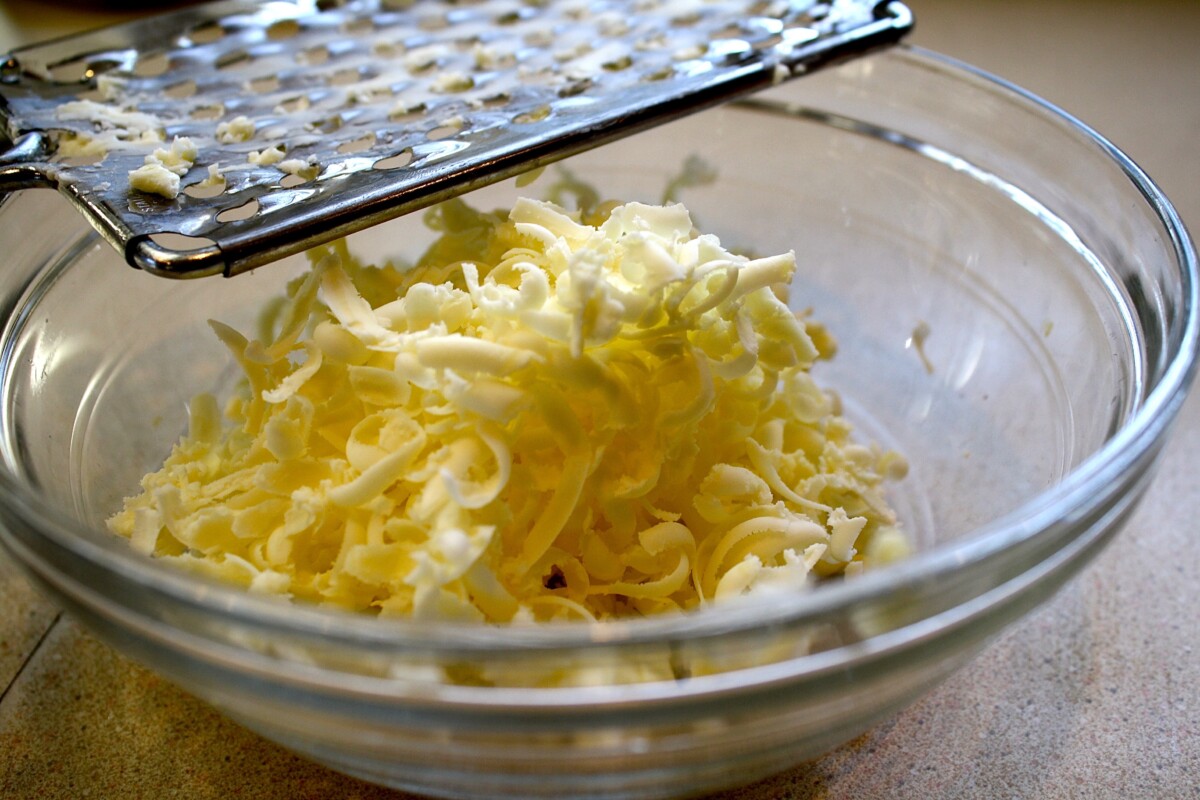
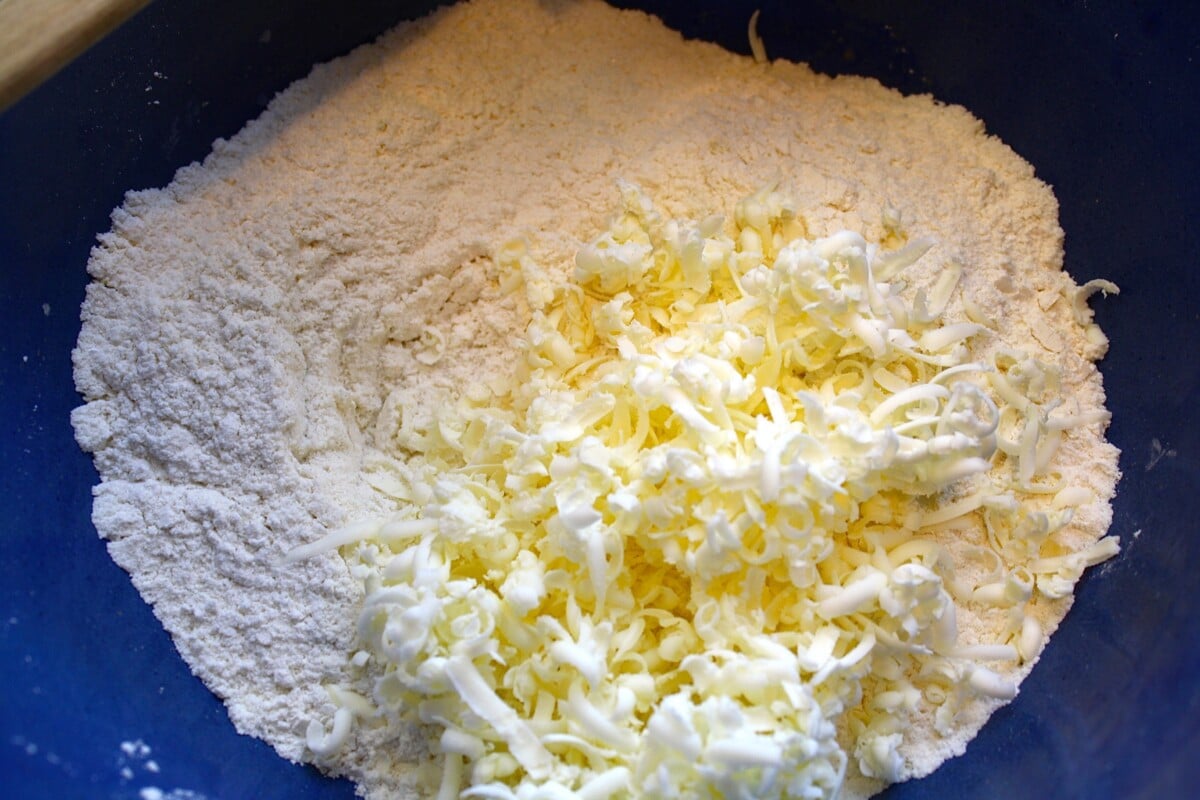
Grate the butter
Grating butter on a large-hole box grater allows you to incorporate the butter into the flour quickly without overworking the dough and creating too much gluten. This is especially important when making low-fat scones because we want to create the least amount of gluten as possible and keep them tender (without having to rely on fat).
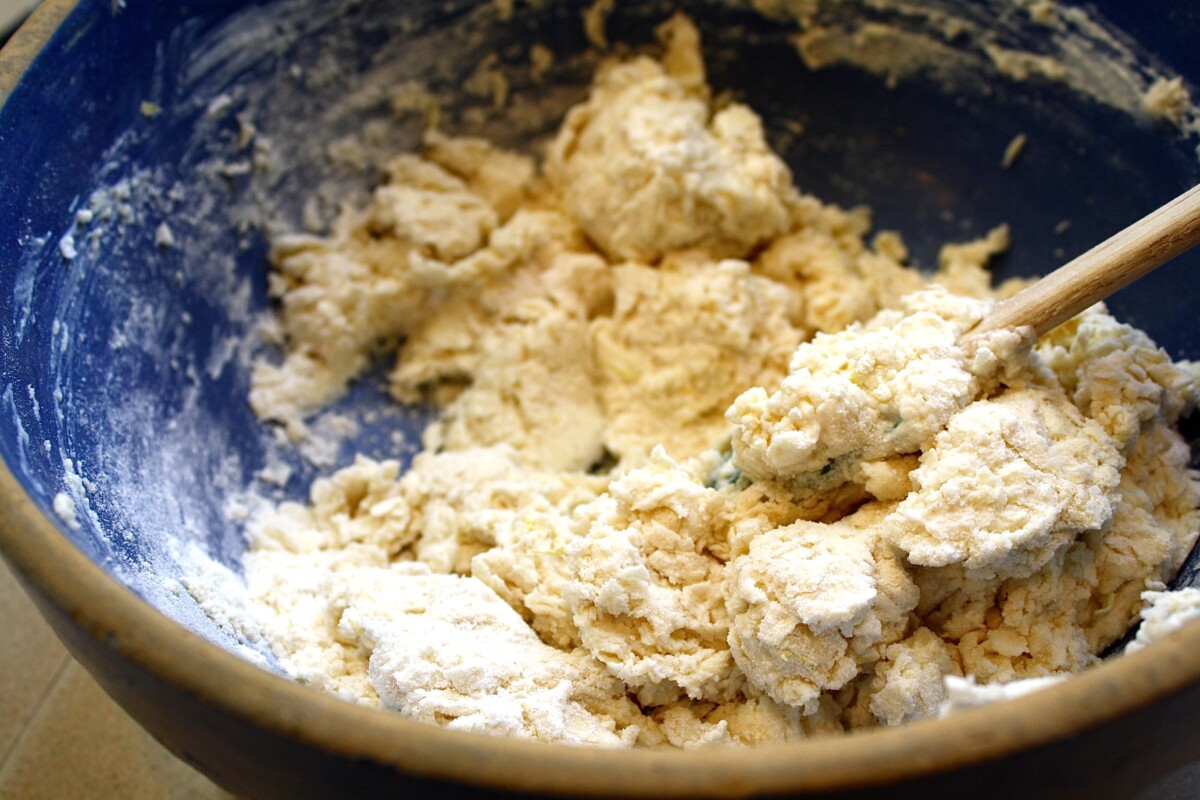
Mix as little as possible
Work the dough as little as possible for the same reasons we want to grate our butter. The more we work the dough the tougher it will get. And since we’re already eliminating the failsafe for tenderness (fat) we have to be cautious of creating too much gluten.
Keep everything cold
One of the most important aspects of this recipe is keeping all of the ingredients cold. It’s essential for the shredded butter to be kept frozen because it disperses better into the dry ingredients and maintains a flaky texture in the baked product. It’s also very important to move quickly when working with the dough; the less you work with it the better of a product will be produced.

Make Ahead Instructions
For a day ahead:
Follow the recipe just until the baking step. Place unbaked scones on prepared baking sheet and refrigerate overnight. When ready to bake, preheat oven to 425-degrees and bake as directed in recipe.
For up to a month ahead:
Follow the recipe just until the baking step. Place unbaked scones on prepared baking sheet and freeze until solid. Transfer frozen scones to a resealable zipper-lock freezer bag.
When ready to bake, transfer frozen scones to prepared baking sheet (do not thaw) and bake at 375-degrees and bake for about 50 minutes until tops and bottoms are brown.

Greek Yogurt Blueberry Scones
Description
Save This Recipe!
Ingredients
- 6 tablespoons unsalted butter frozen, divided
- 1 ½ cups blueberries, frozen
- ½ cup buttermilk
- 1 cup fat-free Greek yogurt
- 2 cups all-purpose flour
- ½ cup granulated sugar
- 1 tablespoon baking powder
- ¼ teaspoon baking soda
- ½ teaspoon table salt
- 1 teaspoon lemon zest
- Turbinado sugar
Instructions
- Heat oven to 425°F with rack set in middle position. Line a baking sheet with parchment paper; set aside.
- Grate 4 tablespoons frozen butter on a large-hole grater; transfer to a bowl and freeze. Place blueberries in freezer until needed.
- Whisk together milk and Greek yogurt; refrigerate.
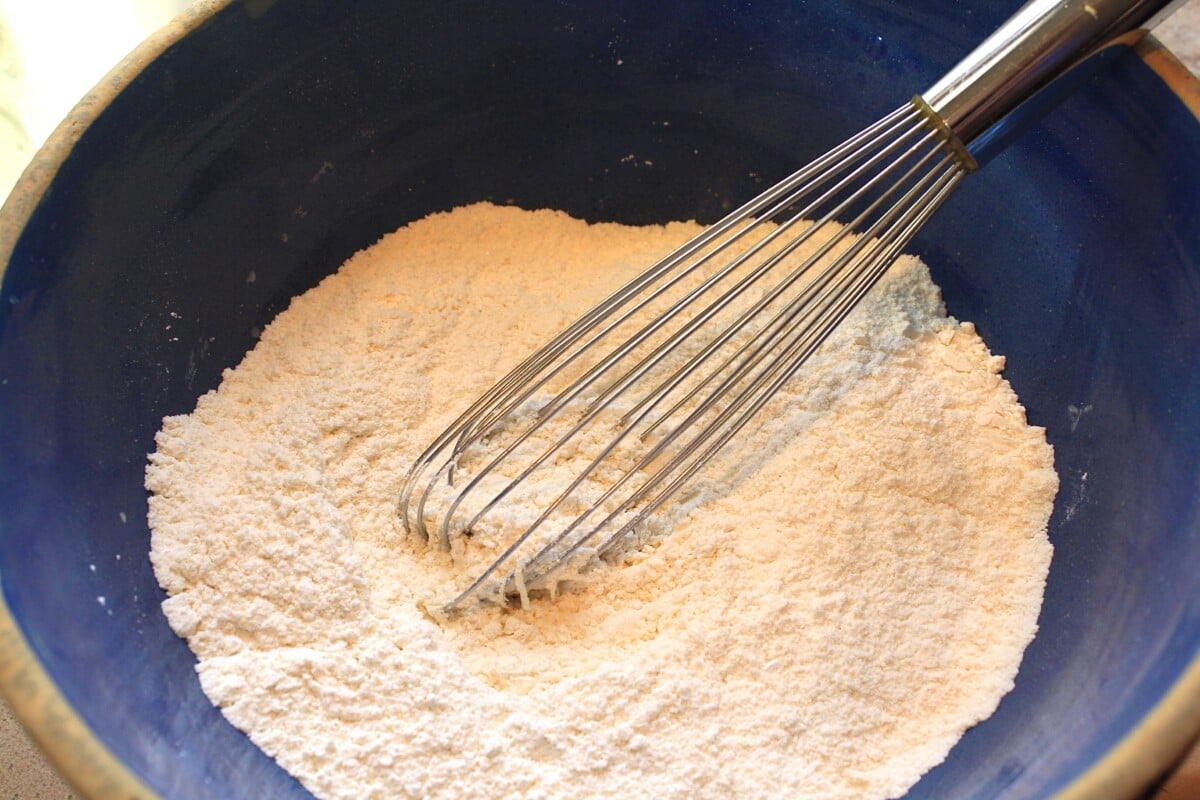
- Whisk flour, sugar, baking powder, baking soda, salt, and lemon zest in medium bowl.
- Add frozen butter to flour mixture and toss with fingers until thoroughly coated.
- Add milk mixture to flour mixture and, using a spatula, fold until just combined. Transfer dough to a well-floured work surface. Dust dough with flour and knead until it forms a rough ball, 8 to 10 times, adding flour as needed to prevent sticking.
- Roll dough out into a rough 12-inch square. Fold dough into thirds (like a letter). Lift ends of dough and fold into thirds again to form a 4-inch square. Transfer dough to plate lightly dusted with flour and freeze 5 minutes.
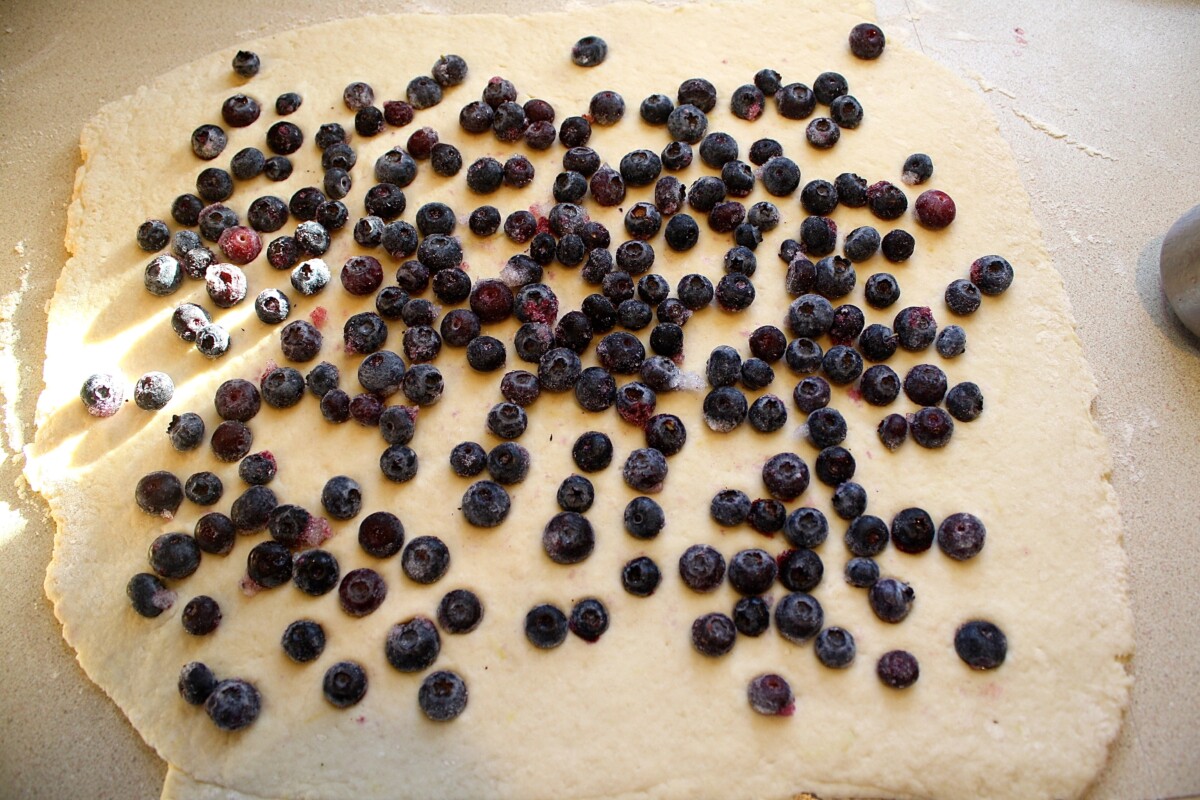
- Remove dough from freezer and transfer to floured work surface. Roll out into a 12-inch square.
- Sprinkle blueberries evenly over surface of dough and lightly press into dough.
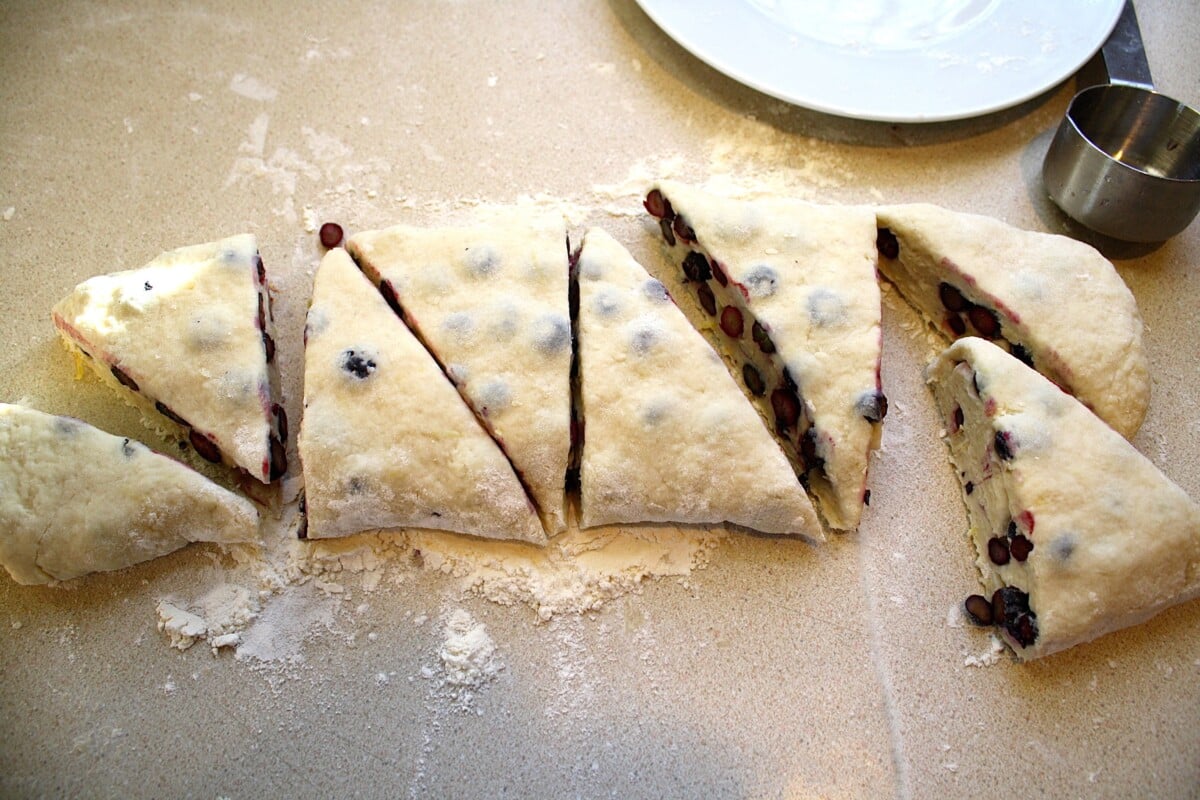
- Using a bench scraper, carefully release dough from surface. Roll to form a tight log, jelly roll style. Arrange dough log seam-side down and press into a 12×4-inch rectangle. Using a sharp knife, cut log crosswise into 4 equal sections. Cut each rectangle diagonally to form 2 triangles. Transfer scones to parchment-lined baking sheet.
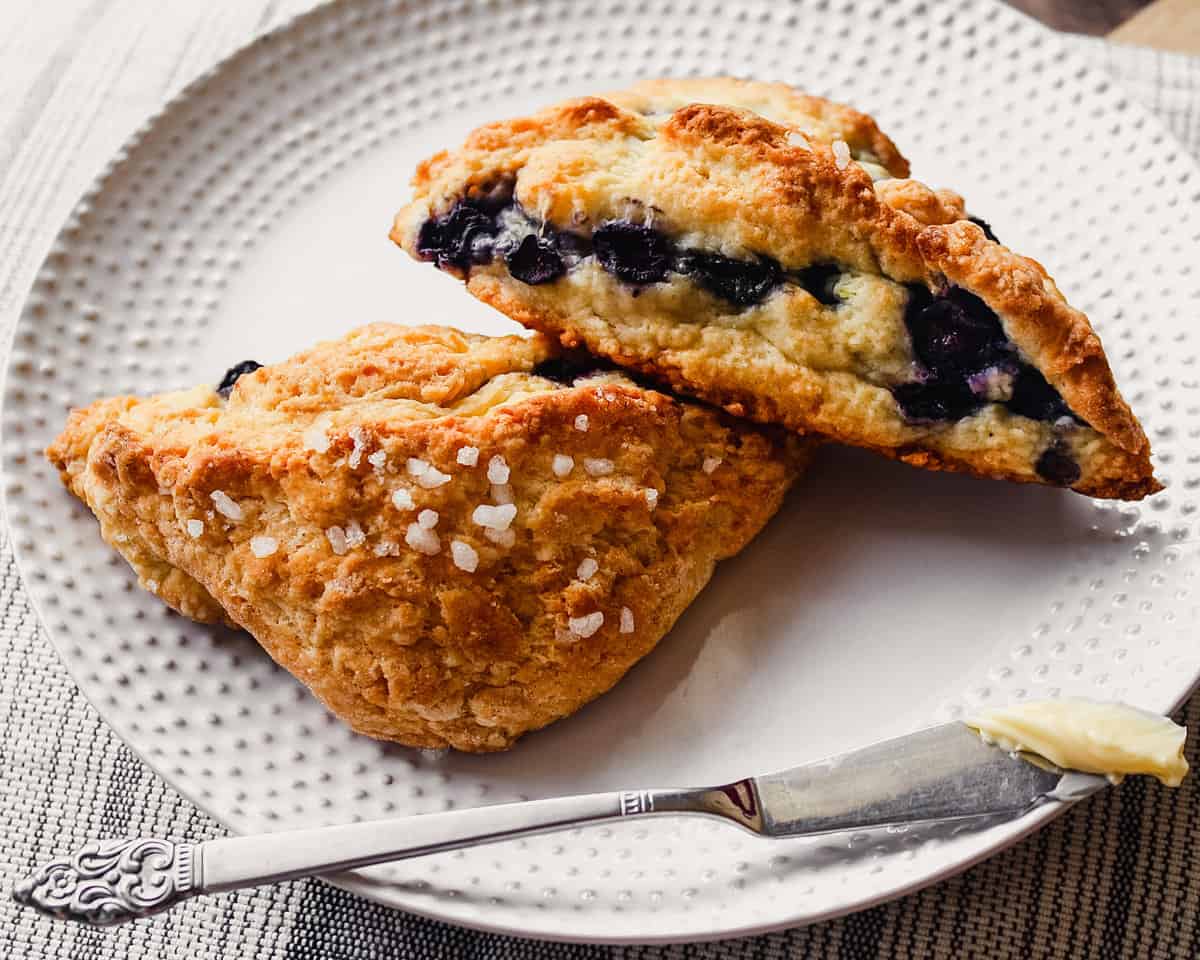
- Melt remaining 2 tablespoons of butter and lightly brush tops of scones. Lightly sprinkle with turbinado sugar.
- Bake scones until tops and bottoms are golden brown, 20–25 minutes. Transfer to wire rack and cool completely.