This post may contain affiliate links.
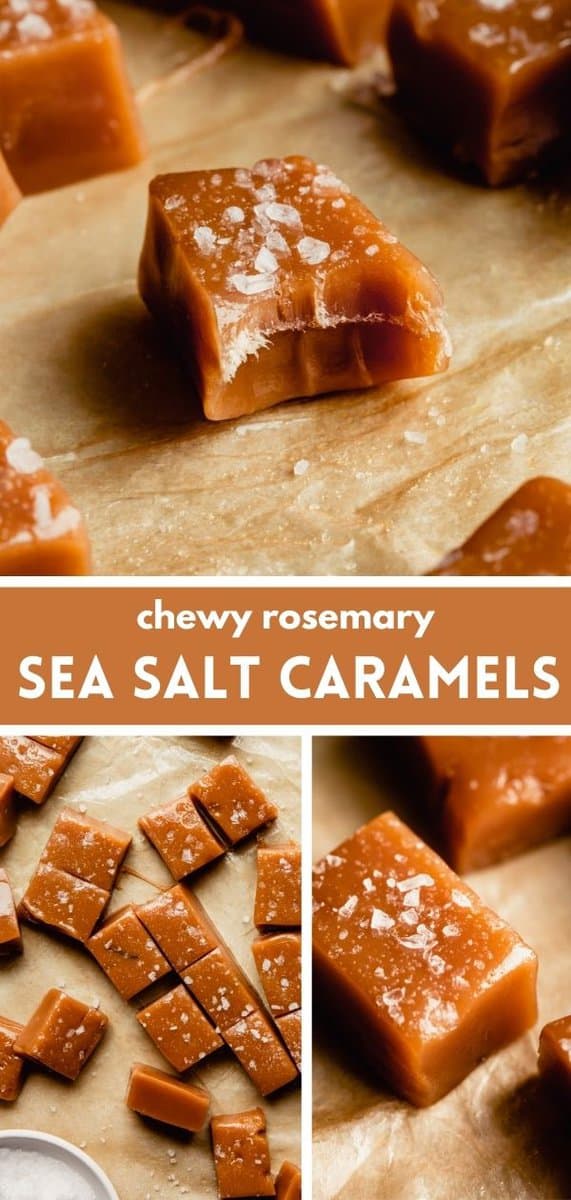
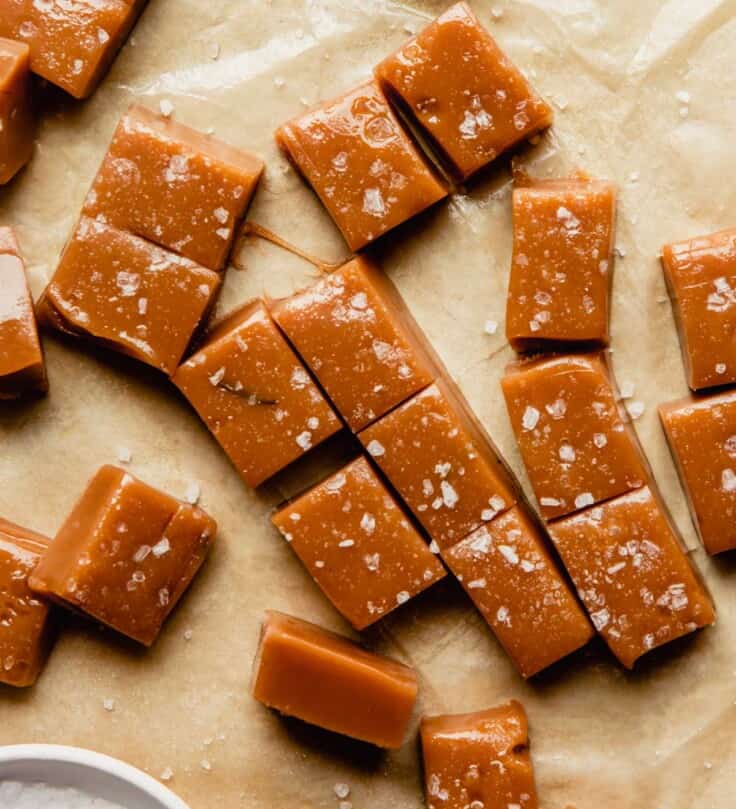
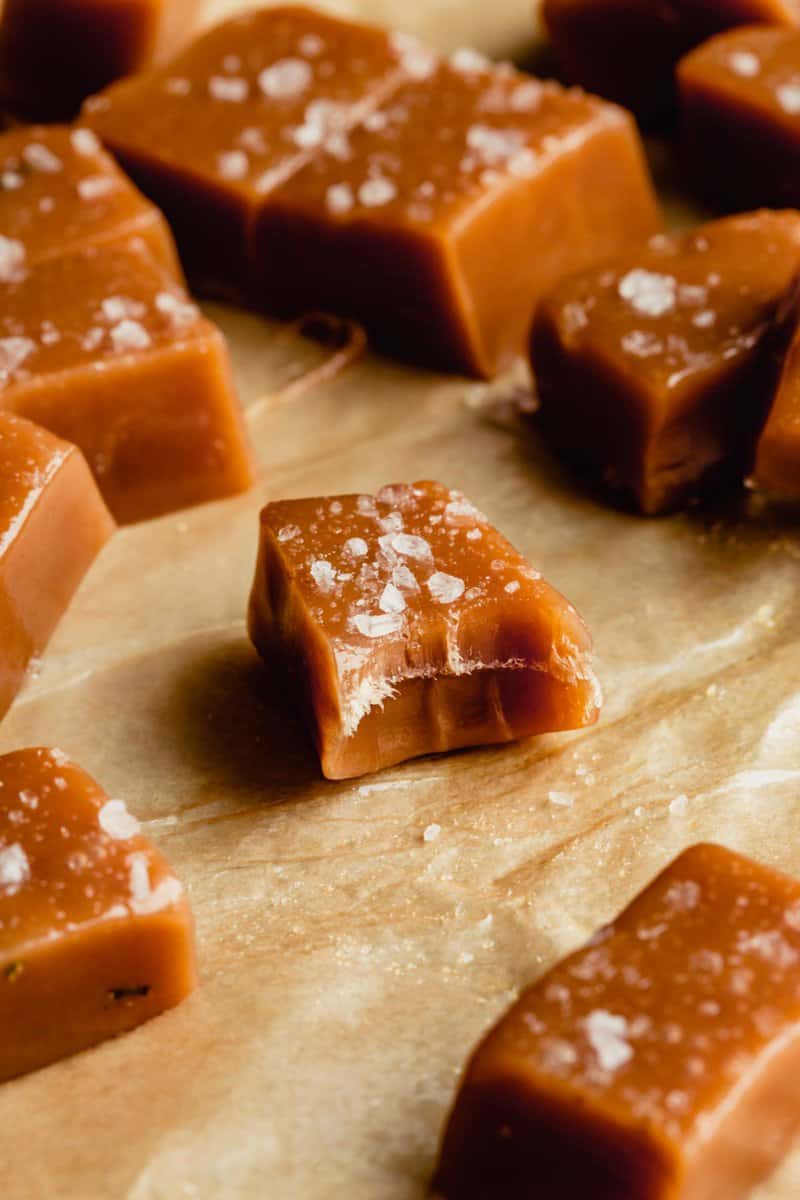
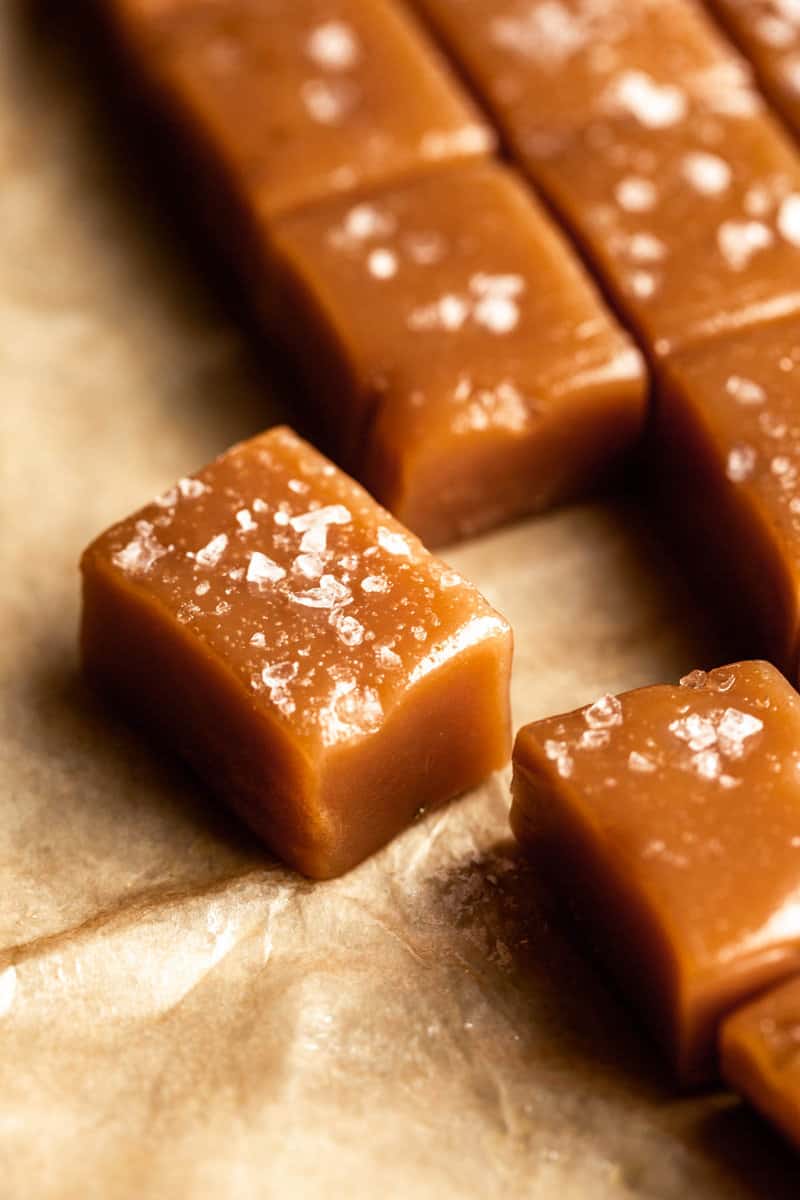
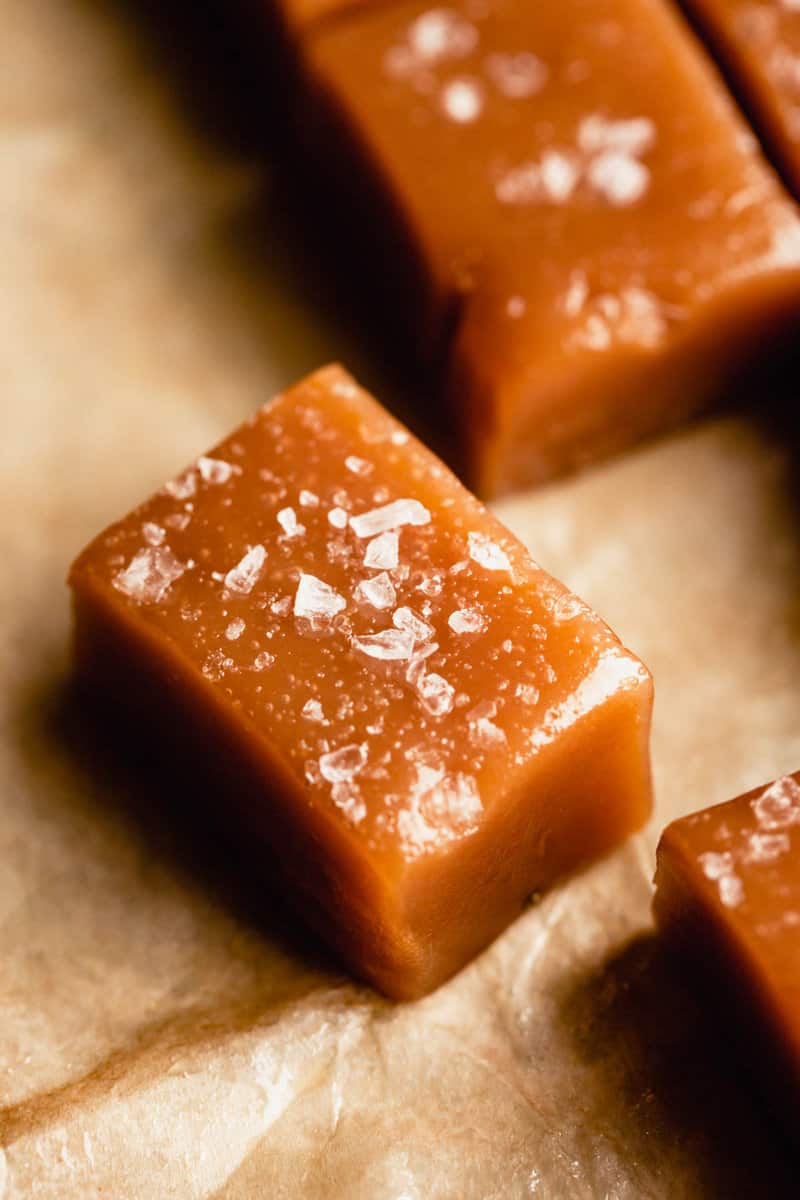
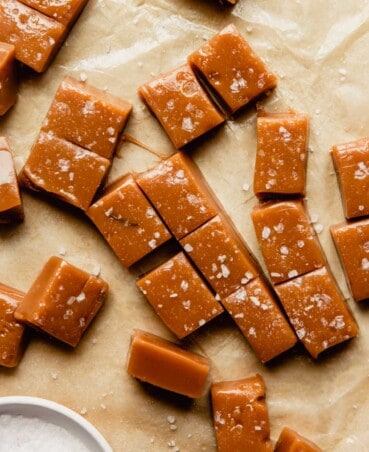
These creamy Sea Salt Caramels infused with rosemary are so easy to make for any party or gathering! Chewy and soft, it’s easy to make these homemade candies with just 6 ingredients. Package them up for the perfect gift.
When it comes to making homemade caramel, it can be daunting. You have to use a thermometer with boiling hot sugar and water and if you overcook it by a little bit, you’ve got hard-as-rock caramel instead of chewy bites.
Well, have no fear, with this creamy sea salt caramels recipe you’ll make the perfect homemade caramel every time. They’re even infused with rosemary to make the perfect holiday treat.
I’ve tested these so many times, so I’m sharing all the tips and tricks so you can make these as successfully as any pastry chef. And the best part, once you get clear on the process, they truly are easy to make.
The best part is that you only need 6 ingredients—all pantry staples—and they come together in just 30 minutes of active time.
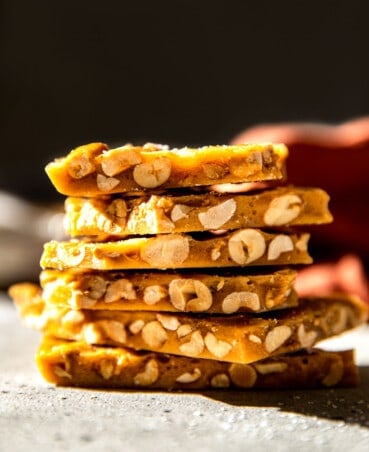
If you love learning how to make candy, we have some other recipes up our sleeves. Try our Dark Chocolate Chocolate Sea Salt Caramels, Peanut Brittle, or Dark Chocolate Truffles.
Ingredient Notes
- Light corn syrup: don’t use a dark corn syrup here. This is what makes, and keeps, the caramels chewy for days after making.
- Granulated sugar: the base of homemade caramel! No brown sugar needed here.
- Unsalted butter: if you are using salted butter, simply pull back on the added salt by ¼ teaspoon.
- Heavy cream: don’t swap this out for half-and-half or whole milk. You want heavy whipping cream here!
- Rosemary sprig: this is totally optional, but it adds such a lovely depth of flavor and makes these more interested than your standard caramel.
- Coarse sea salt: Such as fleur de sel or Maldon, adds that nice finishing touch of crunch and flavor to each bite.
Lauren’s Tip
Be sure to calibrate your thermometer. Test your thermometer by taking the temperature of boiling water—it should read 212°F. Adjust the recipe temperature up or down based on your test.
How to Make Homemade Sea Salt Caramels with Rosemary
- Start by preparing the pan. Line a 5×8-inch loaf pan with parchment paper and grease the parchment paper well!
- Combine the butter, cream and rosemary in a saucepan. Bring the mixture to a boil then remove it from the heat and set aside. The rosemary will steep in the mixture and the warm butter and cream will eventually be added to the caramelized sugar. So keep it nearby!
- Now it’s time to cook the sugar. In a large saucepan combine the water, corn syrup and sugar with a wooden spoon or heat-proof rubber spatula (I like this one).
- Bring sugar mixture to a boil over medium-high heat, and cook, without stirring, until the sugar has dissolved and the temperature reaches 300°F (149ºC) on a candy thermometer, this will take 10 minutes.
- Reduce the heat to medium and simmer, gently swirling the pan, until the edges of the sugar mixture start to turn a light amber color and the temperature of the mixture reaches 320ºF (160ºC) to 325ºF (163ºC), this will take about 5 minutes.
- Once 320ºF (160ºC) is reached, remove the pan from the heat. Remove and discard the rosemary sprig from the cream mixture then carefully pour a quarter of the cream mixture into sugar syrup and swirl to incorporate. (Be careful, mixture will bubble up!)
- Add the remaining cream and butter mixture and stir to incorporate. Return pan to medium-high heat and cook, stirring frequently, until the caramel reaches 240°F (115ºC) for softer caramels or 245ºF (118ºC) for chewier caramels, 5–10 minutes.
- Very carefully pour the hot caramel into the prepared pan.
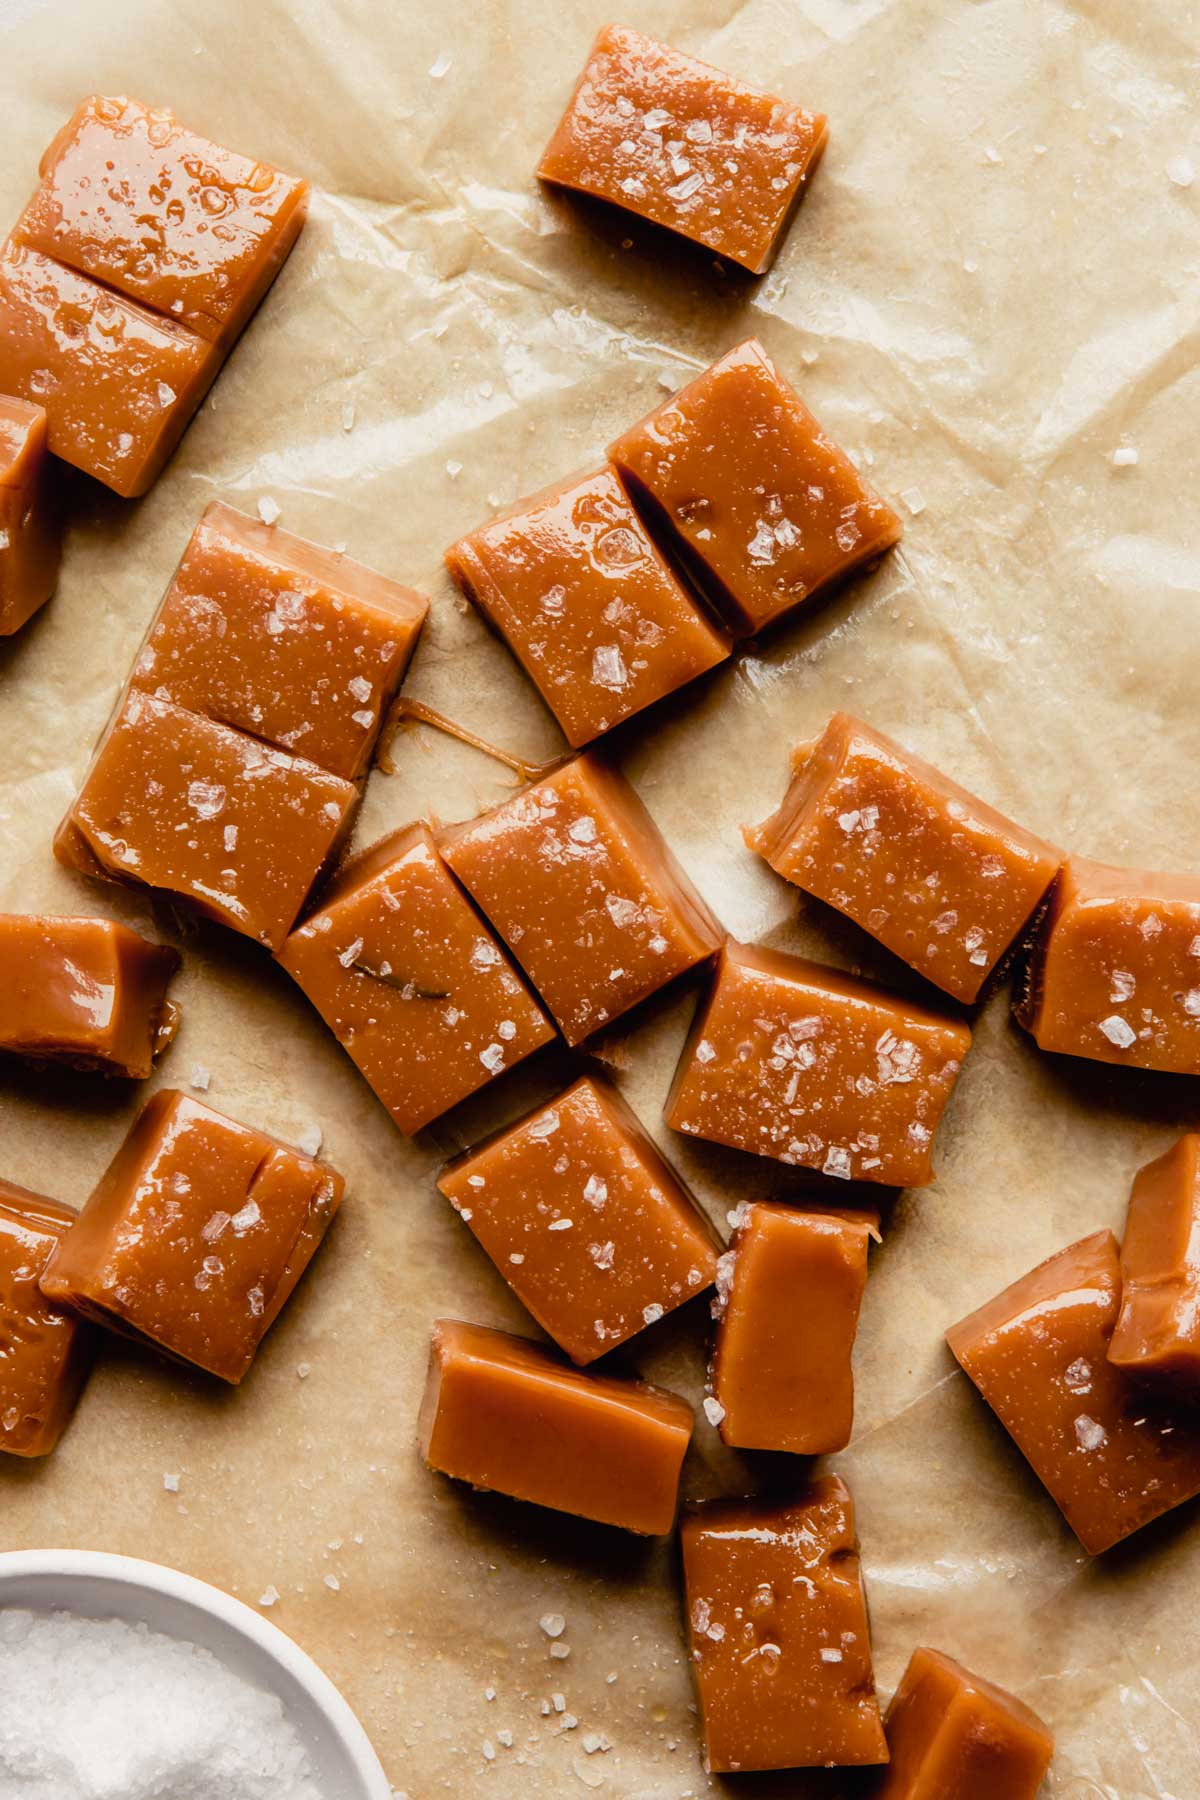
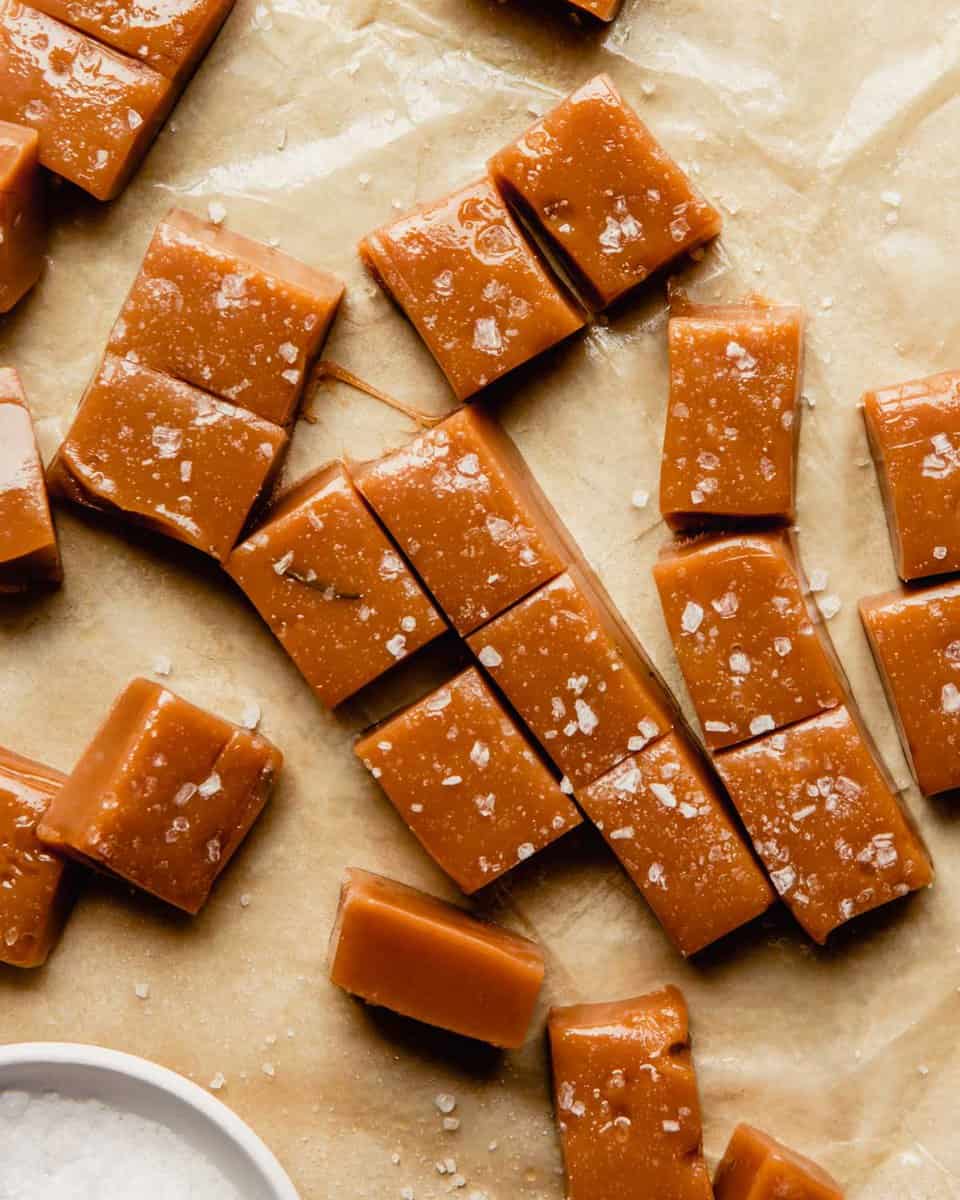
- Let the caramel cool for 20 minutes before sprinkling with the sea salt—this ensures it sticks to the caramel but doesn’t sink into it. Continue cooling the caramel at room temperature for a few hours before removing it from the pan and cutting it.
Troubleshooting Creamy Caramels
When making homemade caramel, it’s important to avoid crystallization.
Crystallization is the opposite of everything we love about soft, chewy caramels. When sugar crystalizes it creates a grainy texture in the finished product.
When adding the granulated sugar to the pan, before you even begin cooking, it’s important to avoid getting any granules on the sides of the pans. To avoid this, slowly pour the sugar in the center of the pan.
During the first stage of cooking, if you see any crystallization start to form on the sides of the pan, carefully brush the sides of the pan with some water using a pastry brush.
Making caramel is all about temperature.
This sea salt caramel recipe has two important temperatures to keep in mind.
As a quick reference, the sugar syrup will first be cooked to 320ºF (160ºC) to 325ºF (163ºC). Then, secondly, the caramel mixture will be cooked to 240°F (115ºC) to 245ºF (118ºC).
This two-step process is important for achieving deep flavor and adequate texture. The first temperature, 320ºF (160ºC), cooks the sugar syrup past hard-crack stage (think hard sugar candies like brittles and poured suckers), and into the caramel stage.
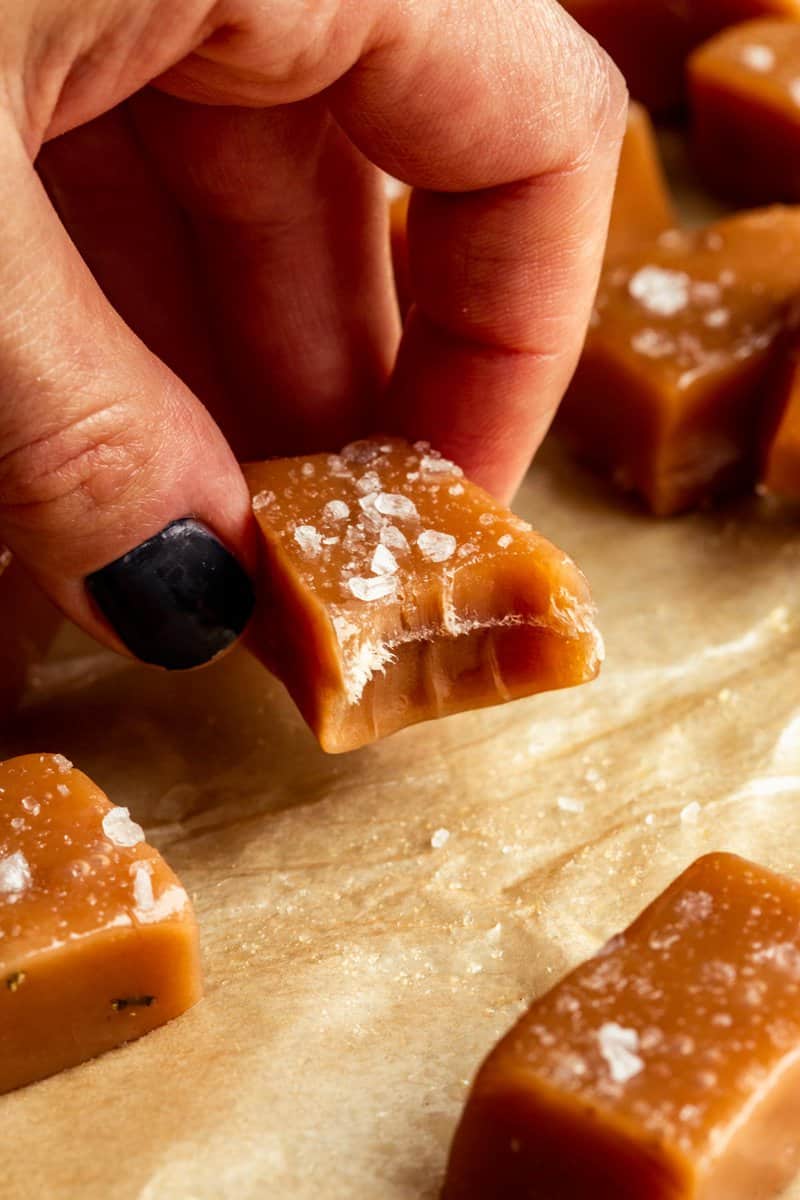
If you like softer caramels, cook the caramel in the second stage to 240°F (115ºC).
If you’re like me and prefer a chewier caramel, cook the caramel in the second stage to 245ºF (118ºC).
Expert Tips
- Use a candy thermometer. Without a candy thermometer, making these sea salt caramels at home will be more than challenging.
- Be prepared. Most of the action happens within 30 seconds when making caramel. It’s important to move fast and efficiently. The temperature of sugar can rise rapidly; just a few extra seconds over heat, or a delay in adding butter can drastically change the product.
- Use a combination of sugars. It’s important to use a combination of sugar types when making caramel (sucrose, fructose, glucose). Using a combination of sugars means the sugar molecules won’t crystalize as easily, resulting in a caramel that’s silky and smooth.
- Add heavy whipping cream. Avoid using cream that’s simply labeled “whipping cream” as it might have a lower percentage of fat. For this recipe, your cream should have a minimum of 36% fat content.
- Cleaning hardened caramel out of a pan can be a big pain. For easier clean up, fill the saucepan with water and bring to a boil. Watch the caramel melt away! Add the candy thermometer, rubber spatula and/or wooden spoon to the pot if they also have stuck on caramel.
Swirling vs Stirring
Homemade caramel may seem finicky, but I’m here to tell you, if you follow the recipe you’ll find that homemade caramel is actually quite simple. One thing to keep in mind—don’t stir unless the recipe tells you to stir!
It might not seem like a big deal—but when it comes to caramel it is! During the first stage of cooking there’s no need to stir. Let the mixture bubble away, uninterrupted, until the sides of the pan start to turn amber brown. Once browning starts to occur, even the slightest, you can give the pan a little swirl.
You can stir the mixture in the second stage of cooking, when the cream and butter mixture has been added.
Storage
Store the rosemary caramels in an airtight container between layers of wax paper for up to 5 days at room temperature. You can also individually wrap the caramels in cellophane to package as a gift, just like candies from a gourmet store.
Variations
- Instead of infusing the cream with rosemary, add the seeds of one vanilla bean.
- Swap the rosemary sprig for a few peels of orange zest.
- Drizzle each caramel with dark chocolate.
FAQs
Hard, soft, and chewy caramels. In this case we are making chewy which has a specific amount of heavy cream and is cooked to a certain temperature to ensure the texture is chewy.
This makes it soft or pourable in texture depending on the recipe.
Because you are adding cold liquid to the hot boiling sugar. Warming the cream help with this. Be sure to continue whisking over low heat until everything if fully incorporated.
More Candy Recipes to Try
Desserts
Peanut Brittle
Chocolate Dessert
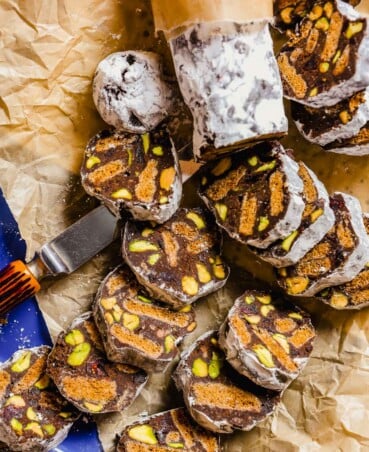
Chocolate Salami
Chocolate Dessert
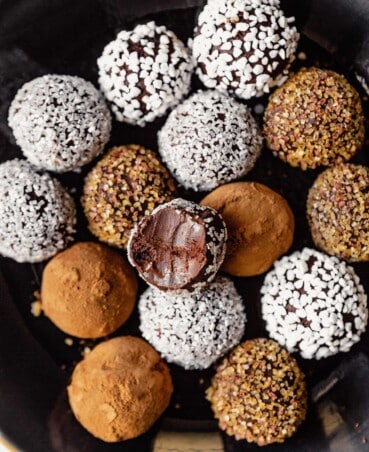
Dark Chocolate Vegan Truffles
Make sure to tag me @ZESTFULKITCHEN ON INSTAGRAM or tag #zestfulkitchen on social media if you make a recipe!
Pin this recipe and save it for later by clicking the button on any photo. You can also click the Pin button in the recipe card. Happy candy making!
Don’t forget, if you make these salted caramels leave a comment and rating below!
Homemade Sea Salt Caramels with Rosemary
Description
Video
Save This Recipe!
Ingredients
- 3 tablespoons water
- ¼ cup light corn syrup
- 1 cup granulated sugar
- ½ cup unsalted butter (8 tablespoons)
- ½ cup heavy cream*
- 1 large rosemary sprig
- ¼ teaspoon coarse sea salt + more for sprinkling, such as fleur de sel or Maldon
Instructions
- Line a 8½ × 4½-inch or 9×5-inch loaf pan with parchment paper; grease parchment.
- Bring butter, cream and rosemary to boil. Remove from heat and stir in ¼ teaspoon salt; let cool.
- Combine water, corn syrup and sugar with a wooden spoon or heat-proof rubber spatula in a large saucepan. Stir until sugar is saturated with water.
- Bring sugar solution to a boil over medium-high heat, and cook, without stirring, until sugar has dissolved and temperature reaches 300°F (149ºC), about 10 minutes. Reduce heat to medium and simmer, gently swirling pan, until edges of mixture start to turn a light amber and temperature reaches 320ºF (160ºC) to 325ºF (163ºC), about 5 minutes.
- Once 320ºF (160ºC) is reached, remove from heat. Remove and discard rosemary sprig from cream mixture; carefully pour a quarter of the cream mixture into sugar syrup and swirl to incorporate. (Be careful, mixture will bubble up.)
- Add remaining cream and butter mixture and stir to incorporate. Return pan to medium-high heat and cook, stirring frequently, until caramel reaches 240°F (115ºC) for softer caramels or 245ºF (118ºC) for chewier caramels, 5–10 minutes.
- Carefully pour caramel into prepared pan; allow caramel to cool for 20 minutes at room temperature, then sprinkle with ½–1 teaspoon sea salt and let cool until completely solid and cold to touch, 1–2 hours.
- Pull edges of parchment paper to release caramel from pan. Cut caramel into ¾-inch-wide strips and then crosswise into 1-inch pieces. Individually wrap pieces in waxed-paper squares, twisting ends of paper to close.
- Caramels can be refrigerated for up to 3 weeks.
Notes
Nutrition
This recipe was originally posted on March 2, 2015.
Holy heck are these delicious! You can really taste the rosemary in the final product. I subbed honey for the corn syrup because I didn’t want to go buy corn syrup, but I was extra careful about crystals and they turned out just wonderful!!!
I LOVE hearing that honey worked well in these, I’ve been wanting to test these with honey! SO happy you enjoyed them!
Can these only be stored in the refrigerator? If so, how long are they good for outside of the refrigerator?
Hey Nikki! Great question, you can definitely leave these out at room temp. They should keep for 2 weeks. Let me know how it goes! These are my favorite.
Hello Lauren
Thanks for the info. I made them for the first time and I don’t know what I did wrong but it came out like hard candy instead of chewy. Also the part when mixing in the butter, it did not full incorporate. I still had butter separating from the carmal. I even ended up doubling the sugar mixture trying to get the butter to mix in but that didn’t help much. All in all flavor, and color was there. Very yummy. What did I do wrong you think?
Hi Nikki, gosh first of all I don’t know how I missed this comment. I’m so sorry for my delay! From your notes I assume the sugar mixture was too hot, or it was still over the heat when the butter and milk mixture were added. It’s important to remove the pan from heat before adding the milk/butter mixture. High heat will cause the butter to separate from the rest of the caramel mixture. (When the milk/butter mixture were being heated separately from the sugar mixture, did it ever come to a boil? If so, this could also be part of the problem.) The addition of more sugar caused the ratio between sugar and fat to be off balance, which is partially why the candies came out hard (in addition to longer cooking, I assume).
Homemade caramel is challenging, in addition to temperature it’s also very much about visual appearance. I highly recommend using a thermometer, this will take a lot of the guesswork out of the process. Here to help (I will keep a better eye on the comments) if you need!
When the recipe says use different types of sugar are you referring to brown and white sugar or white sugar and cornsyrup
Great question! In the article I’m referring to white sugar and corn syrup. The goal is to use types of sugar as they have different molecular shapes. You won’t need brown sugar for this recipe.
These are so tasty! These rosemary infused sea salt caramels will be a must for our Christmas from this year on. My husband and I love them and they are very easy to make too! We prefer cooking to the 245 for a chewier caramel.
Thanks for sharing!
Hey! I’m so excited to try these! One question, its’s quite hard to find light corn syrup in Norway, could I use “Scandinavian” light syrup? Or would you rather recommend using honey?
Hi Malin, I’ve been doing some research on this and I think Ljus sirap or maybe even Bröd sirap would work well. I haven’t cooked with either or tested this recipe with either, so I can’t guarantee, but I think those should work. From my understanding, corn syrup in the states is a bit thinner, so I would increase the water by half a tablespoon or so. I hope this helps! And I’d love to hear how it goes.