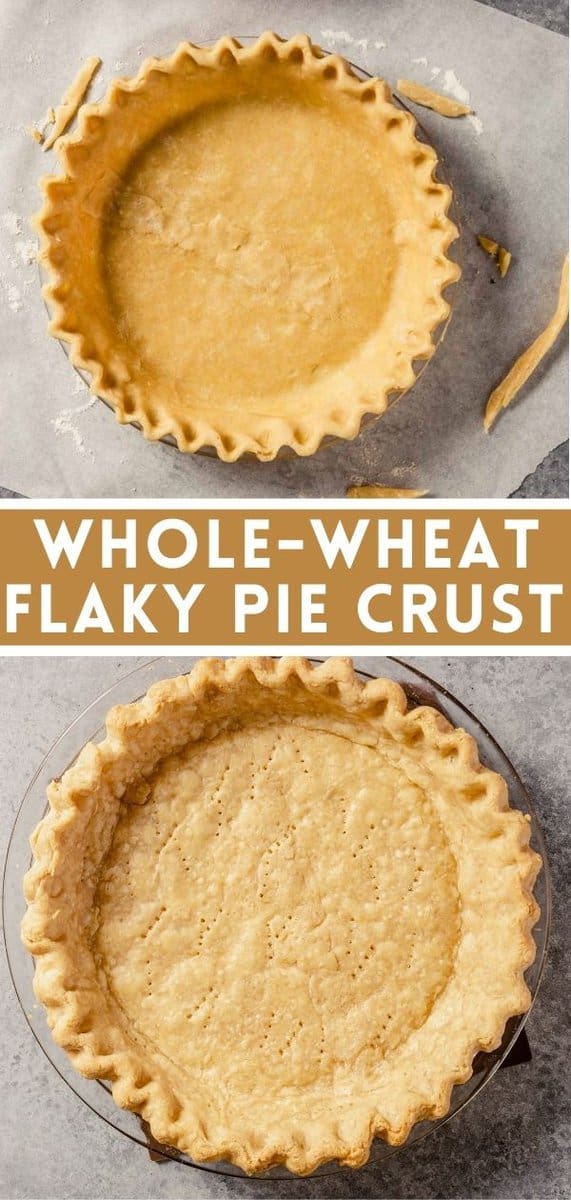
The flakiest Whole Wheat Pie Crust! This all-butter pie crust is flavorful, flaky and totally foolproof for novice or seasoned bakers. This crust is easy to assemble with 5 ingredients, and is a dream to make ahead of time. Plus, it can be used in so many ways from pies, to quiche, to tarts, and more.
Whole wheat pie crust, it’s a tough recipe to master. We’ve tried countless recipes and methods for making the perfect version from scratch. We wanted to make sure it wasn’t too dense, had nice flavor, and was also extremely flaky just like a regular pie crust.
After testing over and over, we’ve come up with the perfect recipe. It’s now our go-to for all different pies, quiches, and really any dessert that needs a pie crust.
What is our special secret to creating the perfect wheat pie crust? Use a combination of all-purpose flour and whole-wheat flour. It’s a blend that ensures the crust has the nutty flavor of whole wheat flour and the beautiful, buttery layers of a traditional pie crust.
We also had to make sure this crust was extremely simple to make for beginner or expert bakers. It’s made completely in the food processor which truly makes it easy as pie (pun absolutely intended!). You can make a batch of the crust too and freeze it for up to 2 months, that way you can whip up a stellar dessert using pie pastry at a moment’s notice!
If you love a great pie recipe, we’ve got you covered! Try our Pumpkin Pie, Pear and Blue Cheese Tart, or Strawberry Cream Cheese Pie.
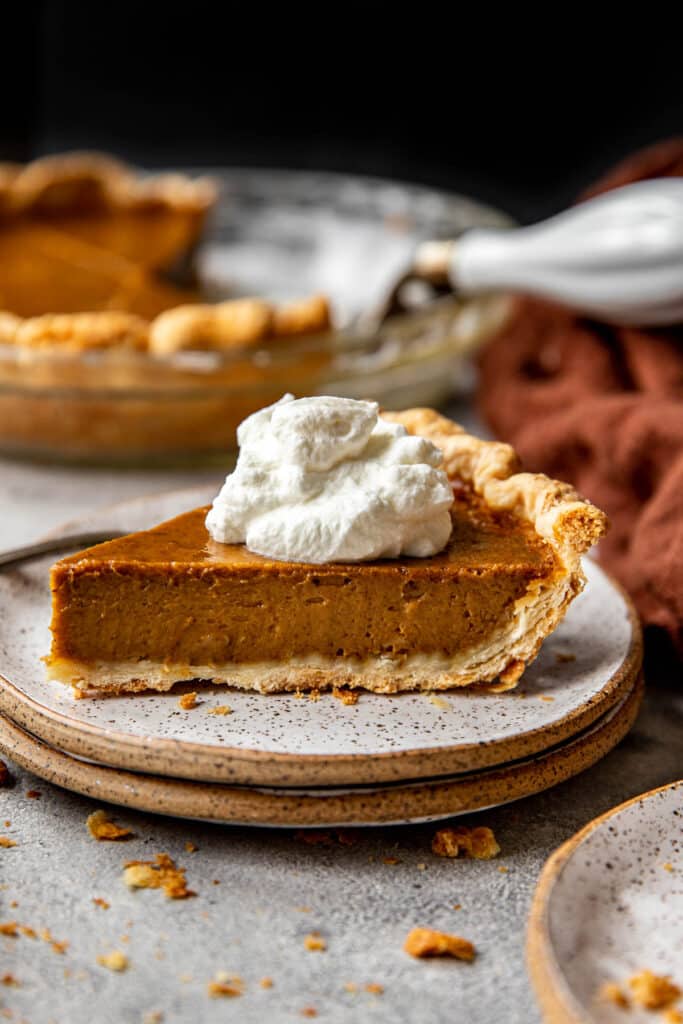
Why You’ll Love this Recipe
- Healthier take on a classic pie crust. The whole wheat flour has more nutritional value and the all-butter as the fat, rather than shortening, is a bit healthier too.
- Easy to make in the food processor. Any baker can master this crust and it comes together in almost no-time as well thanks to the food processor.
- Perfect for any pie recipes. Whether it’s pie, quiche, or a tart, you can use this pastry recipe – it’s so versatile!
Lauren’s Tip
Whole-wheat flour is surprisingly ideal for pie crust. Whole-wheat flour develops less gluten in the cooking process than all-purpose flour. So by replacing some of the all-purpose flour with whole-wheat you’re creating a more tender crust.
Butter vs. Shortening
Most pie crust recipes call for butter and shortening (my go-to regular pie crust uses both). The benefit of using shortening in addition to, or instead of, butter is that it’s 100% fat whereas butter is only 80% fat.
Butter contains up to 16% moisture. And what makes a stodgy crust? Moisture. Shortening promotes tenderness (lack of moisture means less gluten formation), flakiness and even structure.
So why would one even want an all-butter crust? For one, butter tastes better. And two, many home cooks prefer butter to shortening for nutrition reasons. Both are high in calories and saturated fat, but butter is less processed and offers beneficial fatty acids and nutrients.
Ingredients for Wheat Pie Crust
- All-purpose flour: We blend regular flour with whole wheat to make sure the crust isn’t too dense and just right.
- White whole-wheat flour: We find that this yields the flakiest pie crust using whole wheat flour. It’s made from white wheat kernels and has a milder, sweeter taste when compared to regular whole wheat flour which is perfect for pie.
- Unsalted butter: Essential for making any pie crust, it creates those amazing flaky layers. Be sure to keep your butter very cold.
- Kosher salt: Seasons the crust which is so important!
- Ice water: Binds everything together. The steam from the cold water contributes to a light and airy crust.
How to Make Whole Wheat Pie Crust
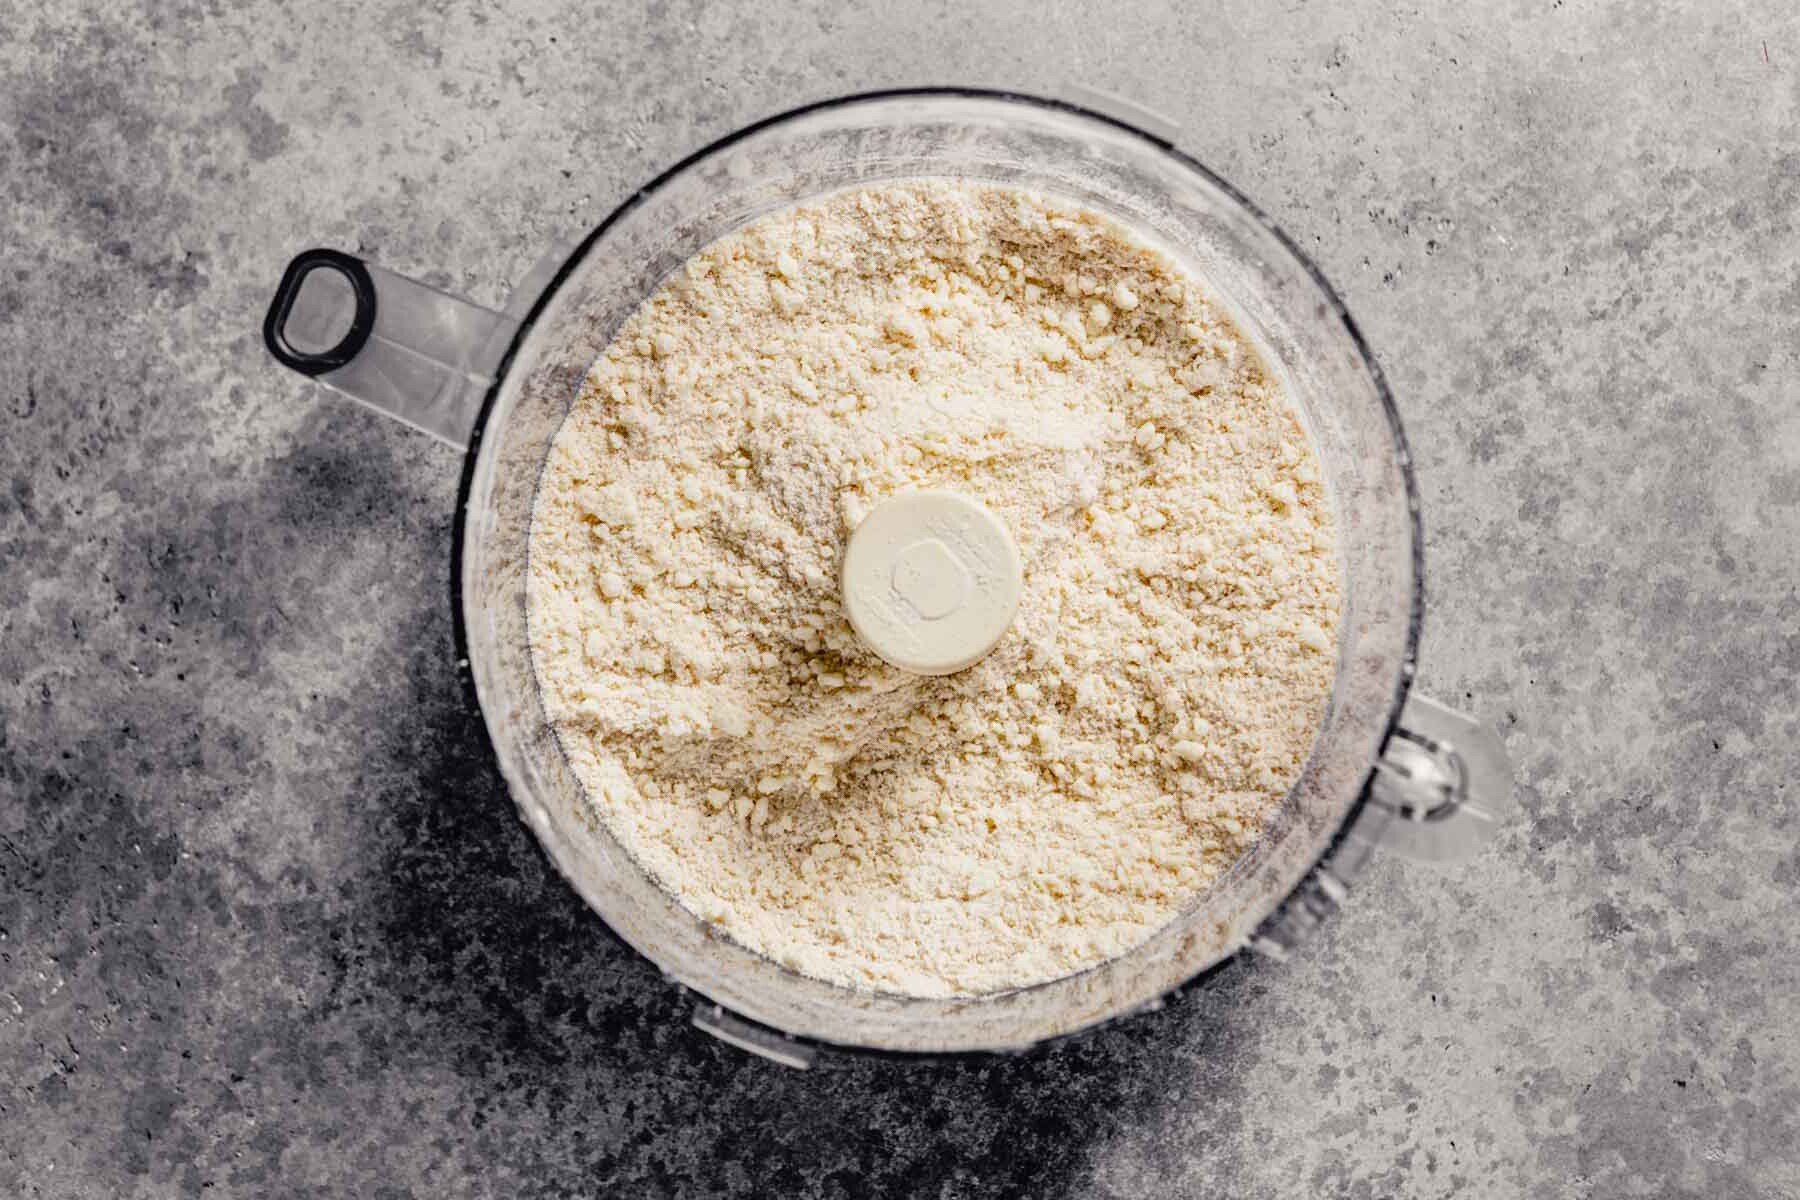
Process flour and salt in a food processor. Scatter butter over flour; pulse until mixture resembles coarse cornmeal.
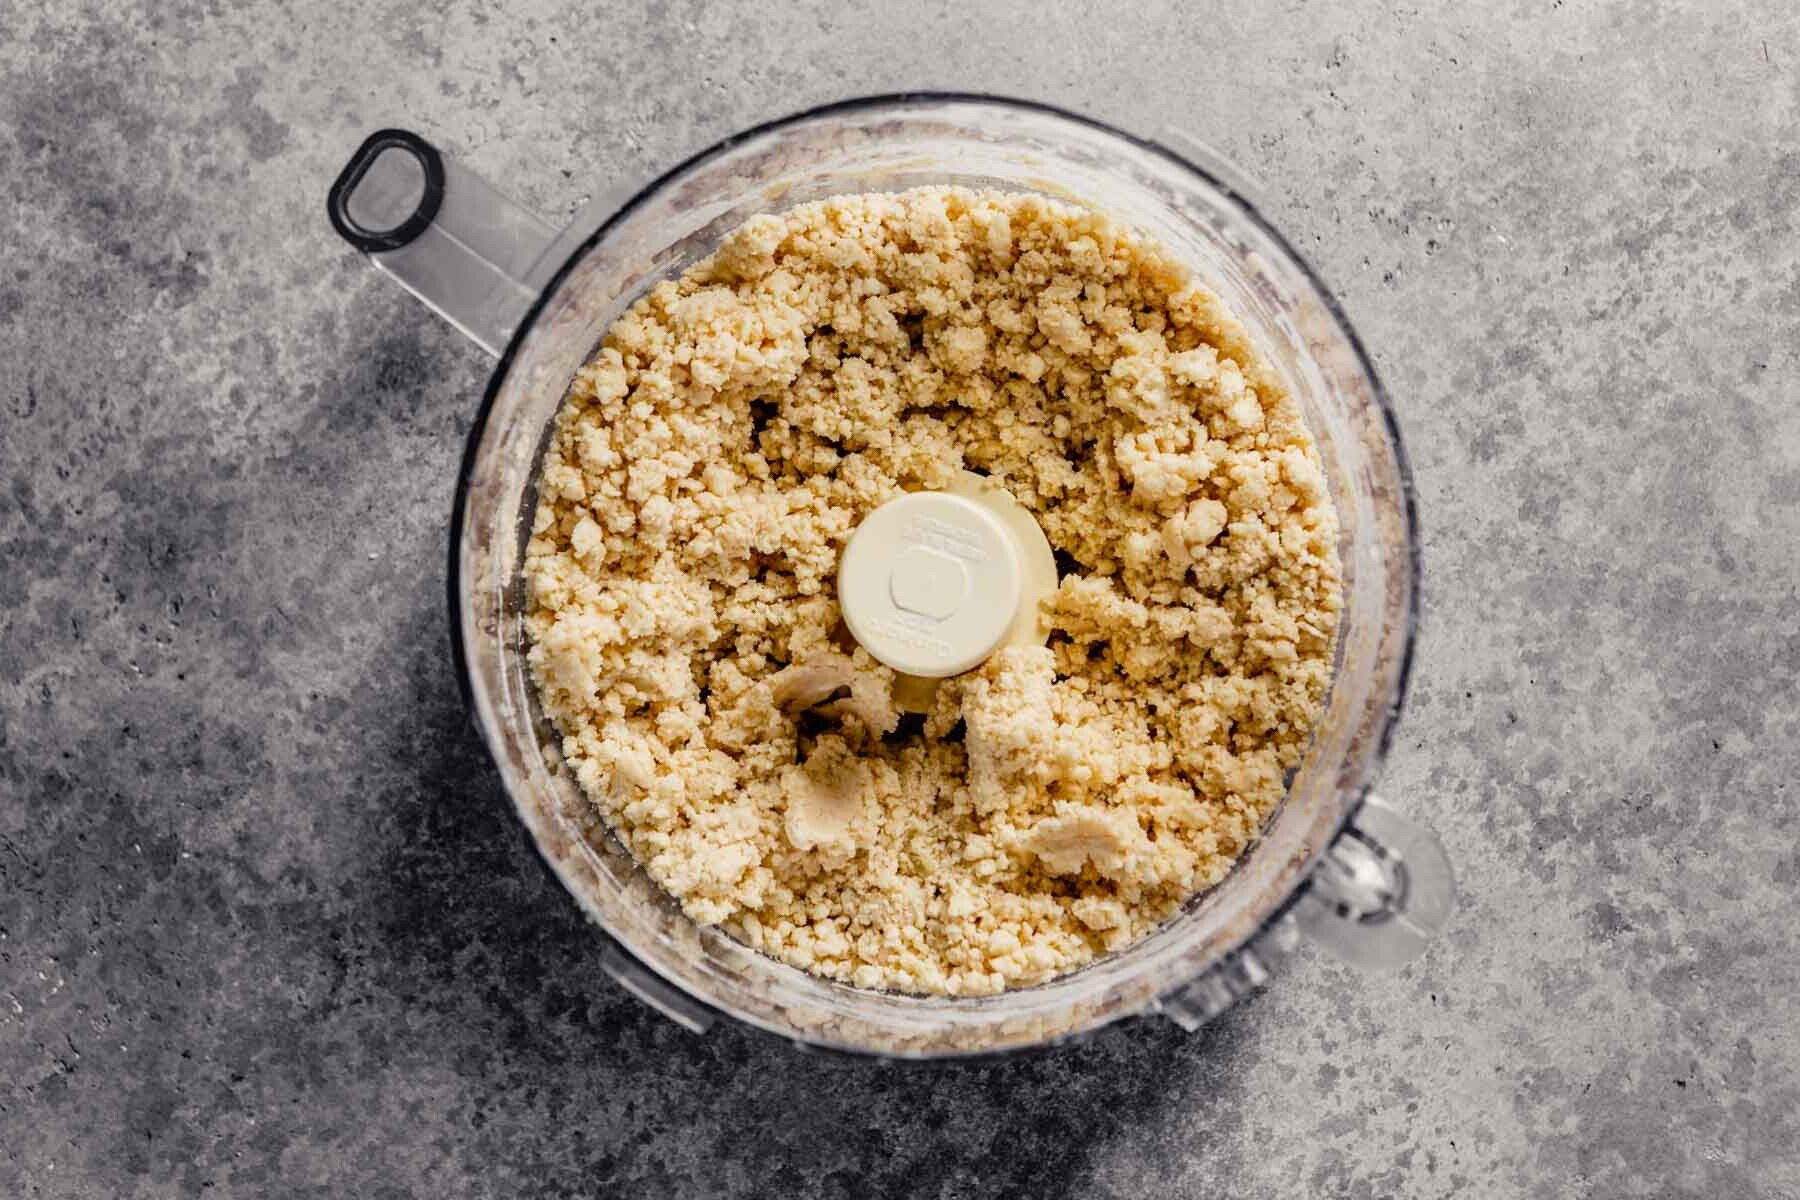
Drizzle the cold water over the flour mixture, then pulse until the mixture resembles wet sand and forms a dough when pinched. Tip: If the dough is too dry, add additional water by teaspoon until a dough forms when pinched.
Form the dough into a ball and wrap in plastic then flatten into a 5-inch disk. Refrigerate dough until very firm—this will take at least 1 hour but can be done up to 3 days ahead of time.
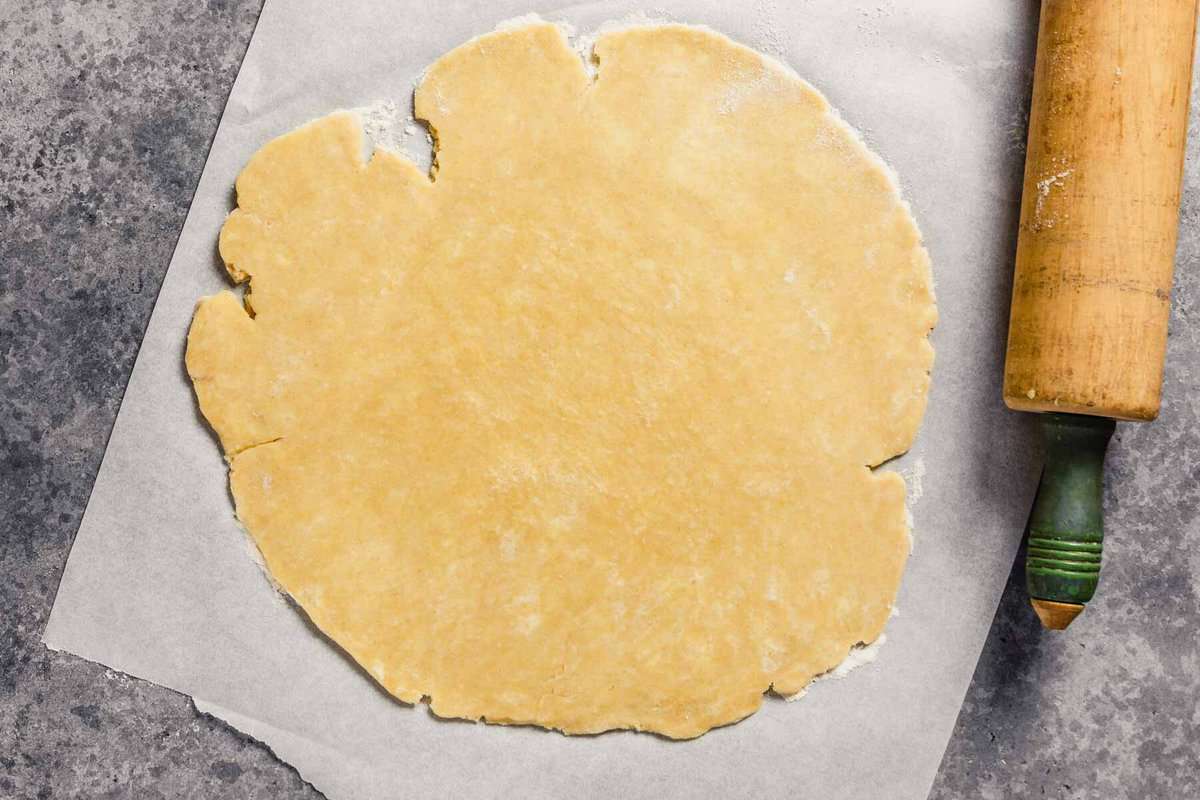
Unwrap the chilled dough on a piece of parchment paper (or a lightly flour counter). Roll the dough out into an ⅛-inch thick 13-inch round. Tip: if the dough is too firm to roll out, let it sit at room temperature until it gives slightly when pressed, 5–10 minutes.
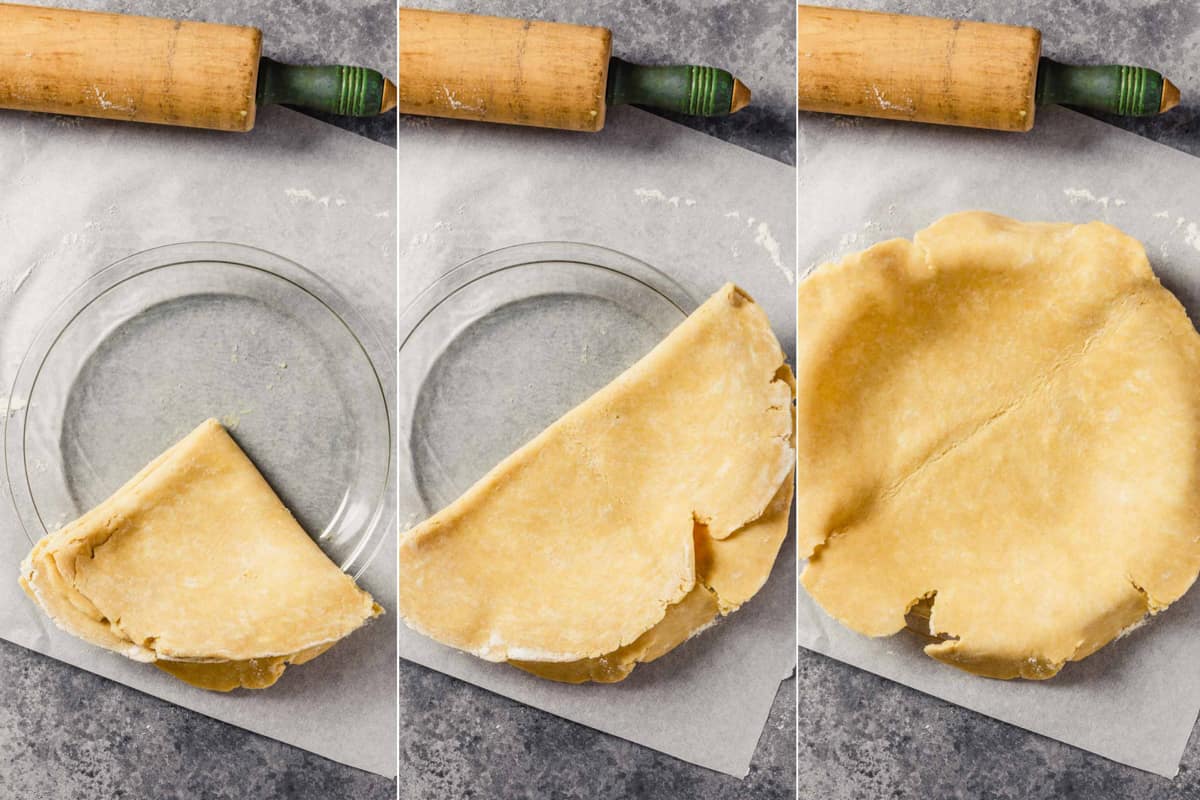
To easily transfer the dough to the pie plate, I like to fold the dough in quarters then place the corner in the center of a 9-inch pie plate. Gently unfold the dough to cover the pie plate.
Test Kitchen Note: this crust recipe is for a regular 9-inch pie plate. Do not use this crust in a deep dish pie plate or it will slide down the sides and shrink in size.
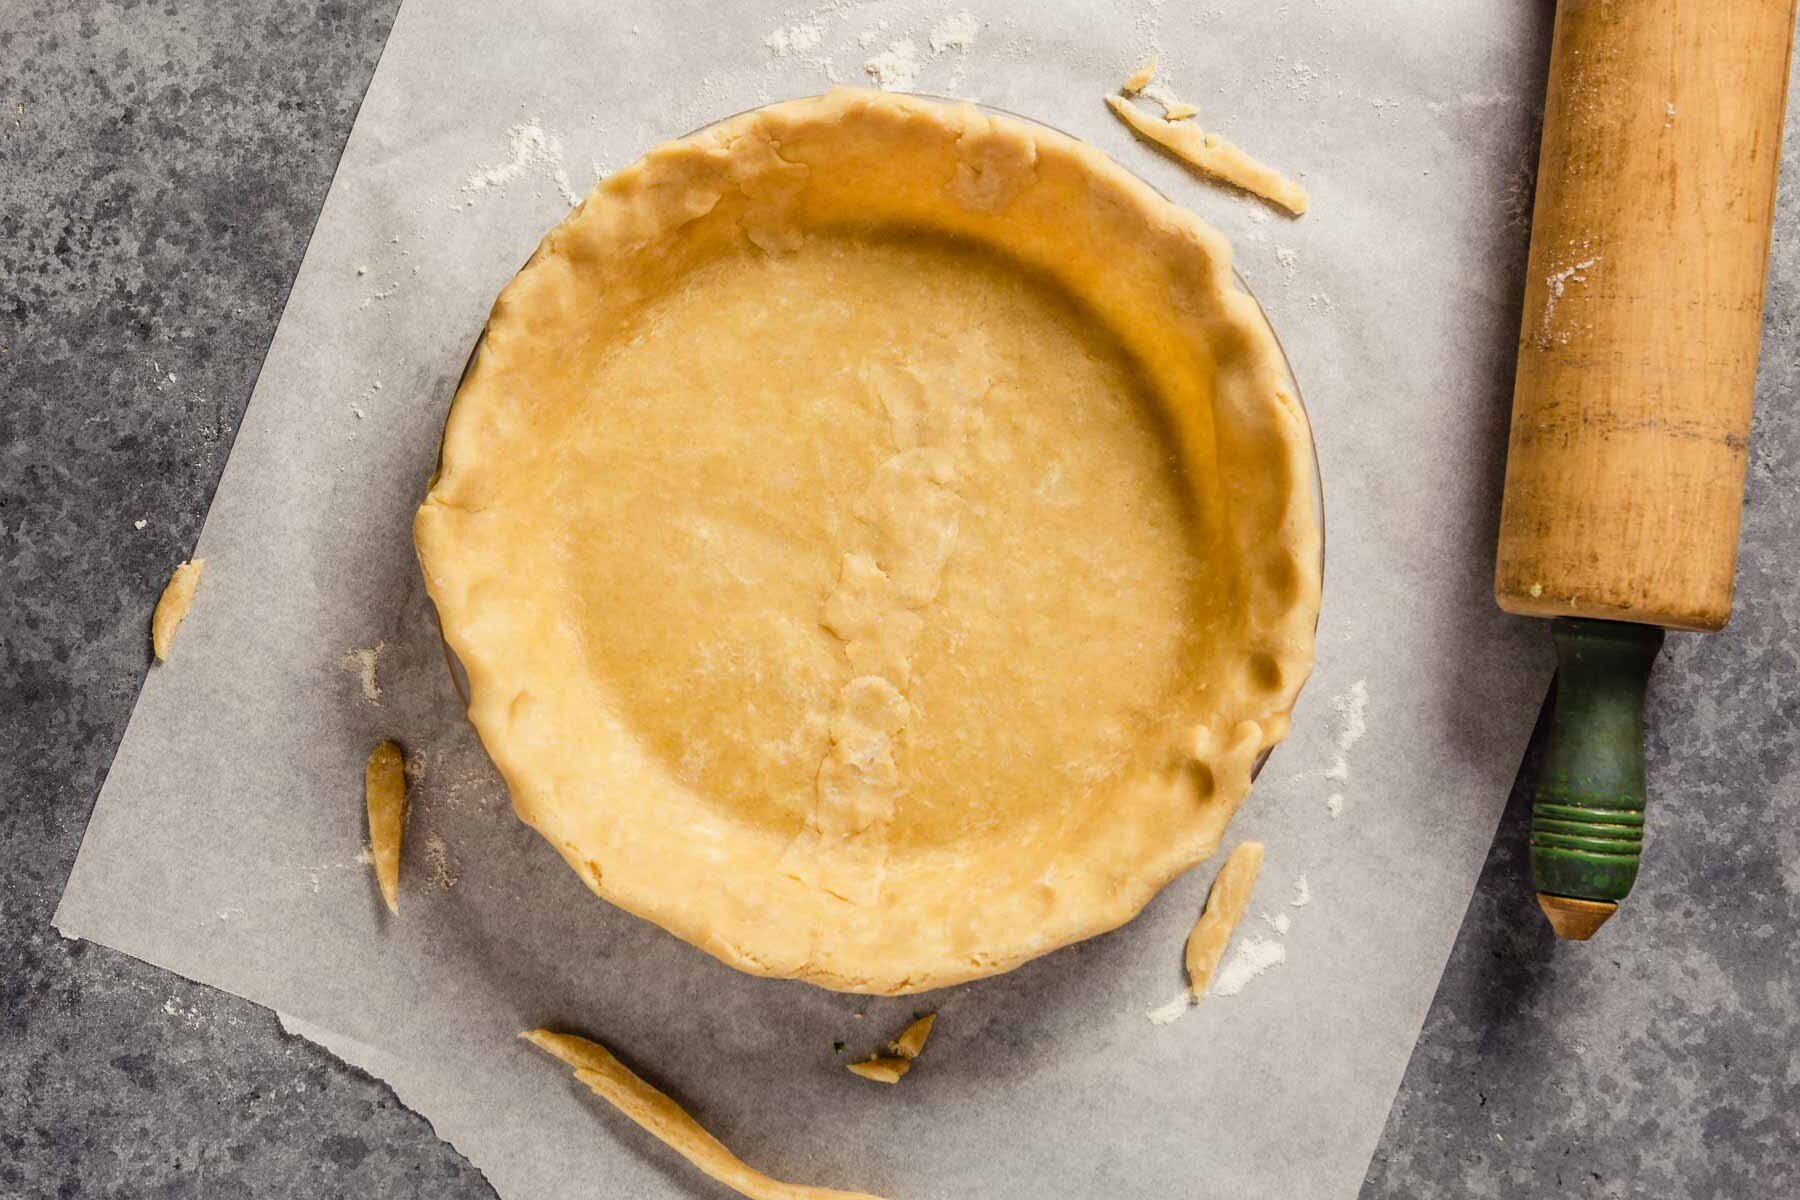
Press the dough into the corners and up the sides of the pie plate. Trim the dough overhang, but save the scraps to patch any thin or creased areas caused by folding.
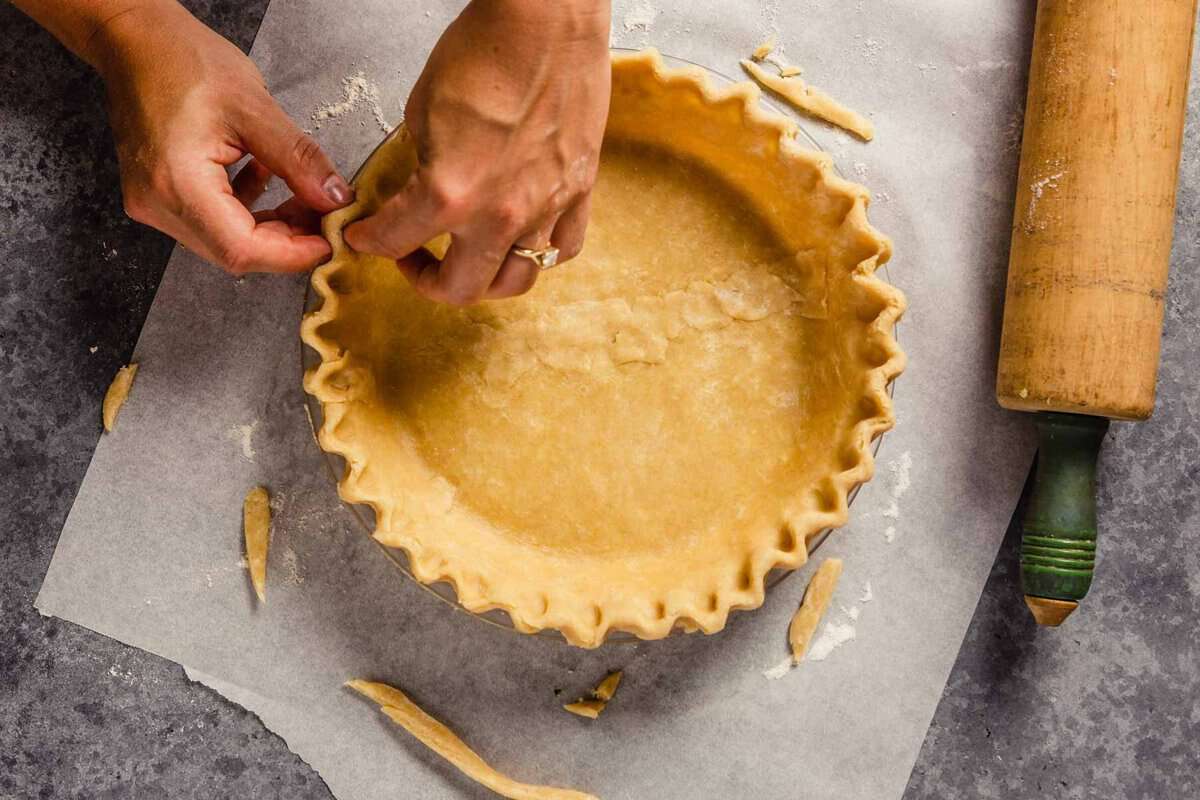
Tuck the edges of the dough under and crimp.
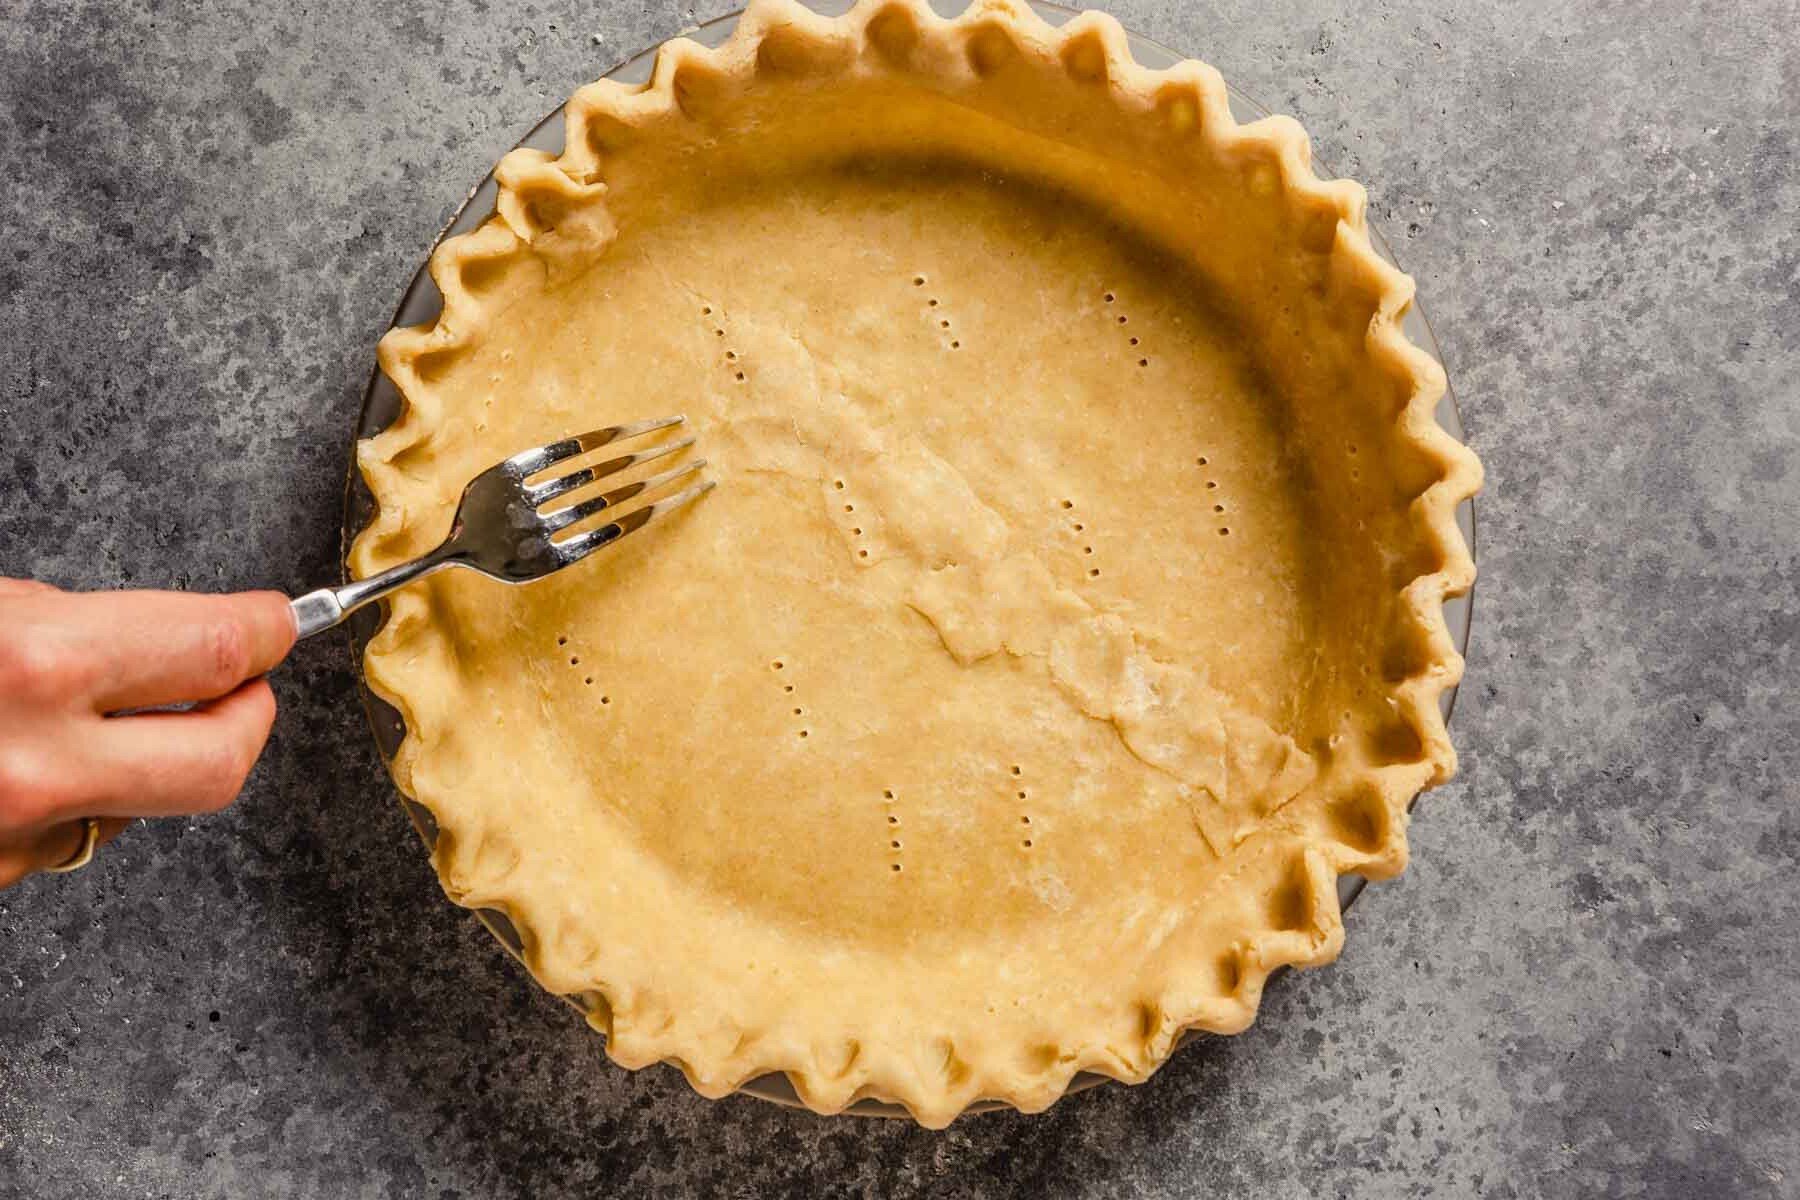
Freeze the dough-lined pie plate for 20 minutes. Prick the bottom, sides and corners of the chilled crust with a fork.
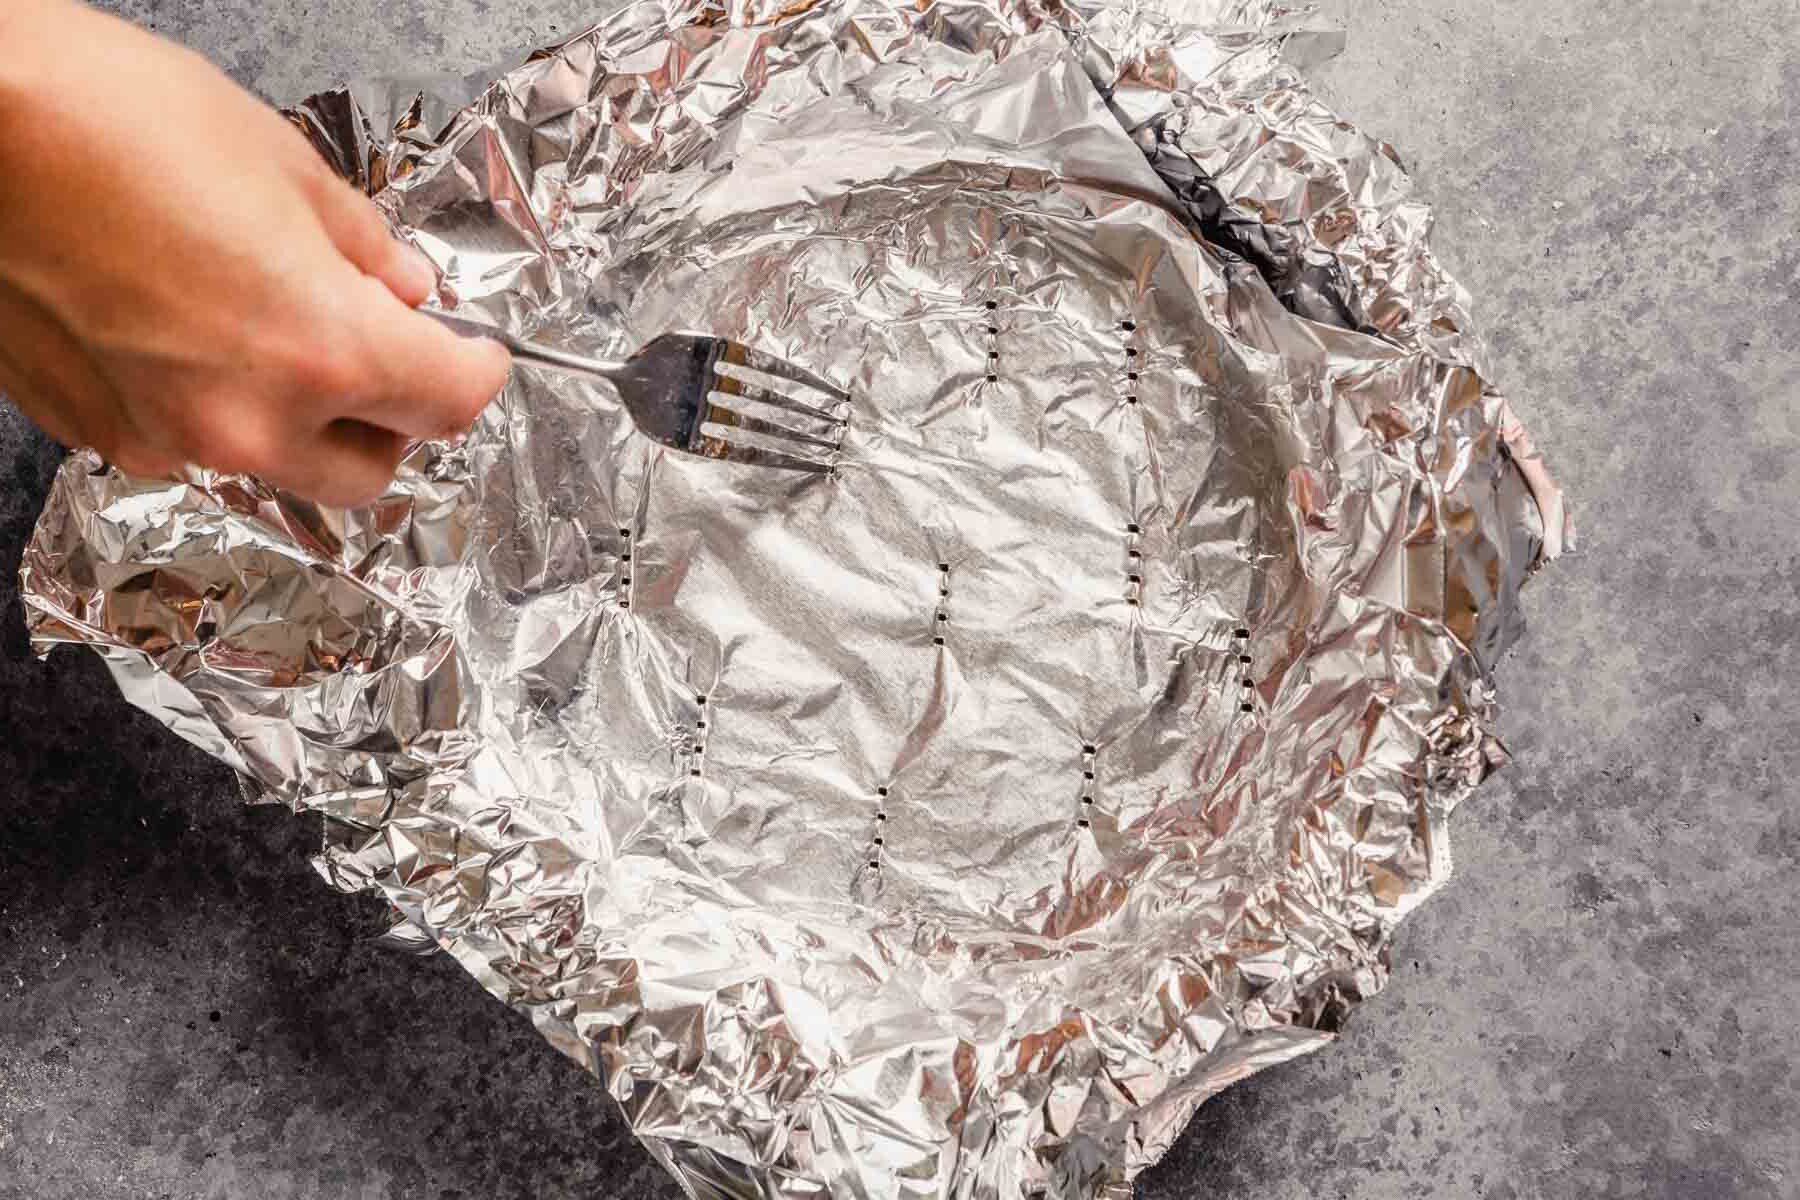
Line the dough with a piece of foil, and prick the crust (through the foil) again. Freeze the shell for another 30 minutes. (A lot of in and out of the freezer, but it pays off!)
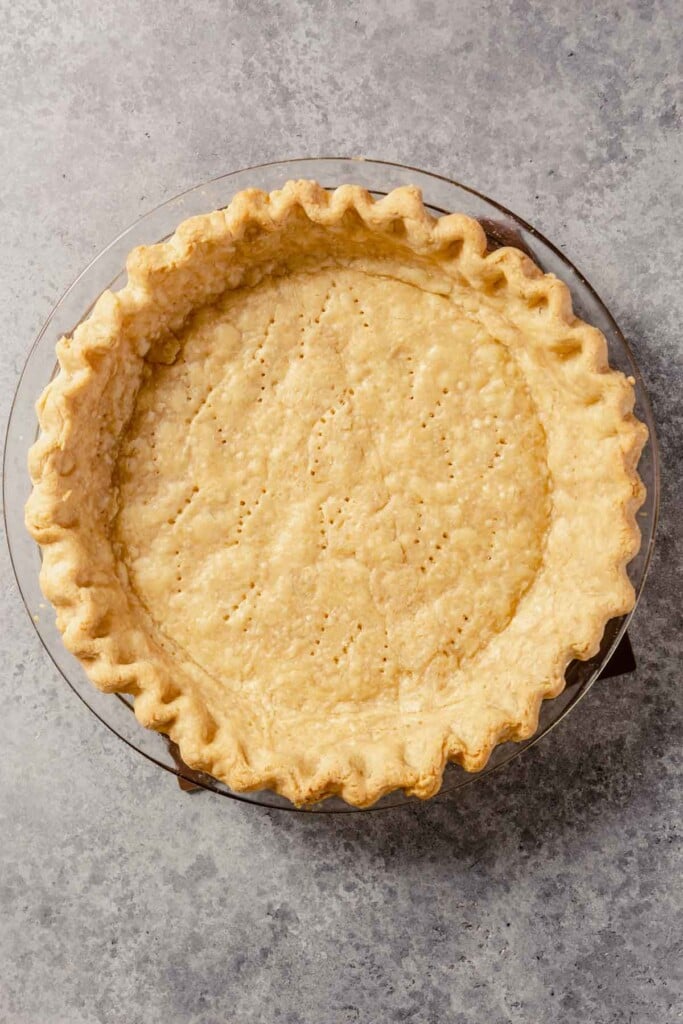
For a Pre-Baked 9-Inch Regular Pie Shell: Bake the foil-lined shell for 25 minutes at 400ºF (press down on the foil with an oven mitt if it puffs). Remove the foil and continue to bake until the shell is lightly toasted, about 10 minutes.
For Partially-Baked 9-Inch Regular Pie Shell: Bake the foil-lined shell for 25 minutes at 400ºF (press down on the foil with an oven mitt if it puffs). Remove the foil and use as directed according to pie or quiche recipe.
Expert Tips for perfect pie crust
- Small pockets of butter. Small pieces, or pockets, of butter in the dough is essential for creating a tender and flaky crust. The pockets of butter will melt during baking, creating thin layers of dough.
- Use cold butter. In order to create flakiness, it’s important to use very cold butter. You can even freeze it as you are prepping the dough to make sure it’s cold enough!
- Freeze the dough prior to baking. Freezing the dough-lined pie plate prior to baking solidifies the pieces of butter which allows them to slowly melt during the baking process. This step allows the crust to set which helps with flakiness and allows the crust to hold it’s shape in the pan better.
- Blind baking the crust. For certain pies, it’s important to blind bake the crust. This is when you par-bake the crust by lining it with foil or parchment and pie weights or dried beans. Blind baking is essential for pies with a custard-like filling that get baked for a shorter time or for pie fillings that fully set in the refrigerator.
Storage and Make Ahead Instructions
You can store this pie crust in the fridge wrapped in plastic wrap for up to 2 days. Freezing the crust is also perfect. Be sure it’s tightly wrapped again and freeze for up to 2 months.
Whether your refrigerating or freezing the crust, be sure to thaw on the counter until just chilled and easy to roll.
FAQs
Yes, this is perfect for quiche! Simply follow any quiche recipe as you would normally and use this crust.
We don’t recommend substituting coconut oil. You will need a different ratio of fat to make the recipe work properly.
Usually you can, but sometimes you do need to alter the recipe as whole wheat flour is denser than white.
Yes! We recommend using white whole wheat flour or wheat pastry flour since it’s lighter in flavor and texture.
More Delicious Pie Recipes
Tarts and Pies
Best Homemade Pumpkin Pie Recipe
Desserts
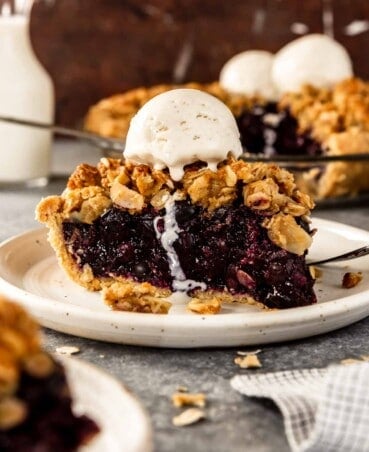
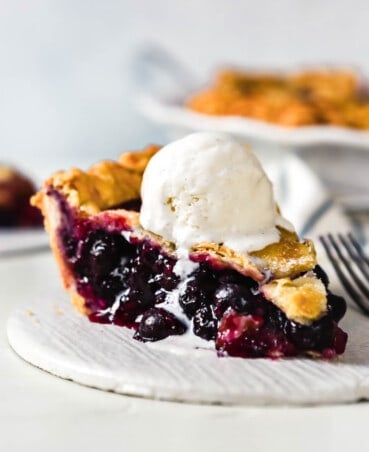
Blueberry Rhubarb Pie
Tarts and Pies
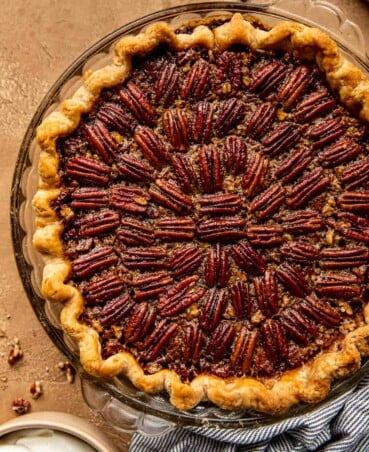
Bourbon Pecan Pie (No Corn Syrup)
Flaky All-Butter Whole-Wheat Pie Crust
Description
Ingredients
- 1 cup (125g) all-purpose flour
- ½ cup (66g) white whole-wheat flour
- ½ teaspoon (3g) kosher salt
- 11 tablespoons (150g) unsalted butter, chilled and cut into ¼-inch cubes
- 4 –6 tablespoons ice water
Instructions
- Process flour and salt in a food processor. Scatter butter over flour; pulse until mixture resembles coarse cornmeal, 7–12 pulses.
- Drizzle 3 tablespoons of water over flour mixture. Pulse until mixture resembles wet sand and forms a dough when pinched, 5–10 pulses. (If the dough is too try, add additional water by teaspoon until a dough forms when pinched.)
- Transfer to a large piece of plastic wrap and gently form dough into a ball; wrap in plastic and flatten into a 5-inch disk. Refrigerate dough until very firm, at least 1 hour.
- Generously flour a work surface. Unwrap dough and lightly dust with flour. If needed, let dough stand at room temperature until it gives slightly when pressed; 5–10 minutes. Roll dough out into an ⅛-inch thick 13-inch round.
- Fold dough in quarters; place corner in center of a 9-inch pie plate. Gently unfold dough to cover plate, using one hand to pick up edges of dough and an index finger to press dough into corners and up sides. Trim dough overhang to ½-inch. (Use dough trimmings to patch any thin creased areas caused by folding). Tuck edges of dough under and crimp using thumbs and pointer fingers.
- Freeze dough-lined pie plate for 20 minutes. Prick bottom, sides and corners with a fork. Line dough with a piece of foil, pressing it flush against the corners, sides, and to cover the rim. Prick foil about a dozen places with a fork. Freeze shell for 30 minutes.
For Pre-Baked 9-Inch Regular Pie Shell:
- Heat oven to 400ºF (204ºC) with rack set in lowest position. Bake shell 25 minutes, pressing down on foil with an oven mitt to flatten if it puffs. Remove foil and continue to bake shell just until it begins to color, about 10 minutes.
For Partially-Baked 9-Inch Regular Pie Shell:
- Heat oven to 400ºF (204ºC) with rack set in lowest position. Bake shell 25 minutes, pressing down on foil with an oven mitt to flatten if it puffs. Remove foil and use as directed according to pie or quiche recipe.
Would you like to save this?
Notes
-
- Small pockets of butter. Small pieces, or pockets, of butter in the dough is essential for creating a tender and flaky crust. The pockets of butter will melt during baking, creating thin layers of dough.
-
- Use cold butter. In order to create flakiness, it’s important to use very cold butter. You can even freeze it as you are prepping the dough to make sure it’s cold enough!
-
- Freeze the dough prior to baking. Freezing the dough-lined pie plate prior to baking solidifies the pieces of butter which allows them to slowly melt during the baking process. This step allows the crust to set which helps with flakiness and allows the crust to hold it’s shape in the pan better.
-
- Blind baking the crust. For certain pies, it’s important to blind bake the crust. This is when you par-bake the crust by lining it with foil or parchment and pie weights or dried beans. Blind baking is essential for pies with a custard-like filling that get baked for a shorter time or for pie fillings that fully set in the refrigerator.
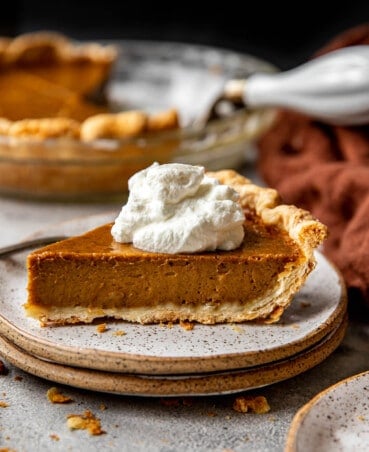
Very flaky and so good with pumpkin pie. Received lots of compliments.
Turned out great! But how do you avoid getting little tiny pieces of aluminum foil in the crust after poking with a fork? I had to try to gently pull them out after the pre-bake and before adding our filling. Thank yo7n
Hi Stephanie,
I’m so glad this turned out well! That should absolutely not be happening with the foil—I’m sorry about that! First, I would make sure the crust is thoroughly frozen before lining it with the foil. If it’s frozen it shouldn’t pick up any foil pieces. Additionally, you could poke a few holes in the foil using a paring knife prior to lining the crust with it. I hope this helps!
Thanks for reaching out,
Lauren
This is NOT a whole wheat pie crust as it contains more AP than whole wheat.