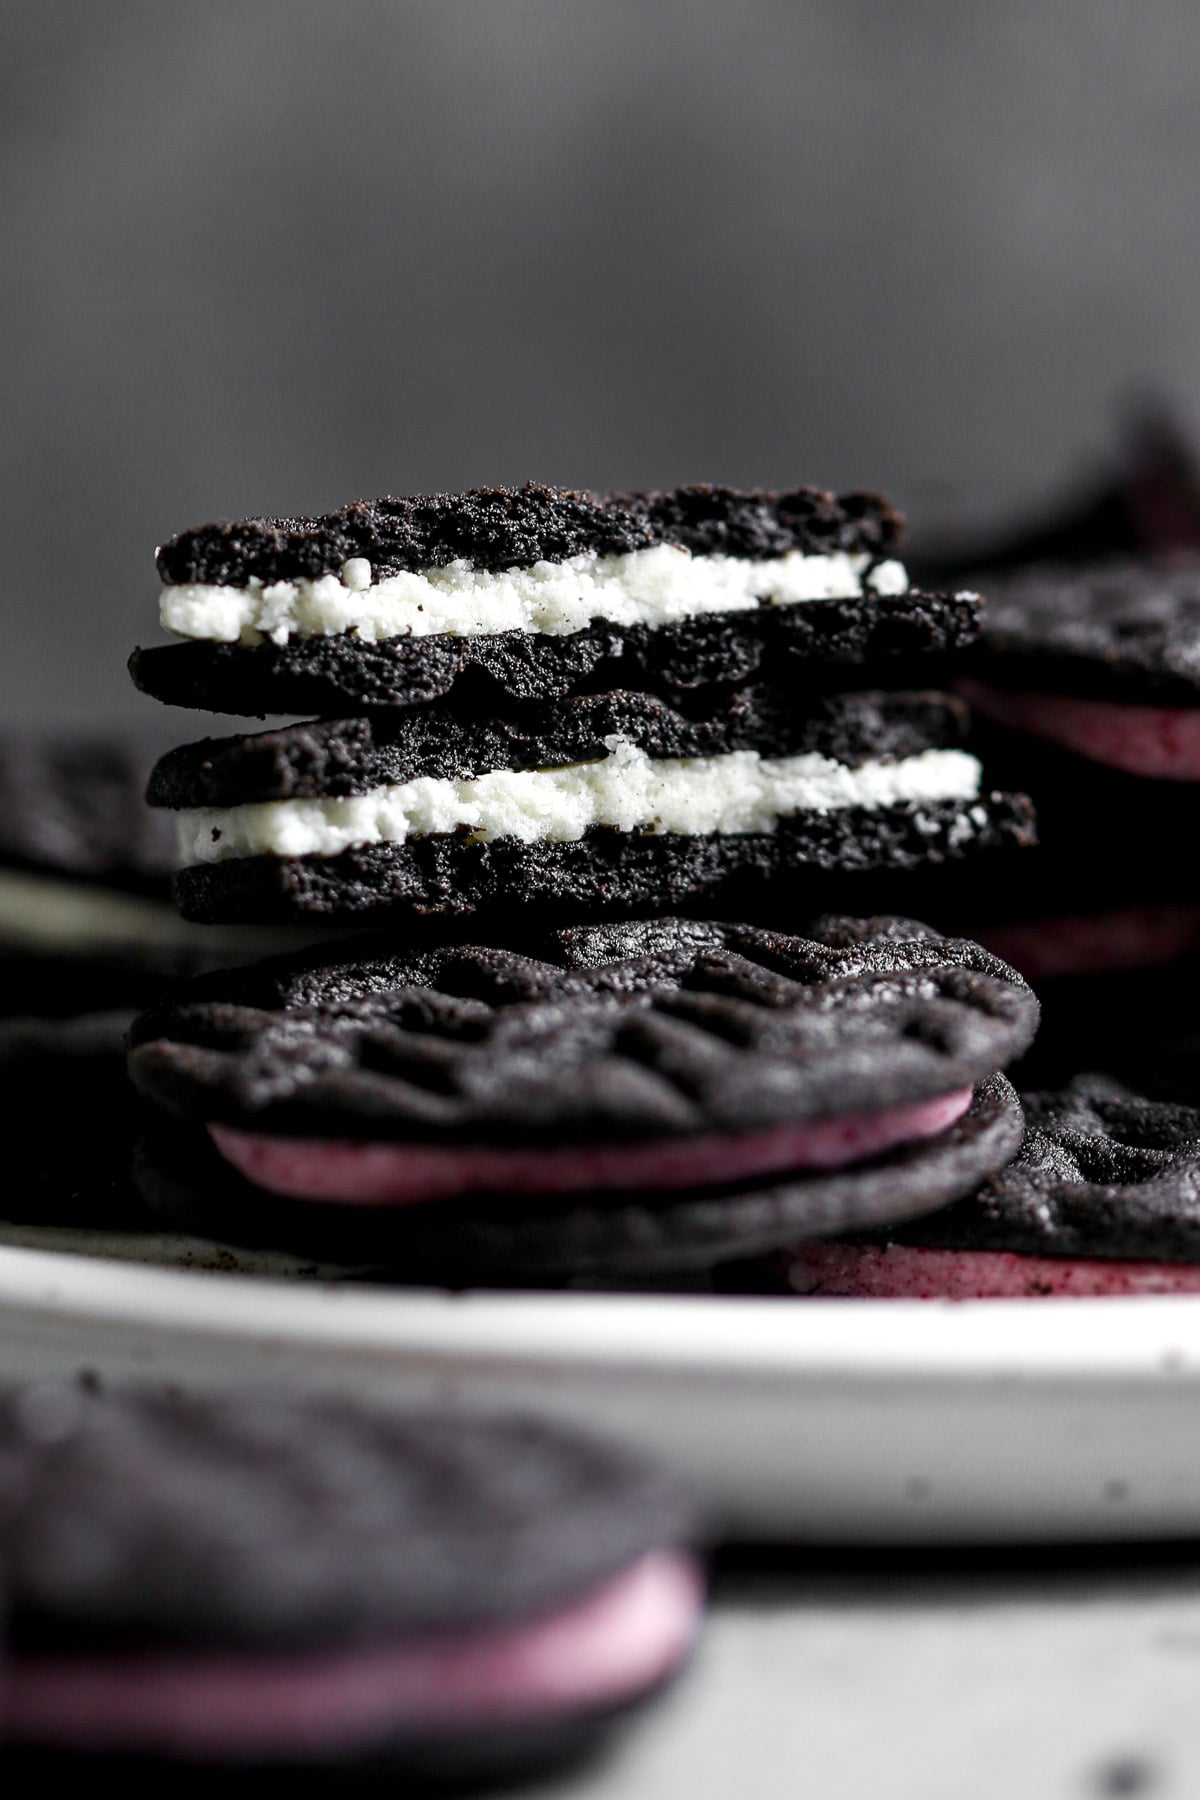
Homemade Oreos
Description
Crisp, chocolatey cookies sandwich a filling that’s flavorful and irresistibly similar to the classic dunkable cookie. Even better, these homemade Oreos can made regular or gluten-free—everyone wins!
Save This Recipe!
Ingredients
For the Cookies
- 8 tablespoons unsalted butter, softened and divided
- ⅓ cup (40g) black cocoa powder
- 1 teaspoon instant espresso powder
- 1⅓ cups (138g) confectioners' sugar
- ¾ teaspoon table salt
- 1 large egg yolk
- 1½ teaspoons pure vanilla extract
- 1 cup (130g) all-purpose flour, or gluten-free flour blend
For the Filling
- 1½ cup (150g) confectioners’ sugar, sifted
- 6 tablespoons (90g) coconut butter
- 3 tablespoons (45g) unsalted butter, softened
- ¾ teaspoon pure vanilla extract
- turmeric, freeze dried raspberry powder, spirulina or food coloring, for color, optional
Instructions
For the Cookies
- Adjust oven rack to middle position and heat oven to 325°F (163ºC). Line 2 baking sheets with parchment paper.
- Melt 3 tablespoons butter in a microwave-safe bowl. Whisk ⅓ cup (40g) cocoa powder and 1 teaspoon espresso power into melted butter until smooth; set aside.
- Using a stand mixer fitted with paddle attachment, blend remaining 5 tablespoons softened butter, 1⅓ cups (138g) confectioners' sugar and ¾ teaspoon salt together on low speed, gradually increase speed as it comes together and beat until light and creamy. Scrape down sides of bowl and add cocoa mixture; beat on medium-high speed until fluffy, about 2 minutes, scraping down sides of bowl as needed.
- Add egg yolk and 1½ teaspoons vanilla and beat until combined, about 30 seconds.
- Decrease mixer to low speed and add 1 cup (130g) flour in three additions, mixing after each addition; scrape down sides of bowl as needed. Continue to mix until a cohesive dough comes together, about 30 seconds.
- Using your hands, firmly press dough into a large disk (you may have to work it a bit). Break in half then roll half of dough to ⅛-inch thick between two sheets of parchment paper.
- Cut dough into rounds using a 2-inch round cookie cutter. Transfer rounds to prepared baking sheets, spaced 1-inch apart.
- Bake cookies 5 minutes, then remove from oven and using a cookie press, lightly press just to imprint design into each dough round (do not press hard or you risk spreading the dough too thin). Return sheet to oven and bake until dry to touch and edges are set, 9–11 minutes more (total bake time 14–16 minutes).
- Let cookies cool on sheet 5 minutes then transfer to wire racks to cool completely. Repeat rolling and baking with remaining dough and scraps.
For the Filling
- Beat 1½ cups (150g) confectioners’ sugar, 6 tablespoons (90g)coconut butter, 3 tablespoons (45g) butter, and ¾ teaspoon vanilla together in a stand mixer fitted with the paddle attachment (or with a hand-held blender) until a dough comes together (should feel similar to play-doh). Add coloring if desired and mix to incorporate.
- Roll filling to ¼-inch thickness between two pieces of parchment paper. Cut filling into rounds using a 2-inch round cookie cutter.
- Sandwich each filling round between two cookies, gently pressing so filling spreads to edges.
- Store cookies in an airtight container at room temperature for up to 1 week.
Notes
It’s so important to roll the dough to ⅛-inch thick. If rolled thicker than ⅛-inch the cookies will come out chewy, not crispy.
Make Ahead:
Cookie dough can be made up to 3 days before rolling, cutting, and baking. Just form the dough into a disk (or two), wrap tightly with plastic wrap, and refrigerate. Filling can be made up to 3 days in advance. Form the filling into a disk, wrap tightly with plastic wrap, and refrigerate until ready to use. The filling will need to sit at room temperature for 30–60 minutes before being soft enough to work with. Because of that, I recommend pulling it of the refrigerator when you start rolling out your cookie dough. Filling Flavor Variations: To make the berry-flavored filling, blend freeze dried raspberries or strawberries into a powder using a mini food processor. Pass the powder through a fine mesh sieve to filter out the seeds. Then add 3 teaspoons of the sifted powder to the filling and beat to combine. To make a mint filling, add 1/8 teaspoon spearmint extract to the filling; beat to combine then taste and add more extract, by drop, until desired mint flavor is reached.Nutrition
Like this? Leave a comment below!I love hearing from you and I want to hear how it went with this recipe! Leave a comment and rating below, then share on social media @zestfulkitchen and #zestfulkitchen!