This post may contain affiliate links.
Using a Chemex for the first time can be intimidating. The simplicity alone can be the most intimidating aspect! We’re here to show you how to use a Chemex coffee brewer without over complicating it.
Why This Method Works
Although the process is pretty straight forward, it can be a bit troubling for first-time brewers. Either your coffee grounds are too big, so your brew is a bit weak, or they’re too small so it has a dusty taste. Or maybe it straight up tastes like paper.
We’ve experience all of these outcomes and whether you’ve tried Chemex before, or you’re a newcomer, we’re certain this how-to will help you achieve the perfect cup of Chemex coffee.
Our method for making pour-over coffee in a Chemex coffee maker is simple and straight forward. We find many tutorials out there make it overly complicated, thus turning people off from brewing coffee with a Chemex. Not this tutorial!
What You Need
- Chemex Coffee Brewer, we like a 6-cup Chemex
- Square paper Chemex filters
- 50 grams quality coffee beans
- 650-700 grams (23–24.5 ounces) water + more for rinsing filter
- Kettle, we like this gooseneck kettle
- Coffee grinder, we like this burr grinder
- Food scale—this may seem fussy, but we use it for all kinds of things in the test kitchen
How to Brew Chemex Coffee
Step 1:
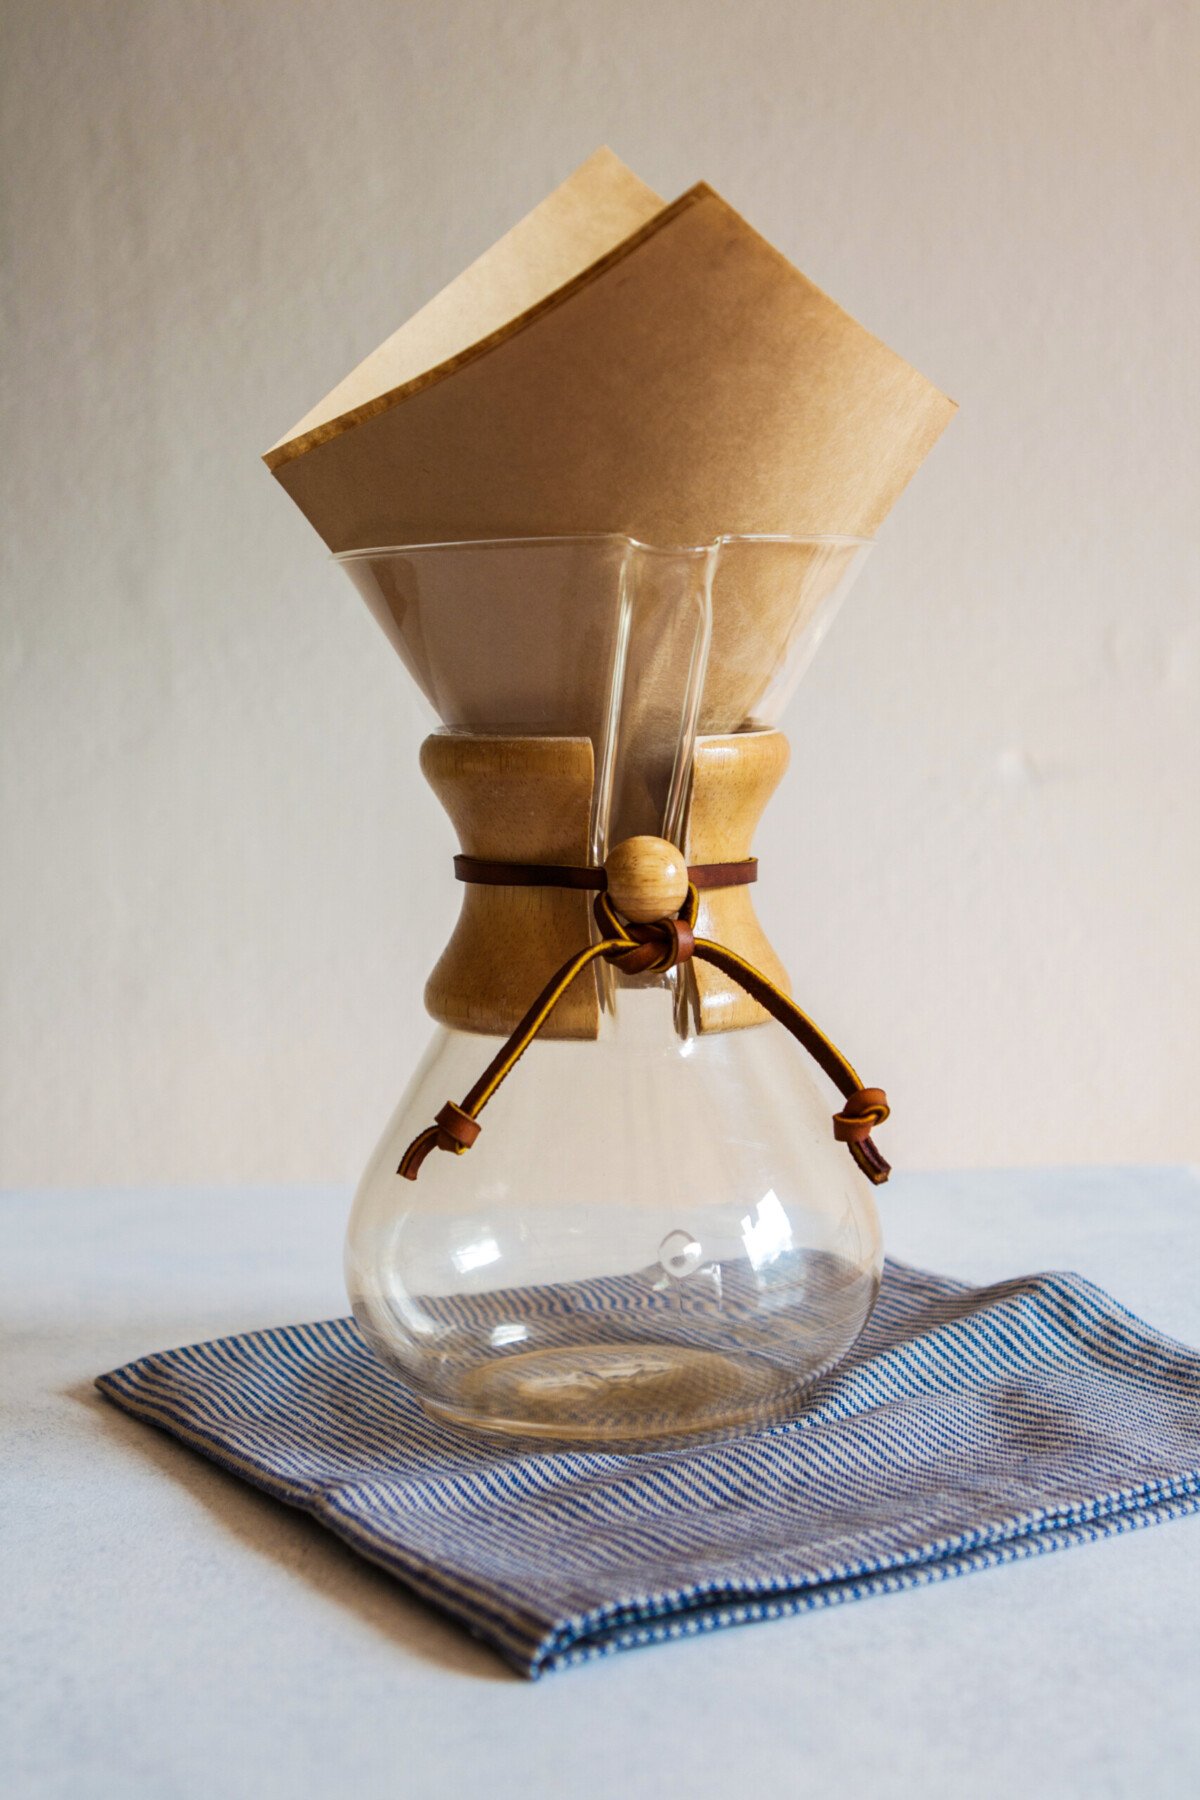
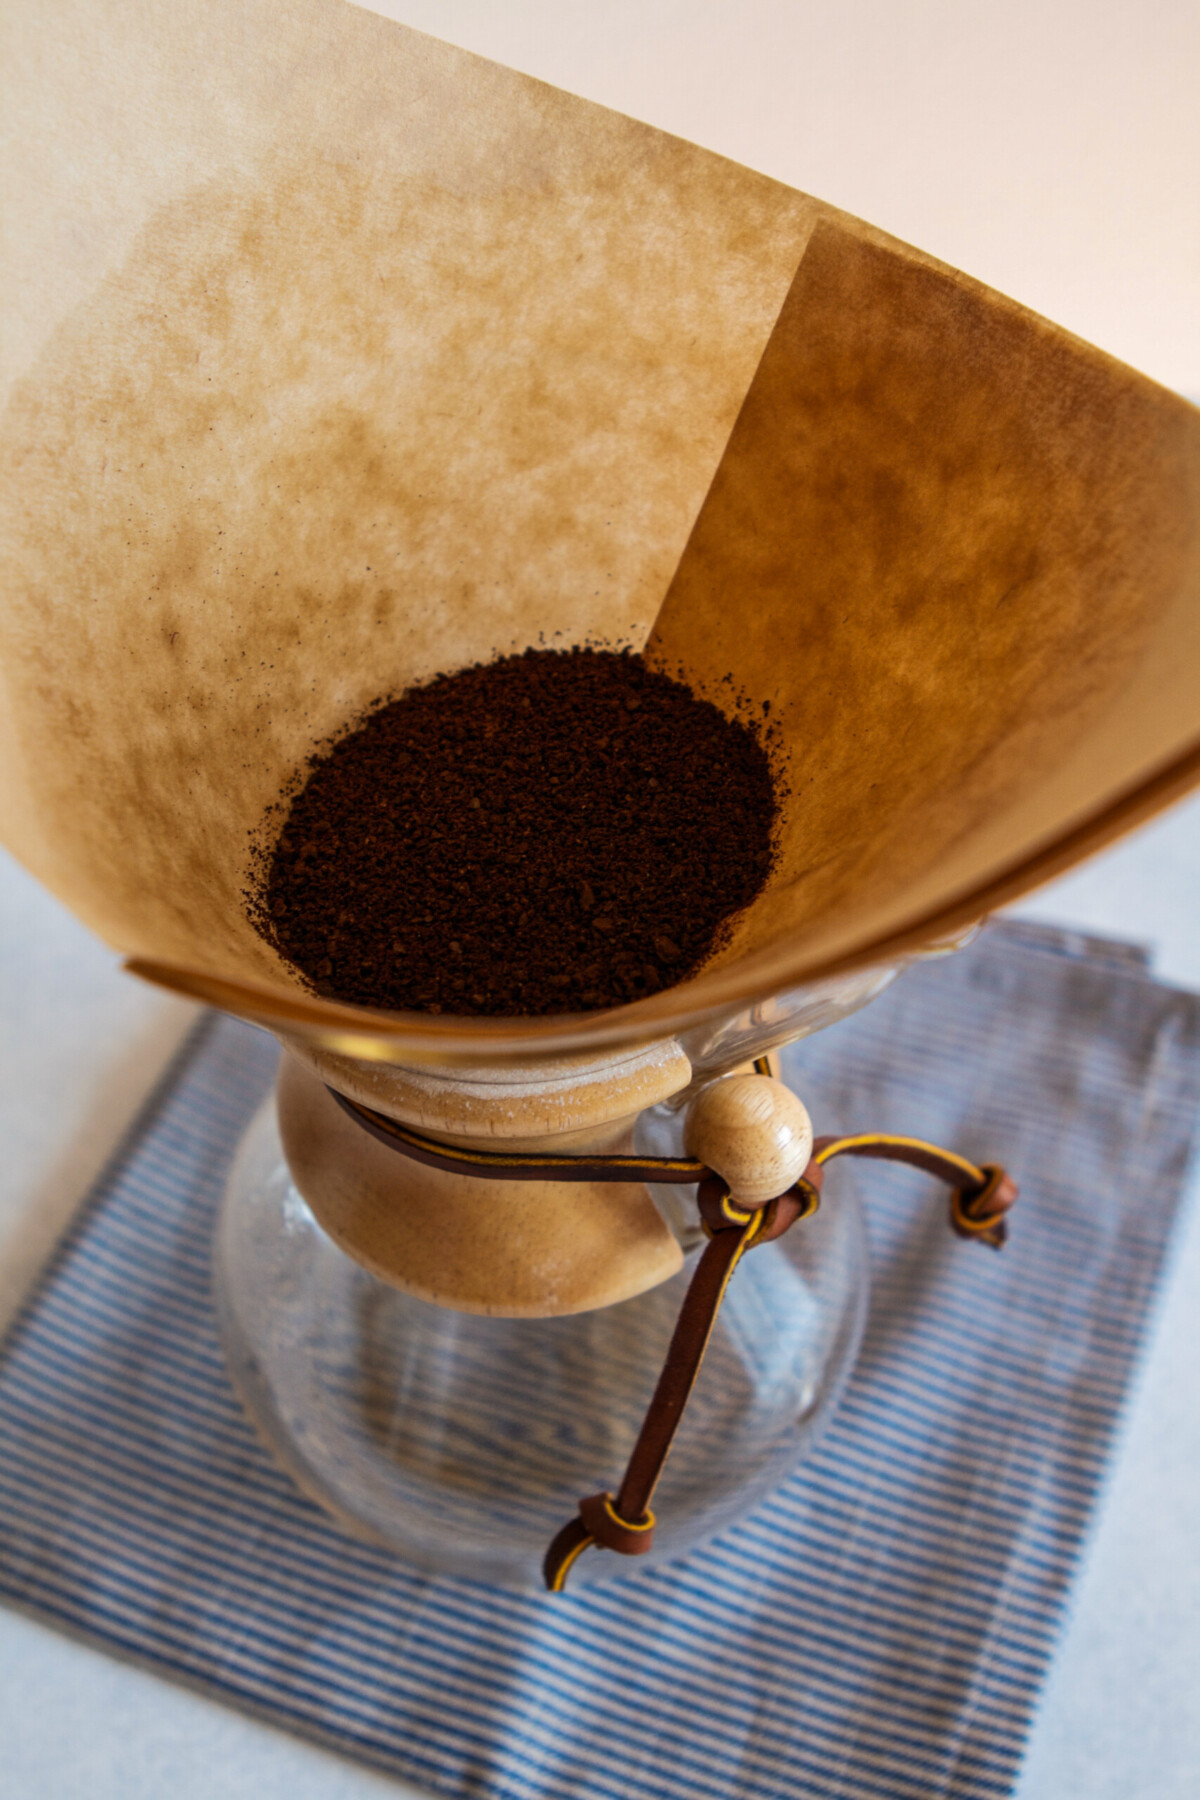
Unfold a paper filter so that there are three layers on one side and one layer on the other. Set filter over chemex opening with three-layered area arranged on the side with the pour spout.
Step 2:
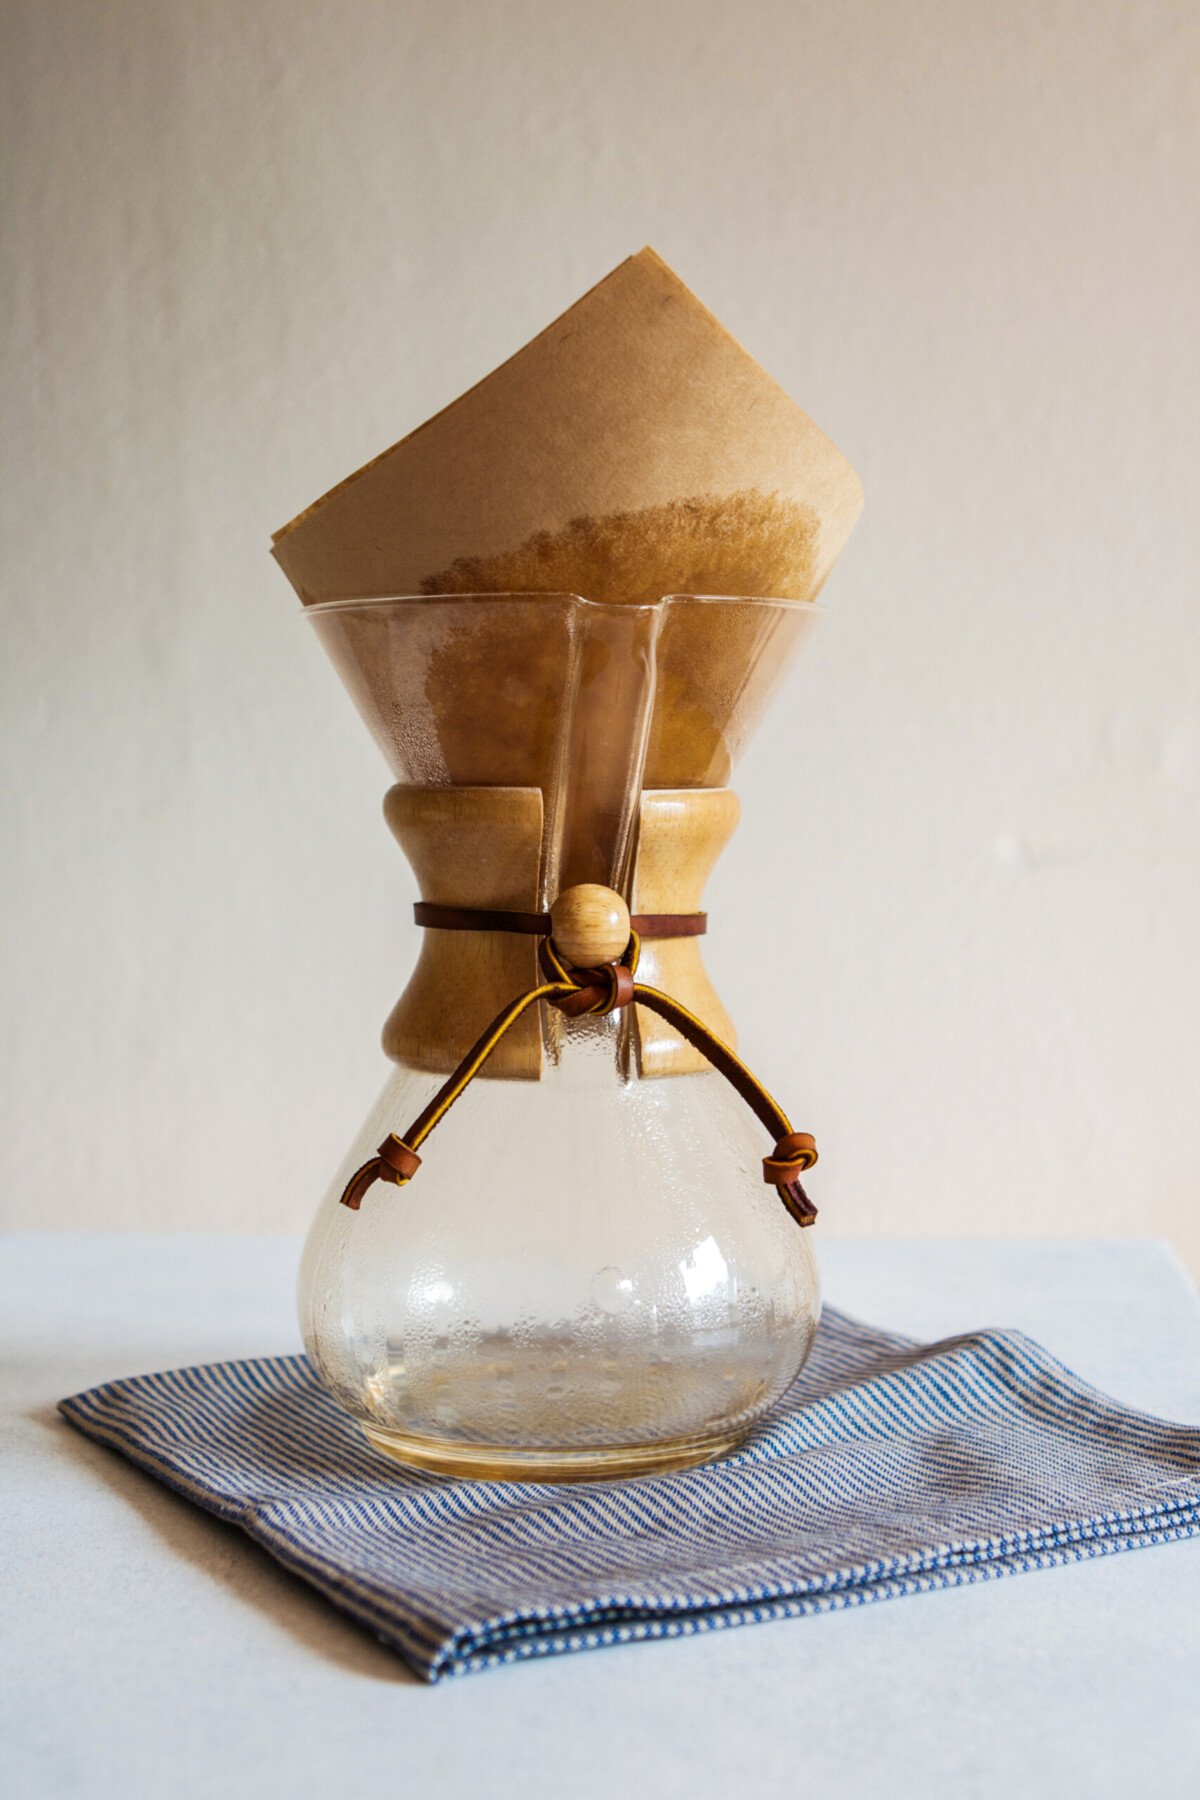
Pour just enough water around the inside of the filter to saturate it, let drain, then dump water, and replace filter.
Why?
Rinsing the filter helps remove any papery taste and helps to create a seal in the dripper.
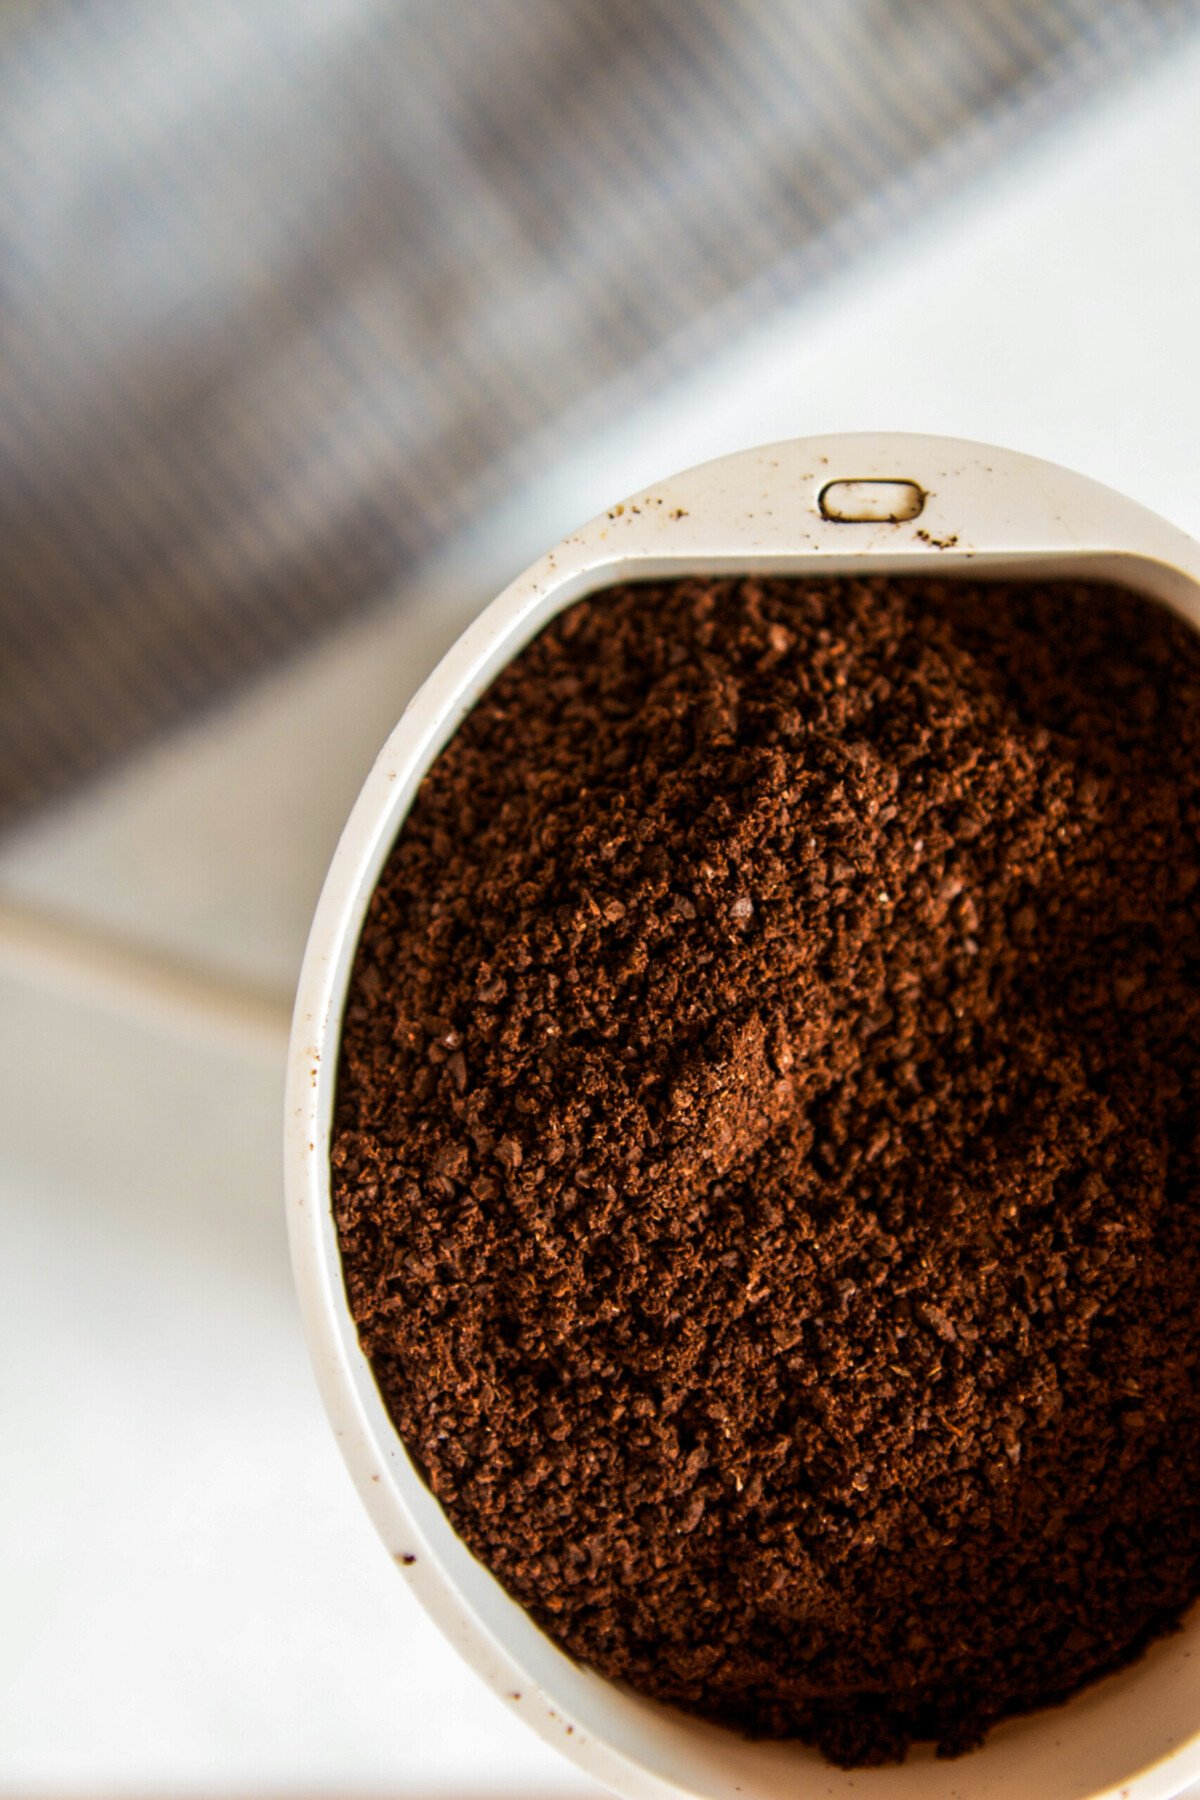
Step 3:
Weigh out 50 grams of coffee beans then transfer to grinder and process to a medium-coarse grind (slightly smaller than sea salt). Transfer the grounds to filter and give it a gentle shake to even out the grounds.
Why?
Grind size matters. Too big of grounds and the water will filter too quickly, creating a weak brew. Too small and the water will take too long to filter, which means more contact time between the grounds and water, resulting in a bitter brew. Giving the grounds a gently shake settles them into the filter evenly.
Step 4:
Bring 650–700 grams of water to a boil, remove from heat, and let rest 30 seconds.
Why?
Bringing the water to a boil then letting it rest is a surefire way of getting the right brewing temperature without requiring a thermometer.
Step 5:
Pour just enough hot water over grounds to saturate, then let it sit for 30–40 seconds to allow the grounds to bloom.
Why?
Blooming the coffee is an important step in the initial release of gases trapped in the beans. It also helps to release aromas and expand the coffee bed.
Step 6:
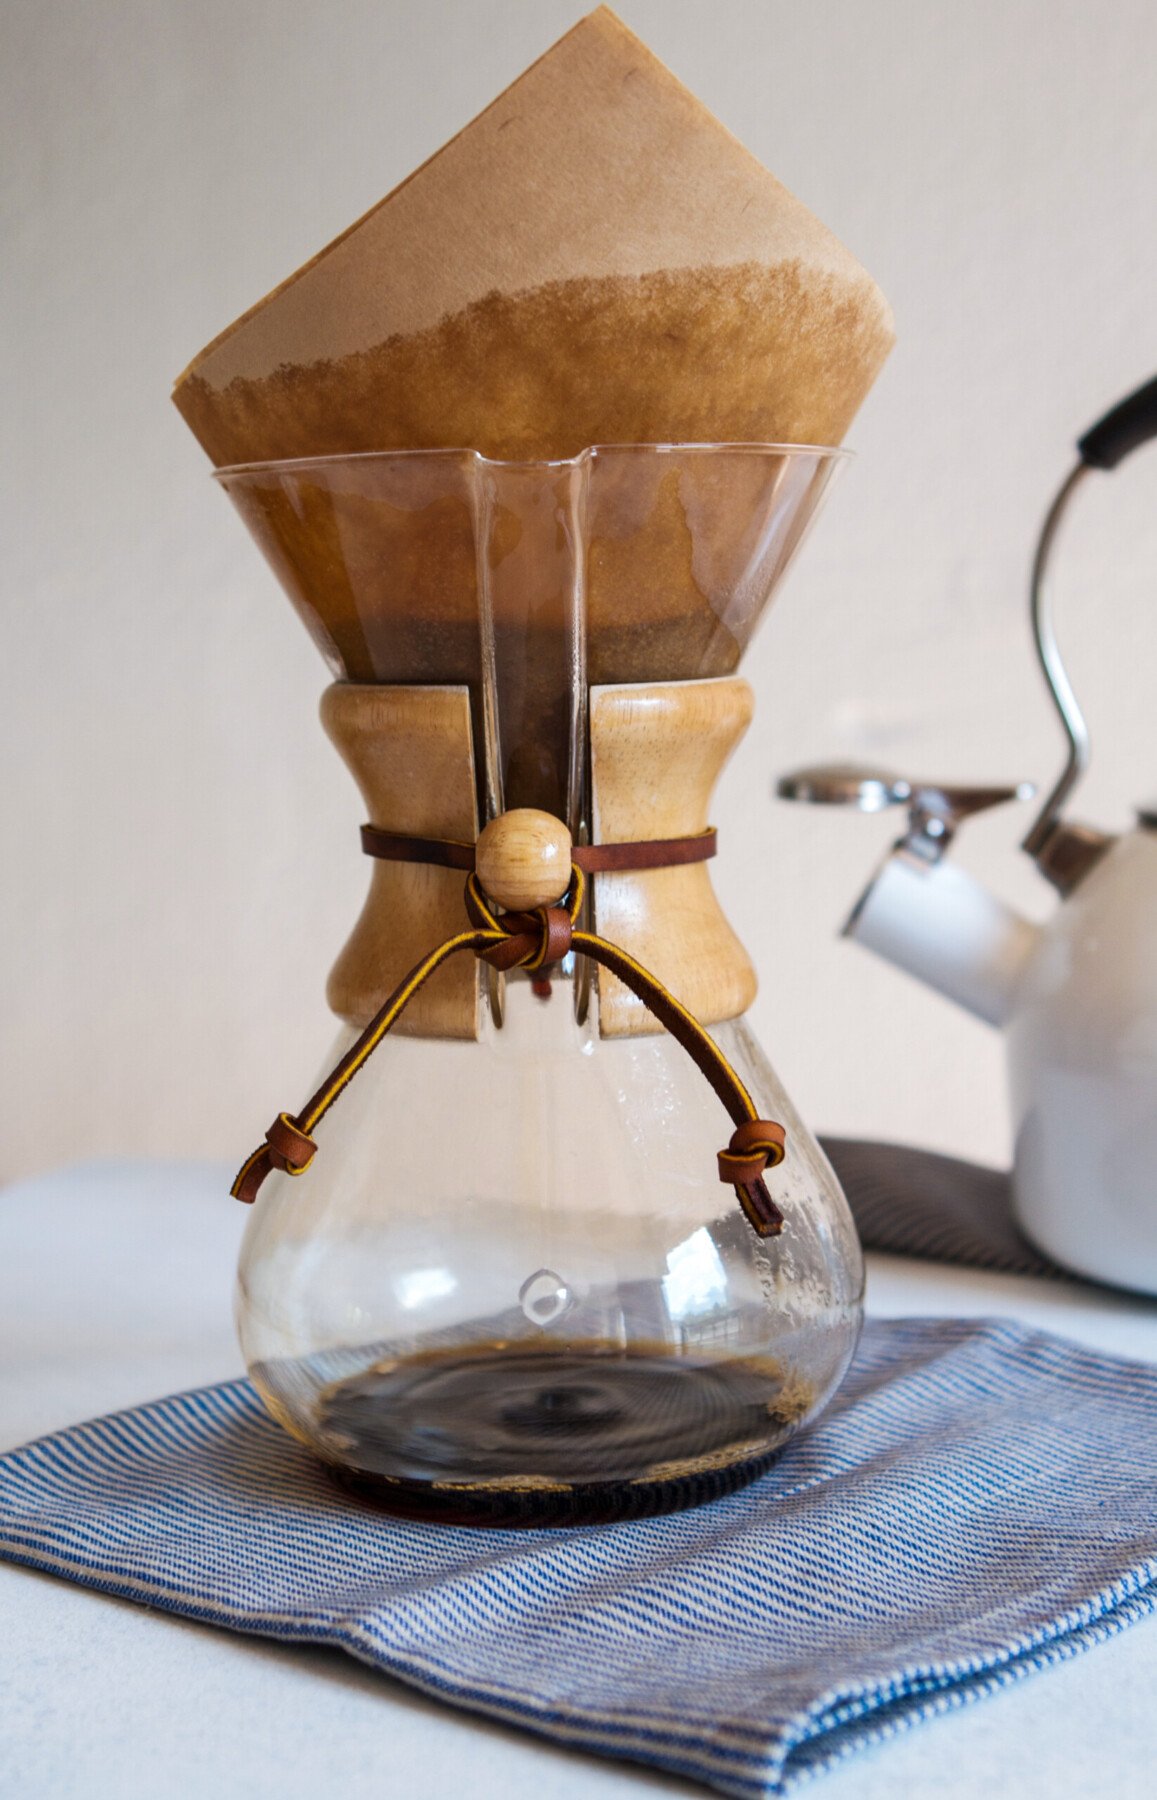
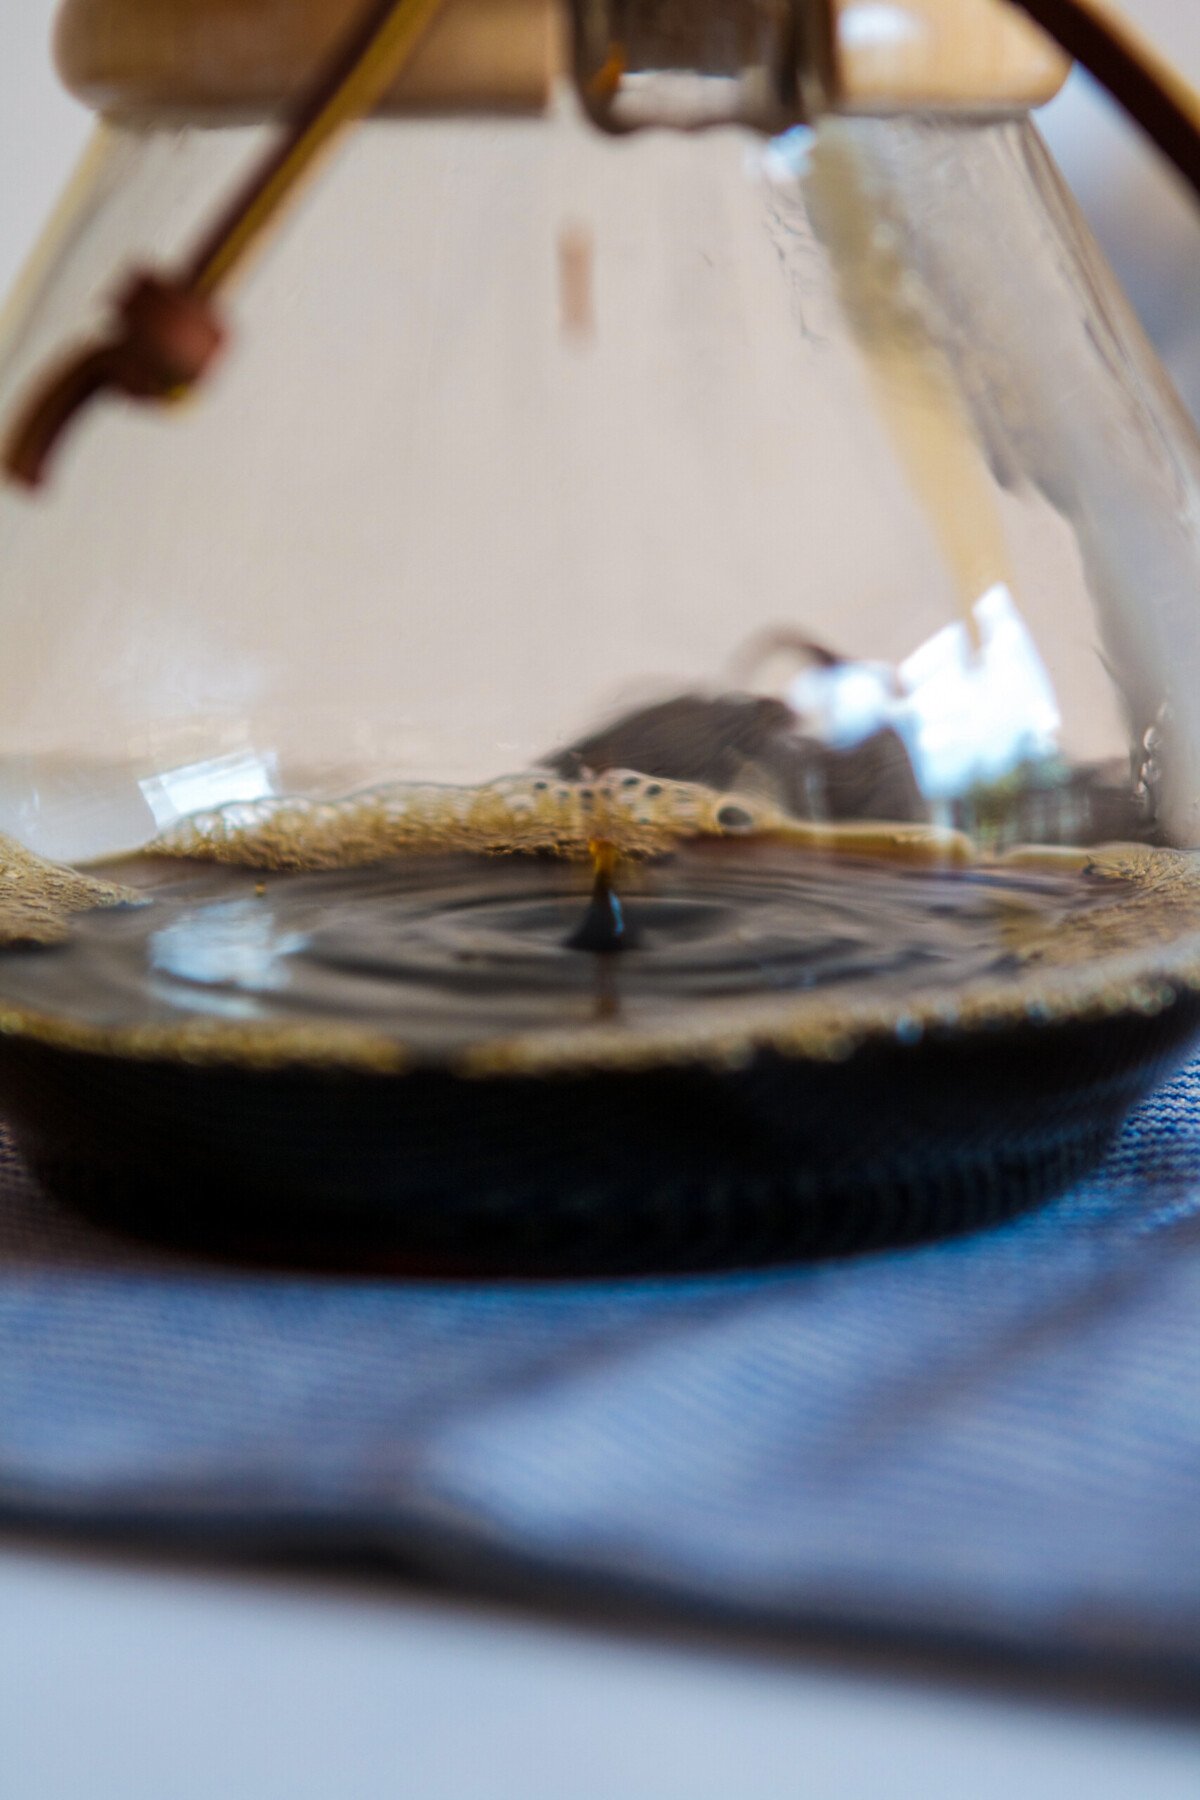
Pour remaining water, in three additions (about 200 grams each), over grounds in a circular/swirl motion, starting from the center and spiraling out towards the edge of the slurry. Avoid pouring directly onto the filter or in the center. Pause after each addition to allow the water to drip through the filter until nearly empty before adding more.
Why?
Pouring in a circular motion ensures even soaking of the grounds.
Step 7:
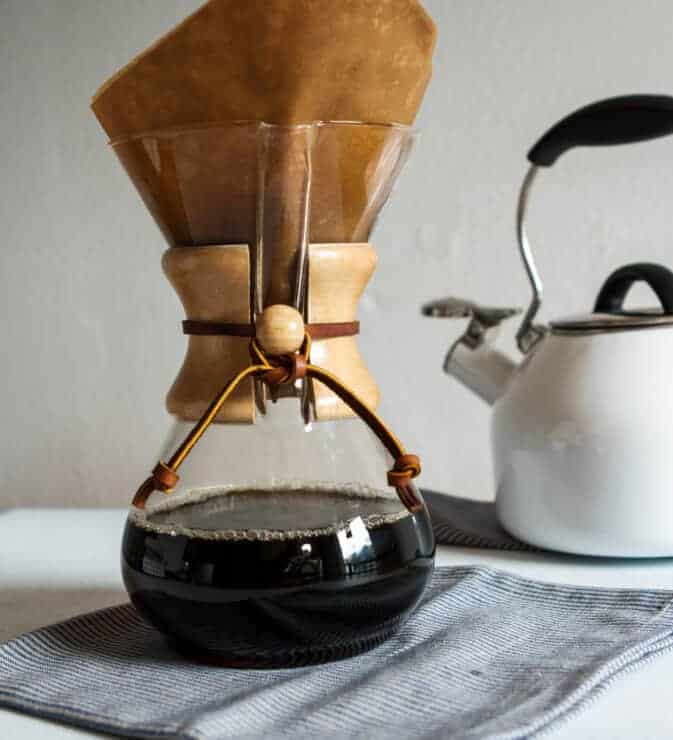
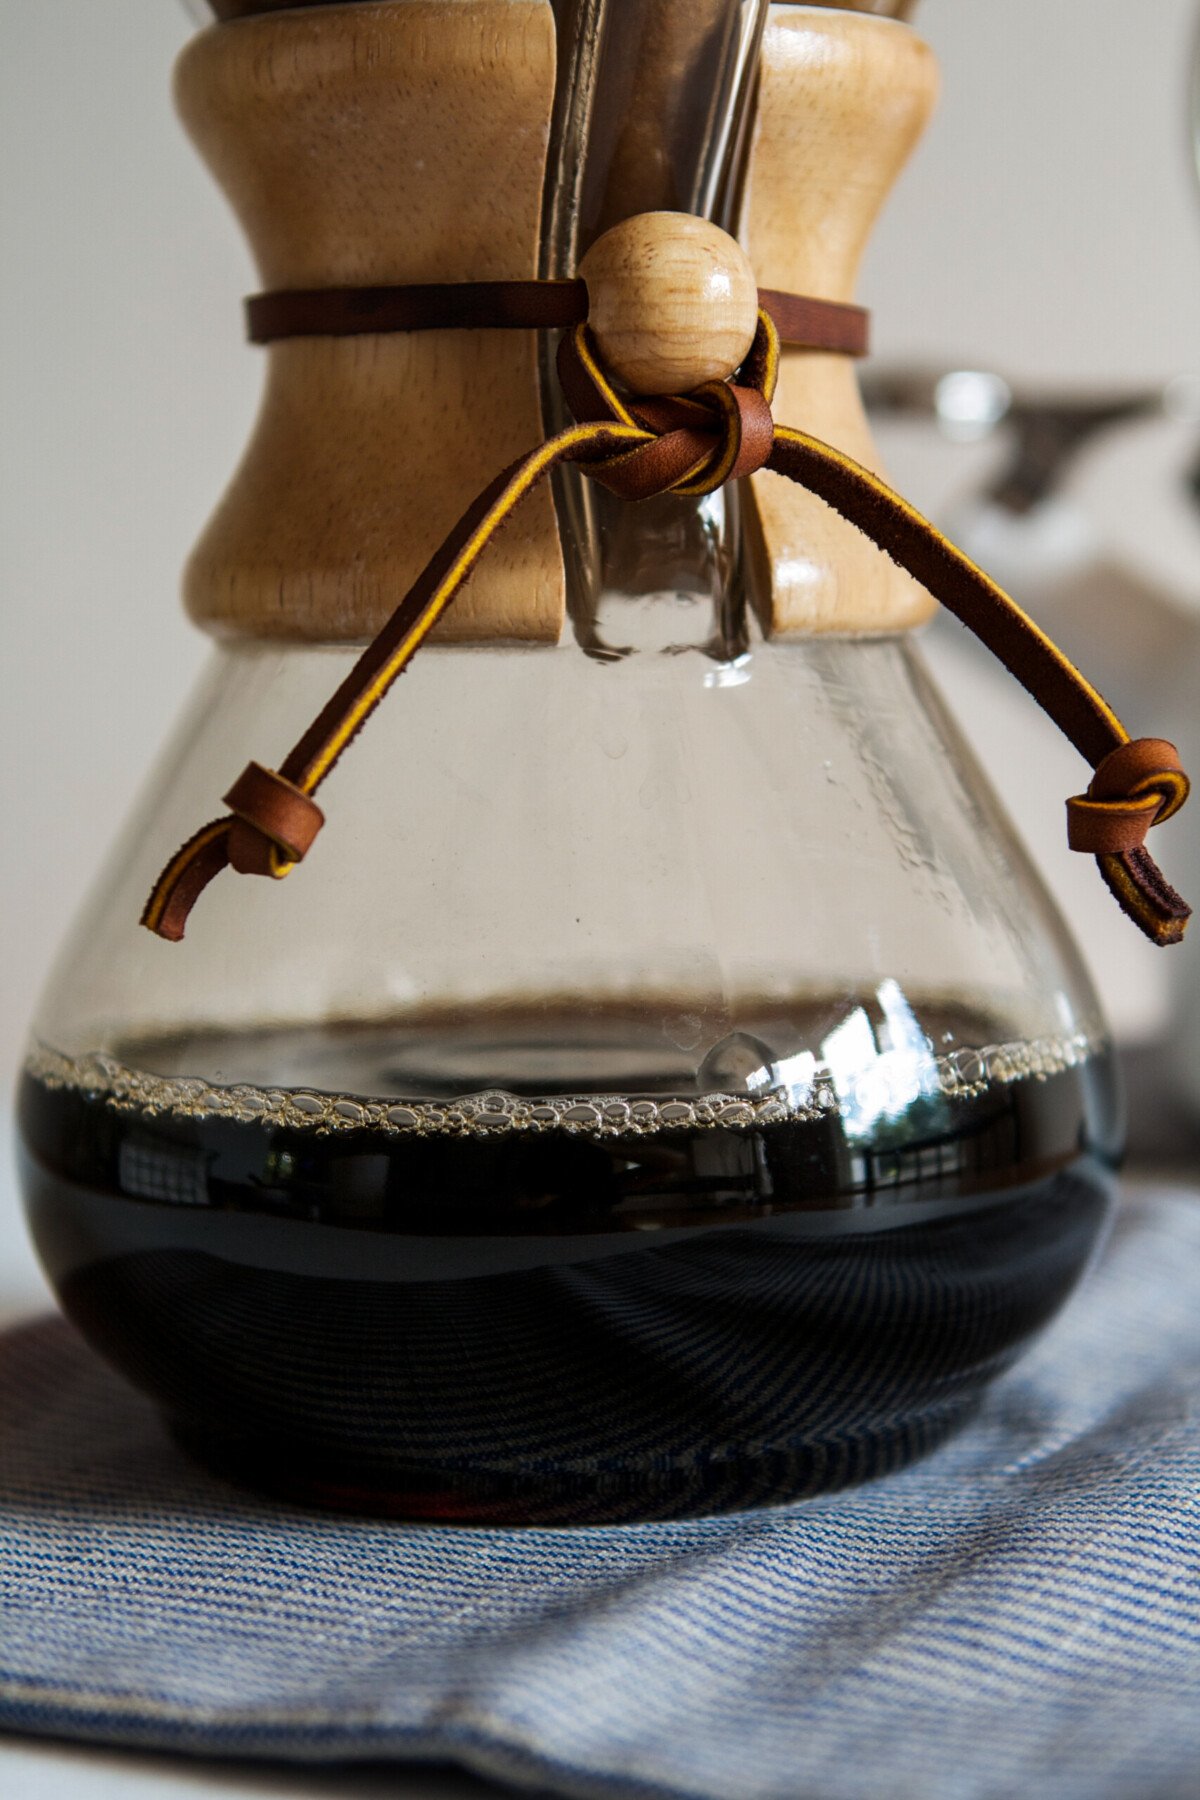
Allow all of the water to drip through the filter, then discard grounds and filter, and enjoy.
Test Kitchen Tips
- The above-mentioned ratio of 50 grams of coffee to 650 grams of water makes about 2 large cups of coffee. If you have a larger Chemex coffee brewer, you can increase the amount of each, keeping the coffee-to-water ratio the same.
- It’s so important that you soak the Chemex paper filters with a splash of water before brewing the coffee. Once the “rinse water” has been drained into the belly of the Chemex, dump it out and move froward with the Chemex brewing process.
- Want to add flavor to your coffee? Add a dash of cinnamon or nutmeg to the grounds prior to brewing the coffee.
FAQs
As we always say, the best coffee, wine, beer, etc. is the one you like. For this brewing method, we like to use dark roasts, but again, use whatever roast you like!
We recommend simply rinsing it out after every use. Once a week you should wash it out with soap and water. We recommend using a dish washing wand to reach the bottom of the pitcher.
No, you will need to get coffee filters that are specially made to fit a Chemex brewer. You can order the filters here.
Espresso Tonic is a barista favorite! For something a but more cozy, try a Maple Latte.
This article was originally published on August 31, 2017.
I love the step by step to this process- it’s beautiful. I just LOVE coffee!
Thank you Shannon! 🙂 Me too, can’t start a day without it!