This post may contain affiliate links.
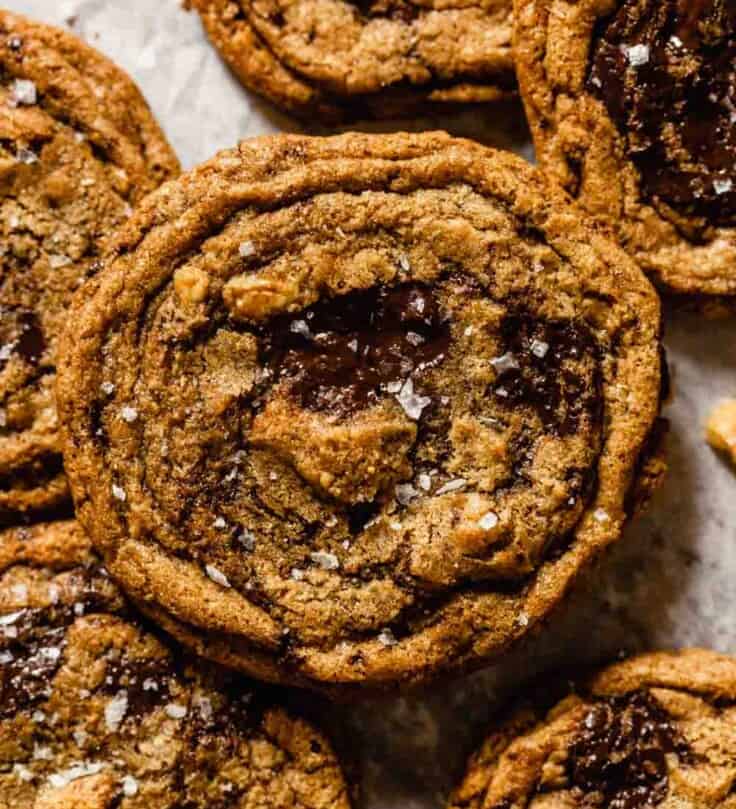
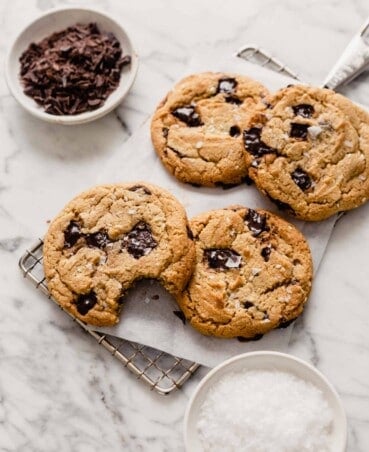
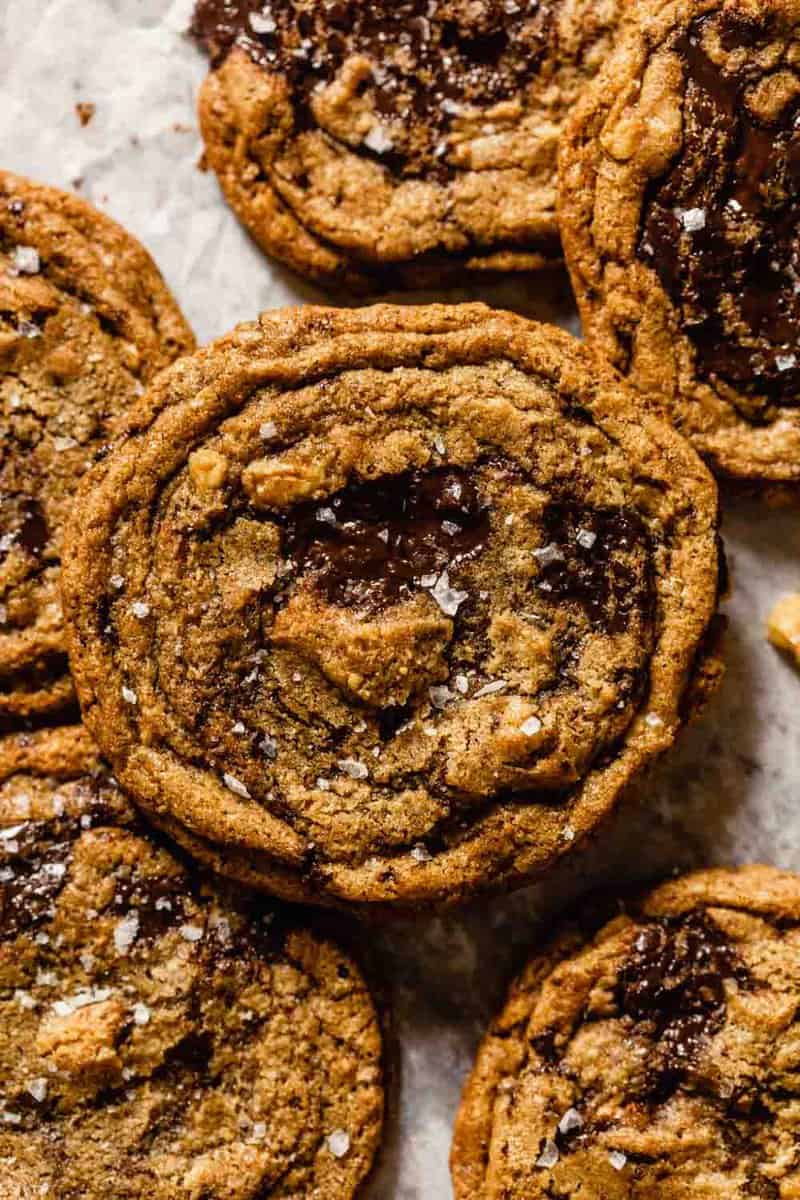
The perfect chocolate chip walnut cookie should not only be studded with nuts, but infused with the nutty flavor and that’s exactly what this Chocolate Chip Walnut Cookie recipe delivers! Every aspect of this recipe has been tested and considered—so dig in! We guarantee you’ll want more than one.
We set our sights on creating a chewy chocolate chip cookie that was not only studded with toasted walnuts, but infused with the flavor of walnuts. Two birds, one stone—toast the nuts and enhance the browned butter with nutty flavor. And finally, if that wasn’t a tall enough order, we also wanted it to be made with whole-wheat flour.
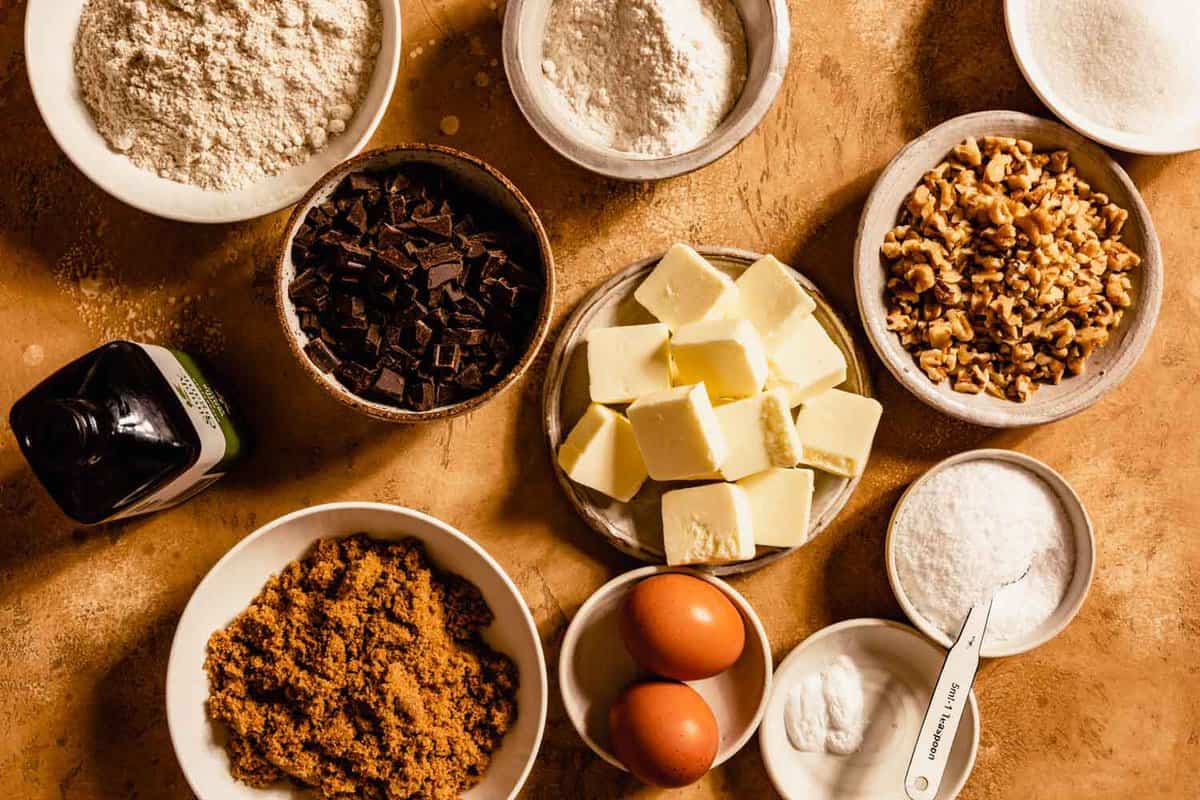
Ingredients for Chocolate Chip Walnut Cookies
- Whole-wheat pastry flour: we wanted to create a cookie that was made with whole-wheat flour and whole-wheat pastry flour proves time and time again to be the best!
- Bread flour: this might surprise you, but using bread flour, which has more protein content than all-purpose, increases the chewiness of cookies.
- Baking soda & kosher salt
- Unsalted butter
- Walnuts: make sure you’re using raw, unsalted and unroasted walnuts for this recipe.
- Dark brown sugar: it’s important to use dark brown sugar (not light) for the added moisture and molasses flavor.
- Granulated sugar: using granulated sugar in combination with brown sugar creates the perfect chewy cookie with crisp edges.
- Pure vanilla extract: we always prefer to bake with pure extracts. If you only have imitation, that will work as well.
- Egg + egg yolk: it’s important to use eggs labeled as “large” not medium, not Jumbo, you need large eggs. A large egg, out of shell, should weight about 50 grams. A large yolk should weigh about 20 grams. Using the correct size of egg is important for achieving the correct texture. If too small of an egg is used, there won’t be enough moisture and fat. Too large and too much moisture will be added.
- Bittersweet chocolate bar: we like to use 72% Ghirardelli chocolate bar. Use any chocolate you like, just be sure to use bar chocolate (not chips).
Test Kitchen Tips
- You can use all-purpose flour instead of a combination of whole wheat pastry flour and bread flour. We recommend weighing the flour instead of measuring by cup. If you plan to use all-purpose flour, use 200 grams.
- When it comes to baking, measuring by weight (instead of cup) is always more reliable. Get our favorite food scale and see just how easy it makes baking!
- I recommend using bar chocolate, if you use chocolate chips or chunks, just know they do not melt as readily as chopped bar chocolate so you won’t get those dreamy puddles of chocolate.

How to Make Chocolate Chip Walnut Cookies
- Whisk together the dry ingredients; set aside.
- Start browning the butter in a large sauté pan.
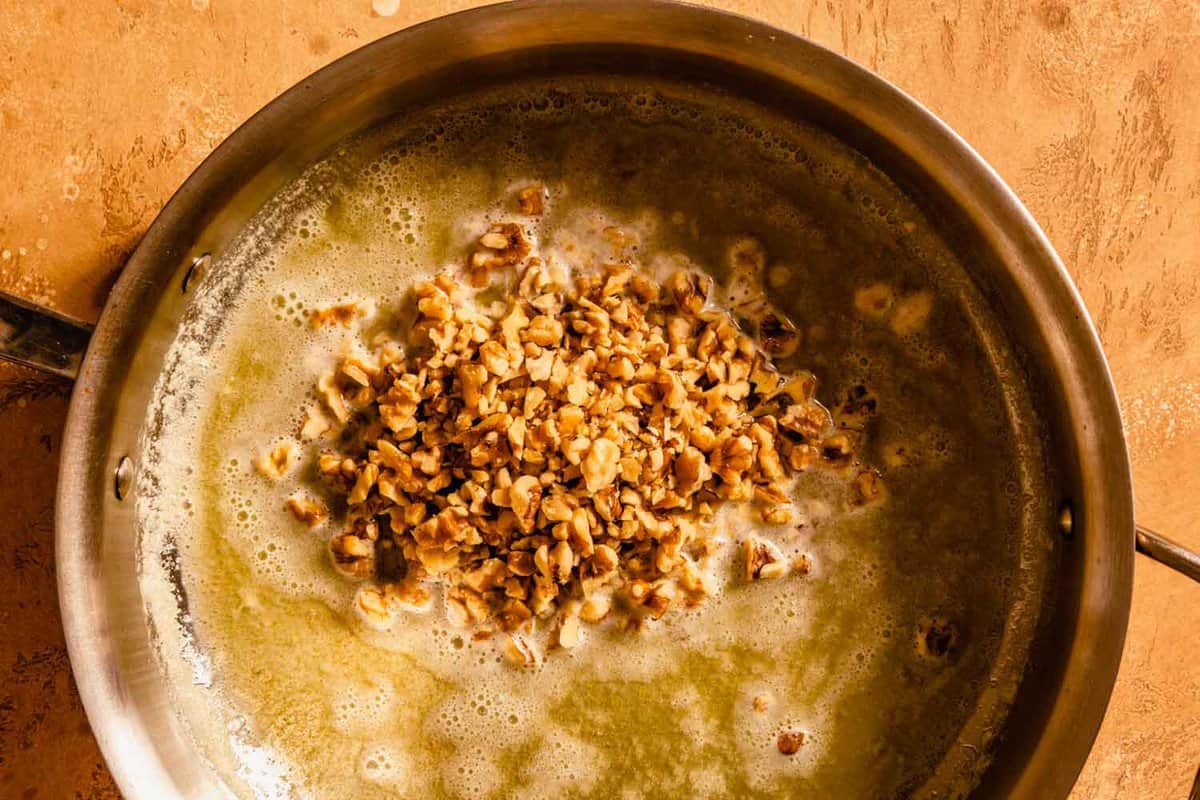
- Add the walnuts to the butter when it just starts to turn golden brown.
- Cook the nuts and butter until fragrant and the butter is deeply golden brown.
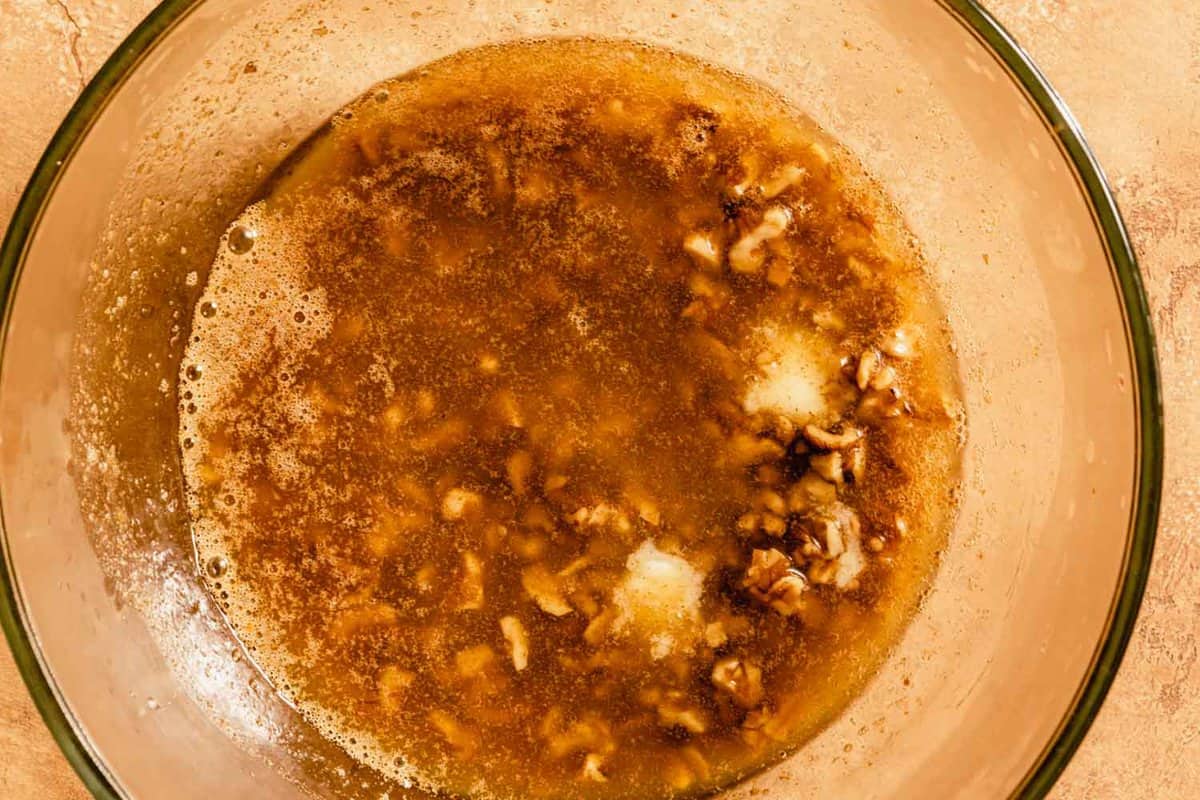
- Pour the browned butter and nuts into a large bowl with a few more tablespoons of butter. Stir to combine.
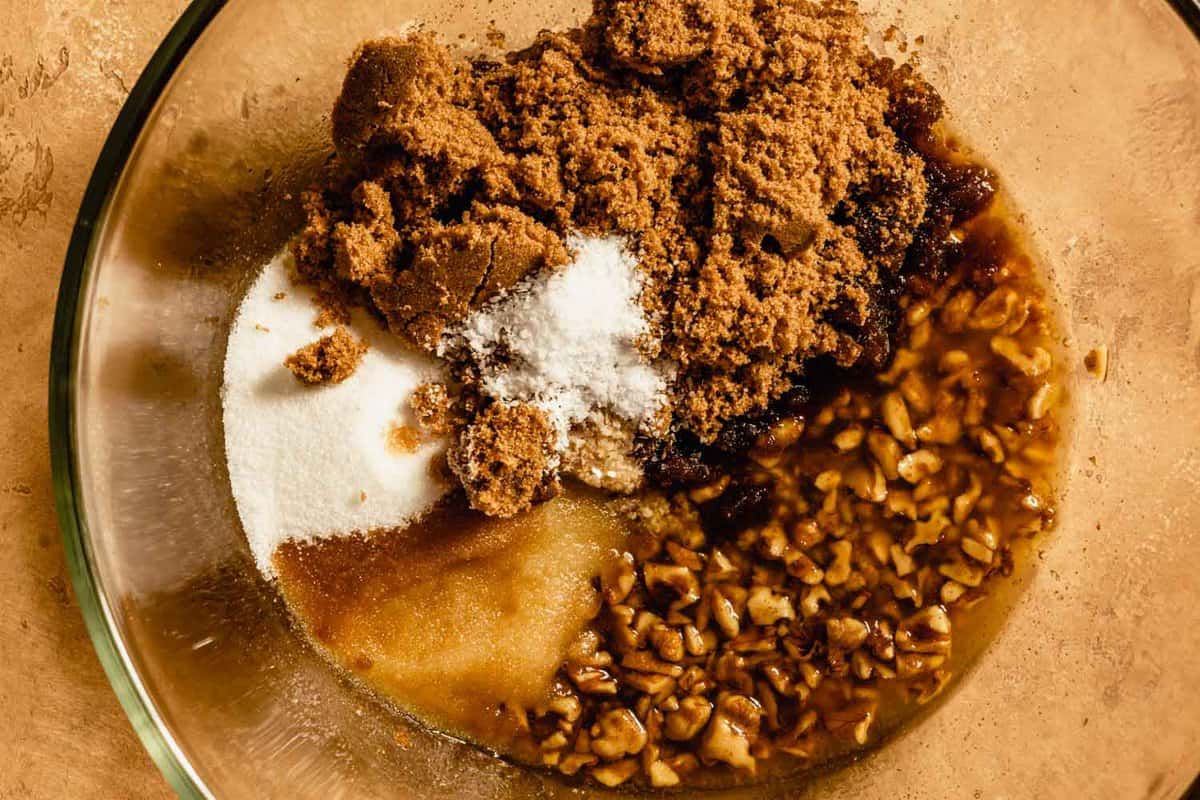
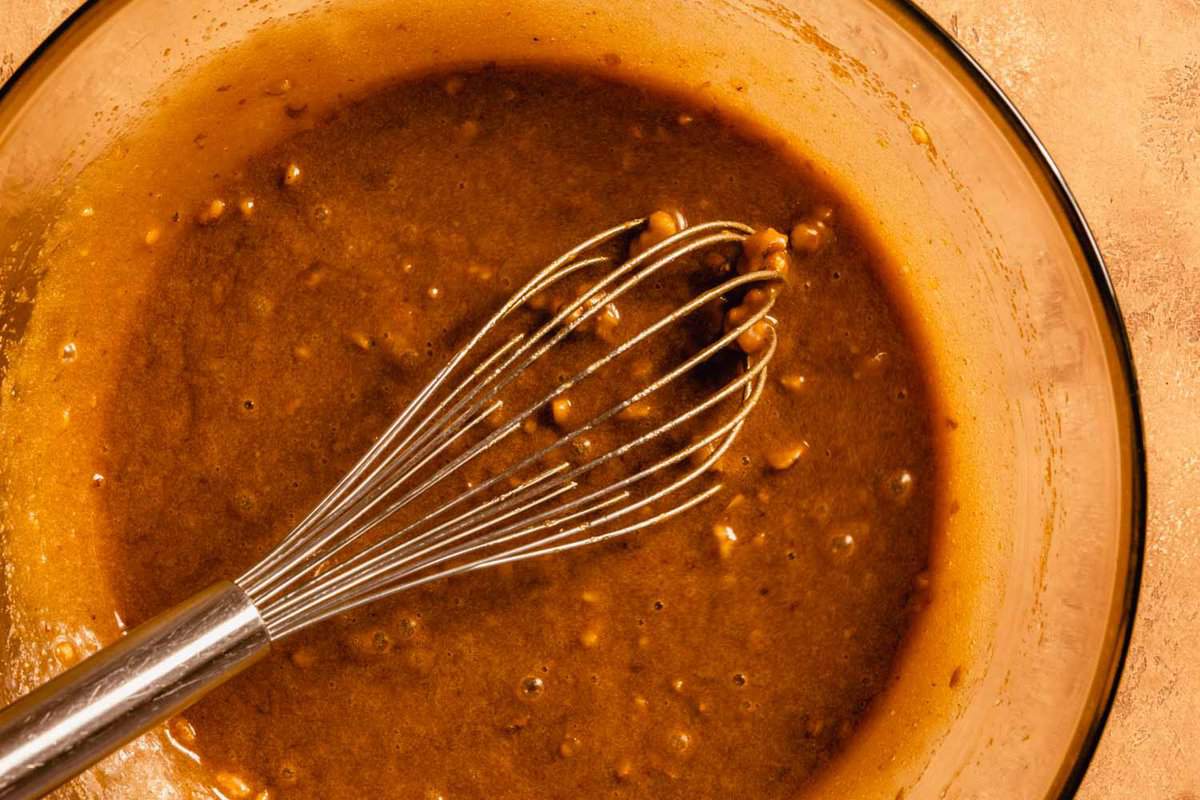
- Add the sugars, egg and egg yolk and whisk until smooth and caramel-like in texture.
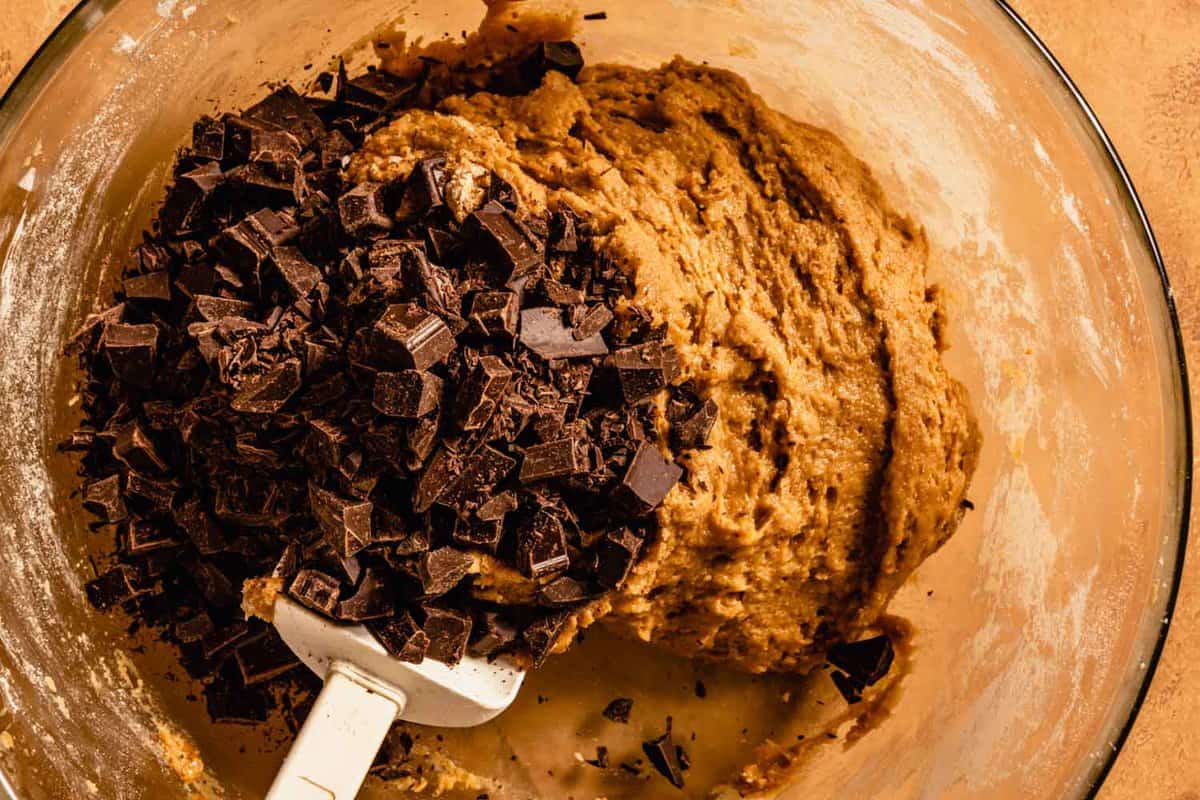
- Stir in the flour and chocolate chips.
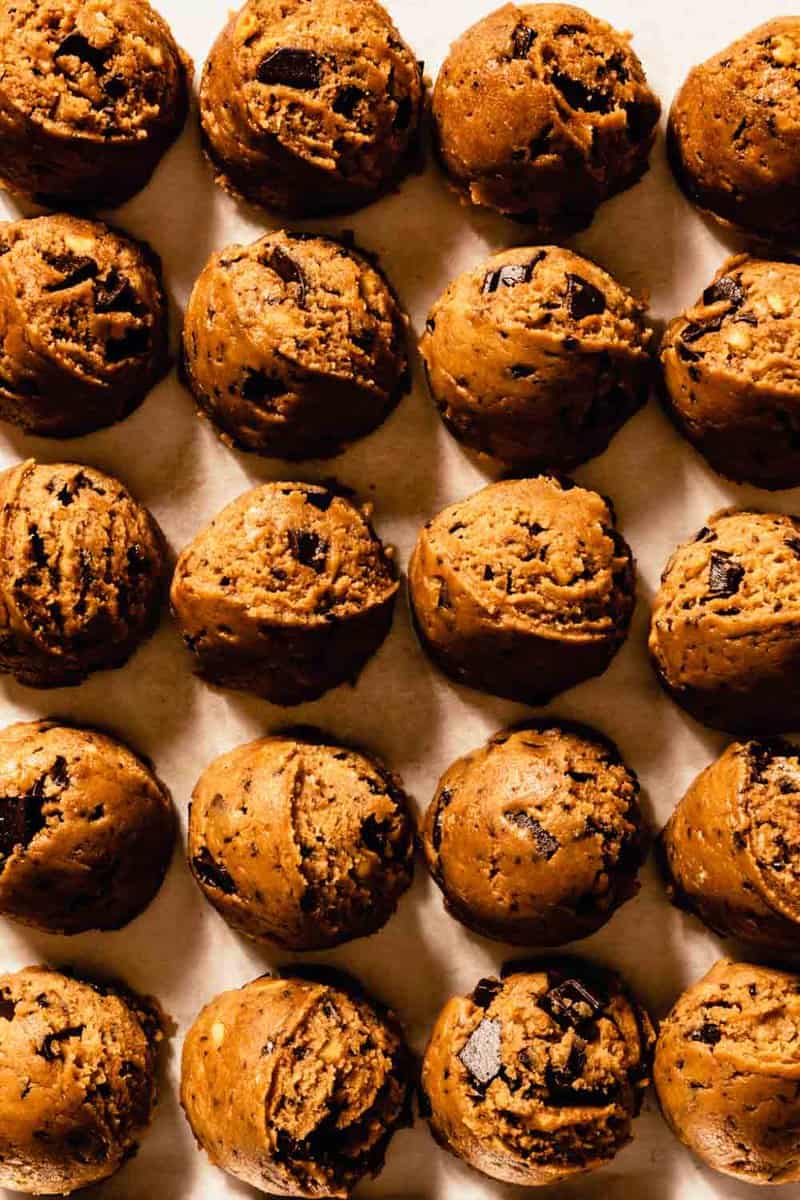
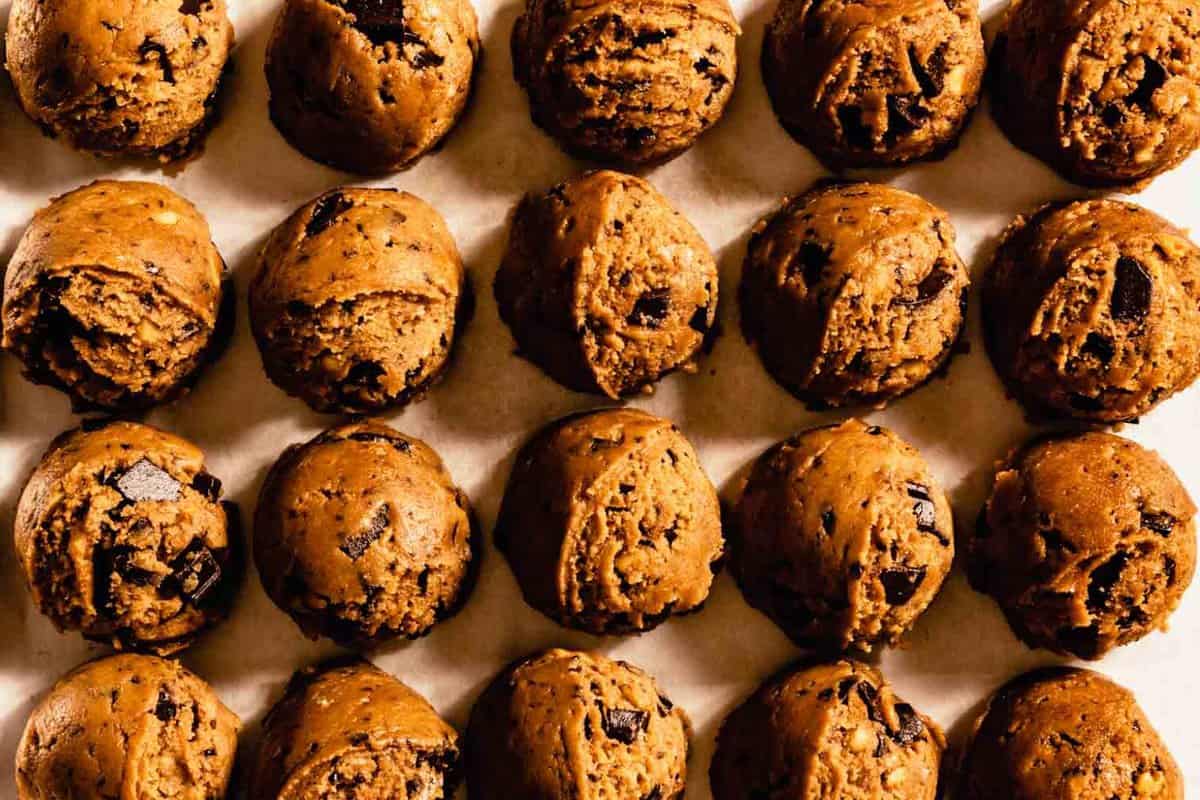
- Scoop the dough using a #24 cookie scoop (or 3 tablespoon measure) and freeze for 30 minutes.
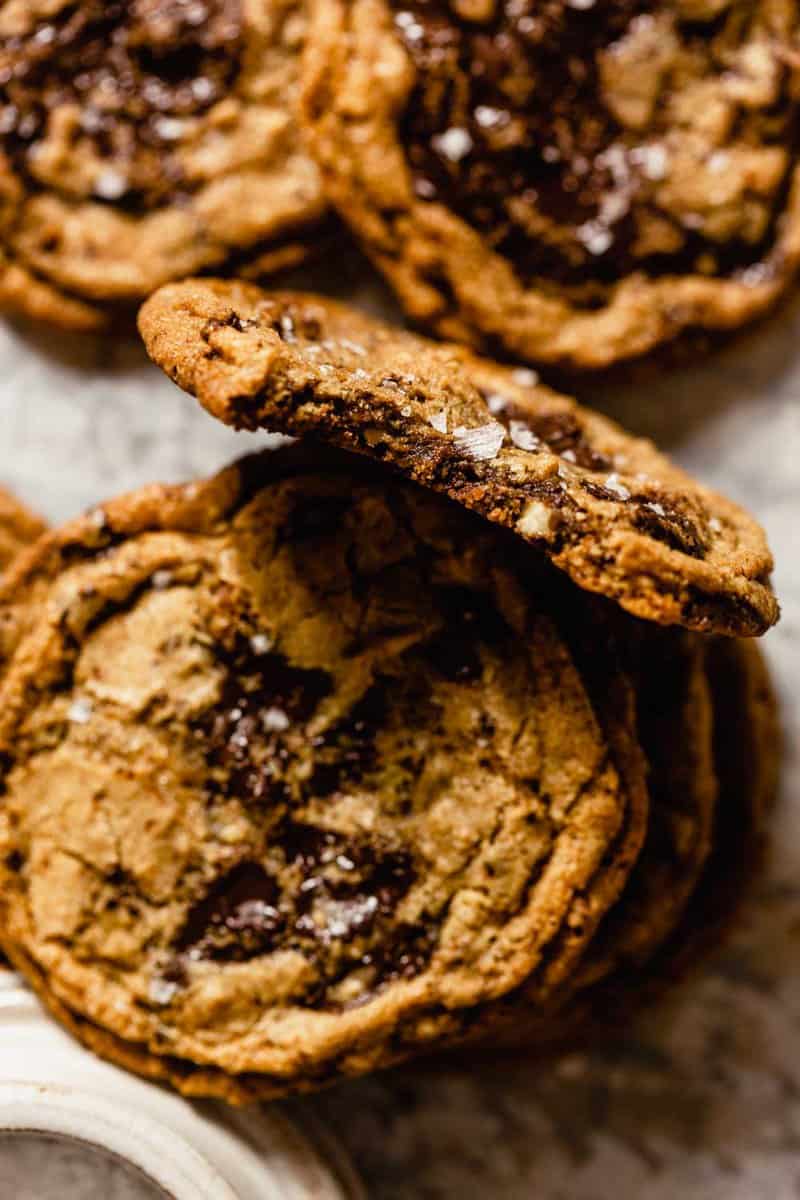
- Bake the cookies, dropping the sheet pan a few of times throughout baking, until the edges are just set and the centers look under-baked.
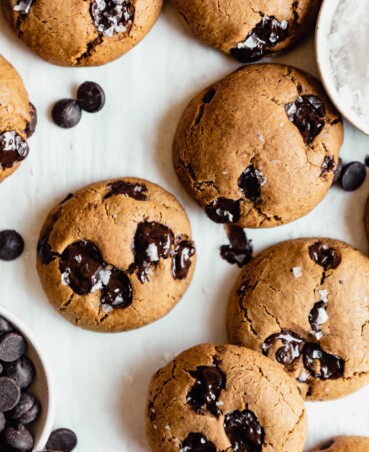
- Sprinkle with sea salt and enjoy.
How to Store
Store these chocolate chip walnut cookies in an airtight container at room temperature for up to 4 days. You can freeze baked cookies as well in a resealable zipper-lock bag or airtight container.
How to Freeze
You can either freeze the cookie dough or freeze the baked cookies.
To free cookie dough: scoop dough into individual dough balls using a #24 scoop (3 tablespoons). Arrange cookie dough balls in a single layer on a parchment paper-lined baking sheet and place in the freezer. Freeze until solid, then transfer to a resealable zipper-lock bag labeled with the date and recipe name. Frozen cookie dough will last in the freezer for up to 6 months.
To freeze cookies: place baked and cooled cookies in a resealable zipper-lock bag or airtight container and store in the freezer for up to 4 months. Allow the cookies to thaw at room temperature for a few hours before eating.
Variations
- Mix up the type of nut you use—pecans, almonds, and pistachios are all great options.
- Make oatmeal walnut chocolate chip cookies by swapping about a ¼ cup of the flour for old-fashioned rolled oats.
- Use white chocolate instead of bittersweet chocolate.
- Add a tablespoon of espresso powder to the dry ingredients for a nutty-mocha cookie.
- Swap the chocolate out for peanut butter chips and use peanuts instead of walnuts.
More Cookie Recipes to Try
Baking Recipes
Chewy Tahini Chocolate Chip Cookies
Baking Recipes
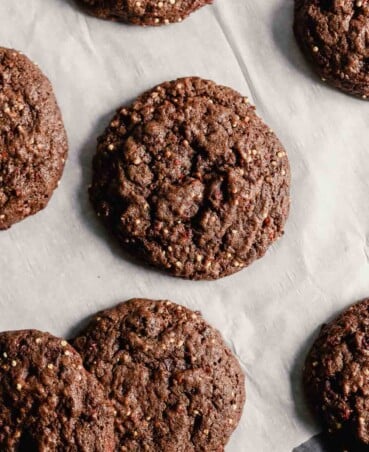
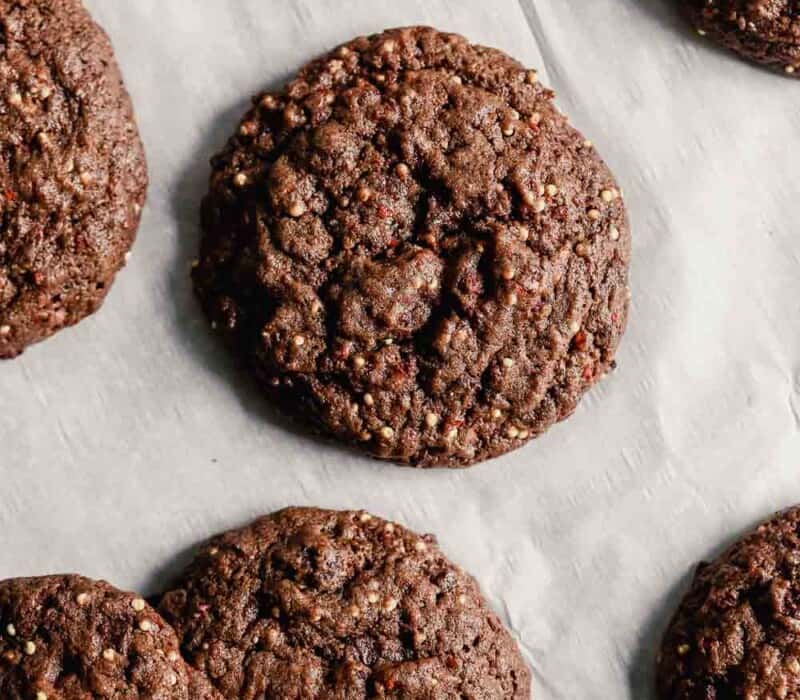
Mexican Chocolate Cookies with Raspberries
Desserts
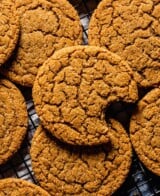
Chewy Cardamom Cookies
FAQs
If you plan on using whole-wheat pastry flour then, yes, we highly recommend using bread flour. It adds an essential amount of protein which is important to gluten-development and therefore chewiness.
You can make this Chocolate Chip Walnut Cookie recipe with only all-purpose flour if you’d like. We recommend weighing the flour instead of measuring by cup. If you plan to use all-purpose flour, use 200 grams.
Chocolate Chip Walnut Cookie Recipe
Description
Video
Save This Recipe!
Ingredients
- 1 ¼ cups (134g) whole-wheat pastry flour*
- ½ cup (65g) bread flour*
- ¾ teaspoon (5g) baking soda
- 14 tablespoons (200g) unsalted butter
- ¾ cup (80g) raw walnuts, chopped
- ¾ cup (148g) packed dark brown sugar
- ½ cup (100g) granulated sugar
- 1 ¼ teaspoons Morton kosher salt
- 2 teaspoons pure vanilla extract
- 1 large egg
- 1 large egg yolk
- 6 ounces (170g) 72% bittersweet chocolate bar, roughly chopped, such Ghirardell
Instructions
- Line 2 baking sheets (half sheet pans) with parchment paper; stack together, then transfer to refrigerator to chill.
- Whisk flours and baking soda together in medium bowl; set aside.
- Heat 10 tablespoons (145g) butter in 10-inch skillet over medium-high heat until melted, about 2 minutes. Continue cooking, swirling pan constantly until butter just barely starts to turn golden brown, about 1 ½ minutes. Add walnuts and continue cooking, swilling pan, until butter is dark golden brown and has nutty aroma, 2 ½–3 ½ minutes more.

- Remove skillet from heat and transfer browned butter to large heatproof bowl with remaining 4 tablespoons butter; using a rubber spatula to scrap butter and solids into bowl. Stir until completely melted.
- Add both sugars, salt, and vanilla to bowl with butter and whisk until fully incorporated.
- Add egg and yolk and whisk until mixture is smooth with no sugar lumps remaining, about 30 seconds.
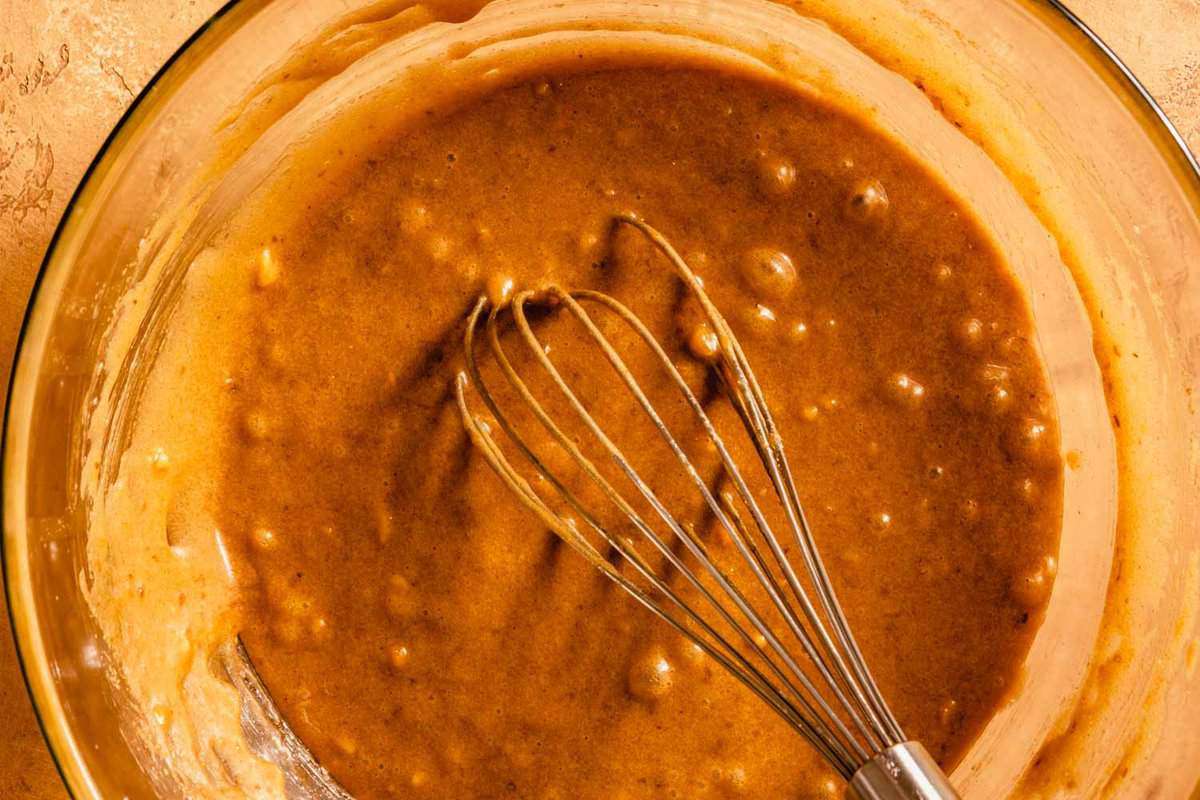
- Let mixture stand 3 minutes, then whisk for 30 seconds.
- Repeat process of resting and whisking 2 more times (for a total of 4 mixes) until mixture is thick, smooth, and shiny.
- Using rubber spatula or wooden spoon, stir in flour mixture until just combined, about 1 minute.
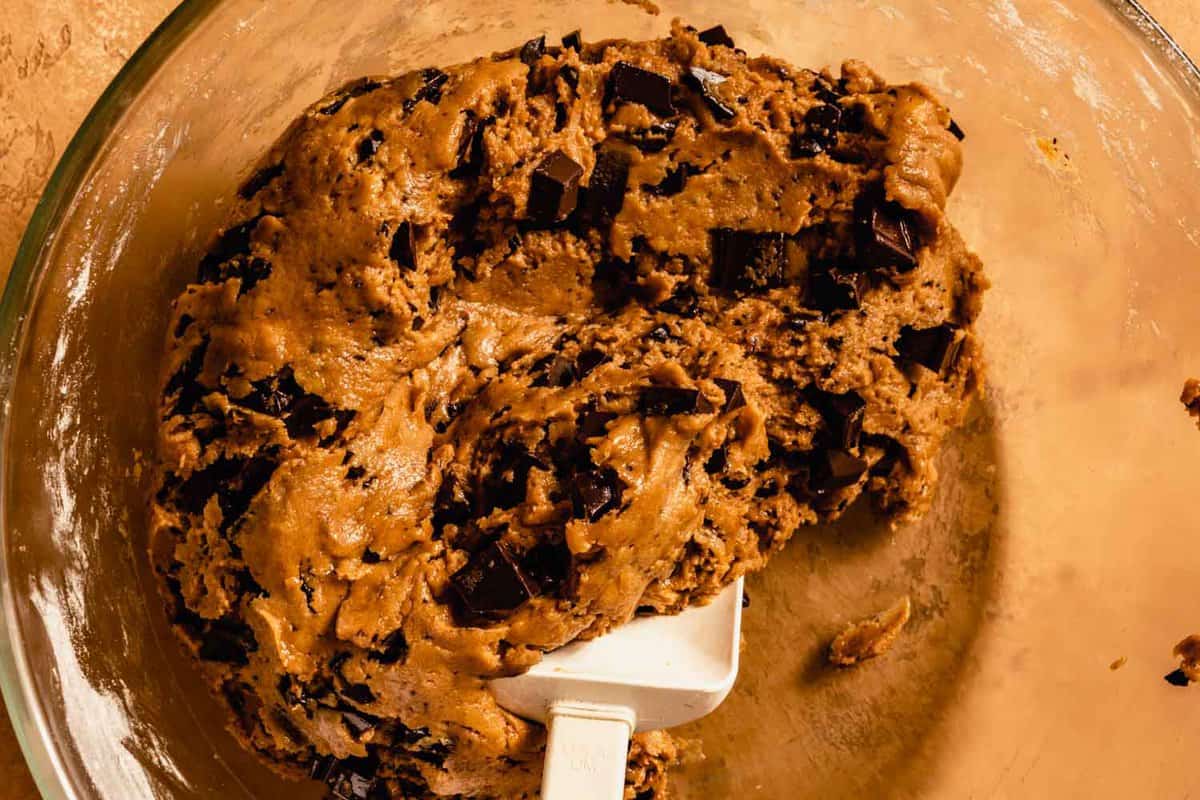
- Stir in chocolate until evenly dispersed.
- Divide dough using a #24 cookie scoop, or 3 tablespoon measure, into 20 portions. Arrange dough portions closely on a small baking sheet and freeze for 30 minutes.
- Adjust oven rack to middle position and heat oven to 350ºF (176ºC) degrees.
- Arrange 6 chilled dough balls 3 inches apart on a chilled parchment-lined baking sheet. (Smaller baking sheets can be used, but will require multiple batches.)
- Transfer sheet to oven and bake until cookies are puffed, 10 minutes. Lift baking sheet up about 4 inches, then drop baking sheet down onto rack. Bake until cookies puff again, 2 minutes, then repeat lifting and dropping pan. Bake cookies another 2 minutes, then repeat lifting and dropping pan. Bake cookies until edges are golden brown and centers are slightly puffed and look under-baked, 1–2 minutes more. (Total bake time should be 14–16 minutes.)
- Transfer baking sheet to a wire rack; allow cookies to cool completely on sheet before transferring to an airtight container.

Notes
Nutrition
More Cookie Recipes
Baking Recipes
Mexican Chocolate Cookies with Raspberries

Baking Recipes
Chewy Tahini Chocolate Chip Cookies

Desserts
Chewy Cardamom Cookies

Cookies