This post may contain affiliate links.
Everyone needs a classic tart crust recipe in their arsenal. And this one is mine. It’s incredibly easy to make (it utilizes the food processor!), requires just 6 ingredients, is wonderfully crisp and just sweet enough.
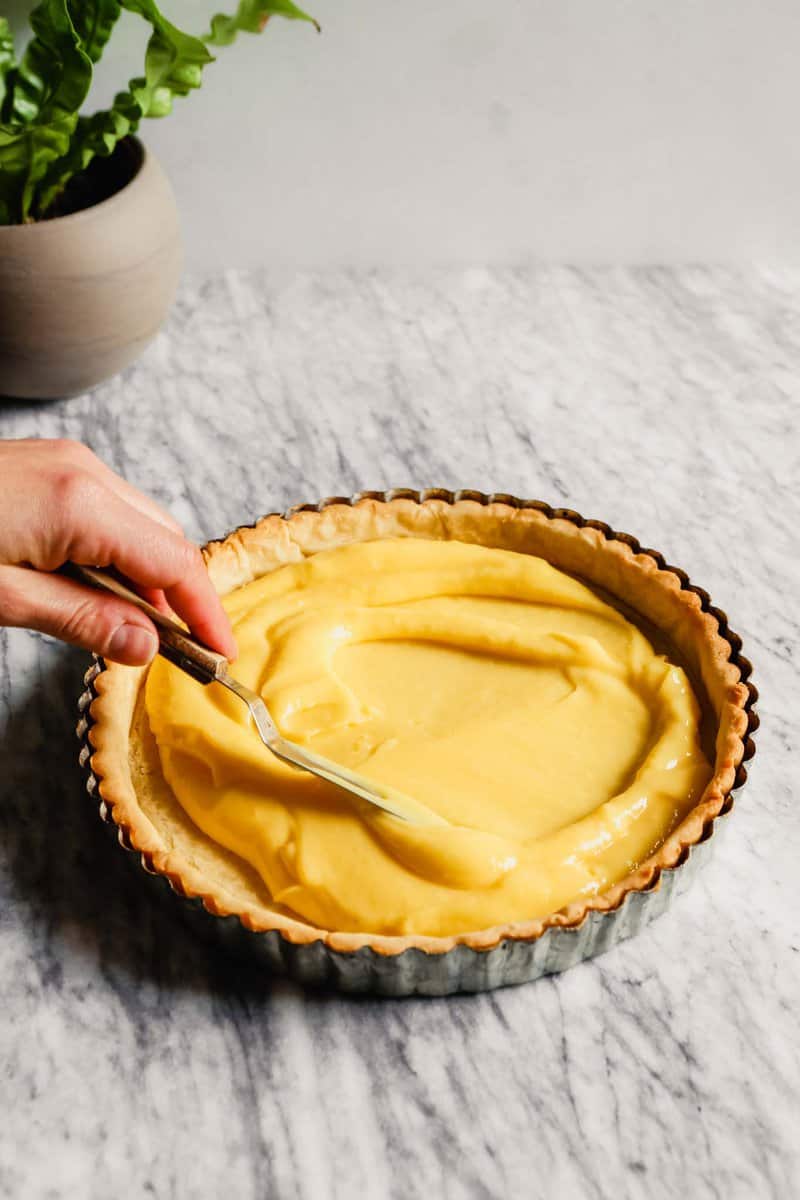
For this classic tart crust recipe you can either partially bake it, which is perfect for tarts with fillings that need to be cooked, or fully bake it, which is great for no-cook fillings. You’ve got options!
This recipe article was originally published in May of 2019, it has since been updated with helpful tips, ingredient notes and step-by-step images.
Ingredients Needed
This tart crust recipe requires only 6 ingredients, all of which are probably already in your pantry or fridge. Good news all around!
- All-purpose flour: if you’re looking to make a tart crust with different flour, try my whole-wheat tart crust.
- Confectioners’ Sugar: the cornstarch in confectioners’ sugar (aka powdered sugar) helps to make a very tender, melt-in-your mouth tart crust.
- Butter: a traditional crust ingredient. I do have an olive-oil tart crust if you prefer that.
- Egg yolk: helps to bind the crust ingredients together without adding moisture (just fat).
- Cream: used in addition to the yolk to bring everything together without adding too much moisture like regular milk would.
- Vanilla extract: a splash for flavor.
- Salt: just a pinch to balance out and enhance the sweetness.
How to Make a Tart Crust
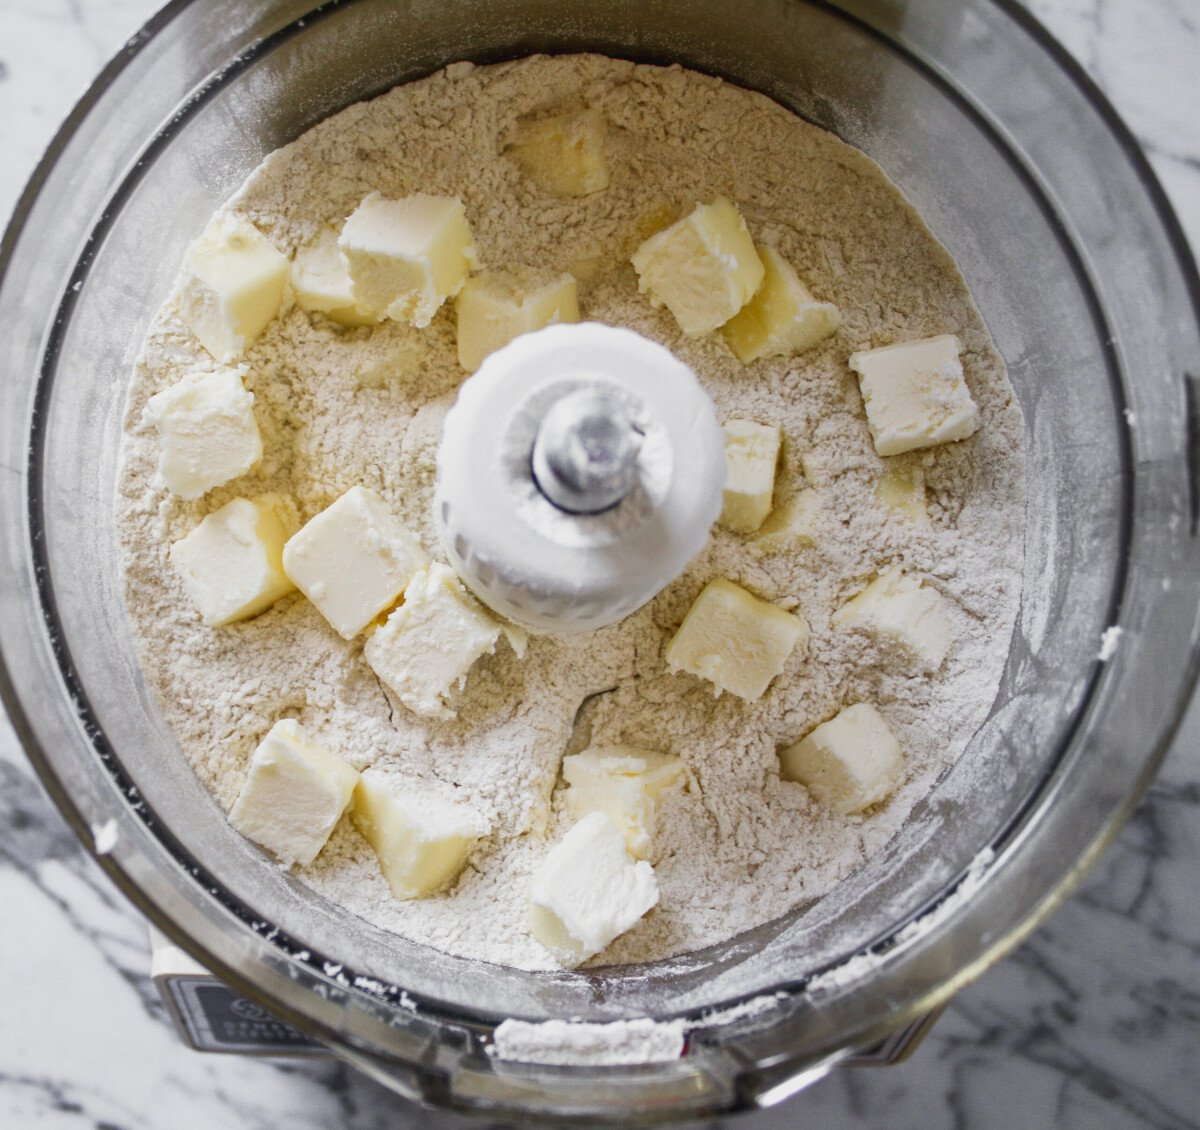
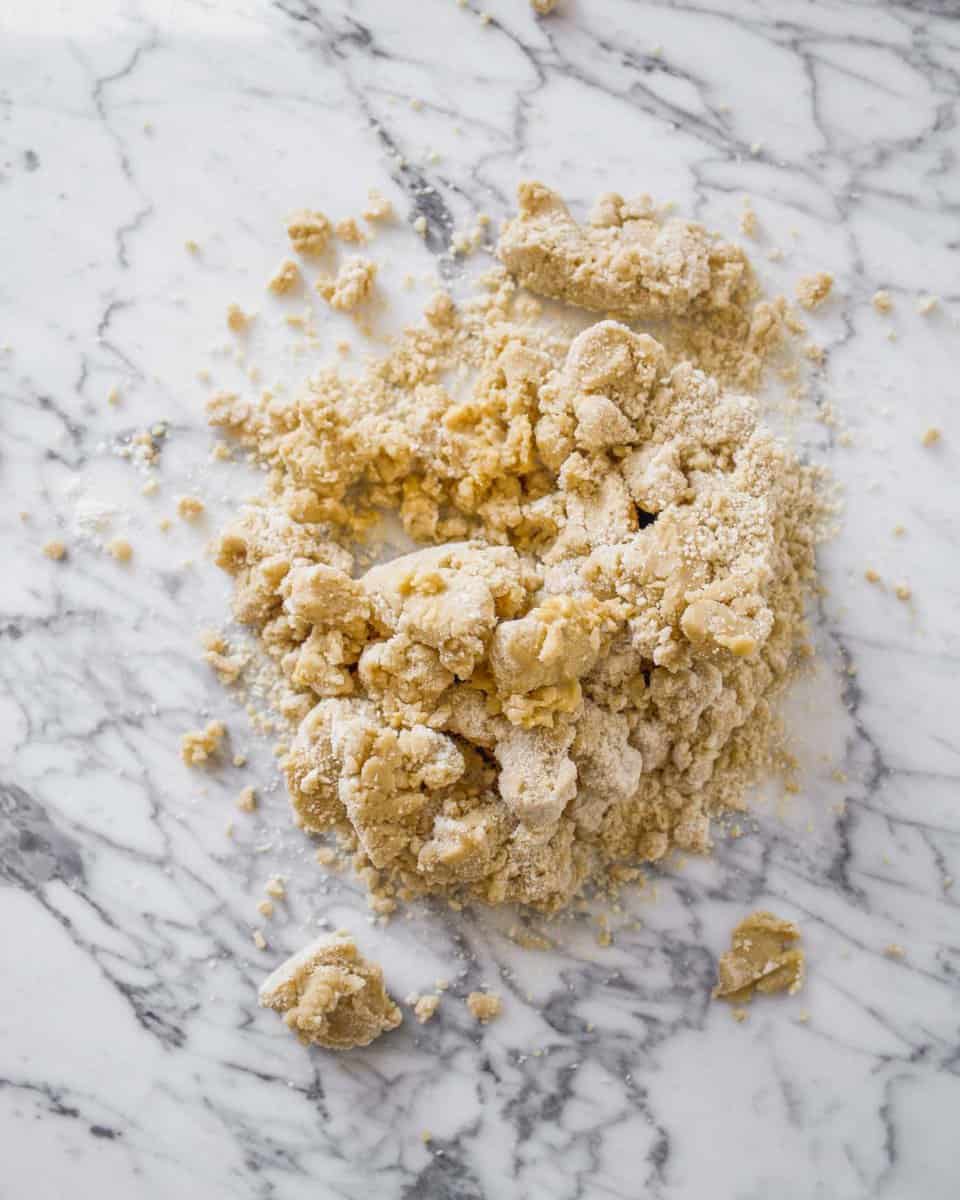
- Pulse dry ingredients together, scatter butter over top and pulse until a coarse meal is formed. Add yolk and cream mixture and pulse until a dough comes together.

- Form dough into a disk and wrap tightly with plastic wrap; chill 1 hour.

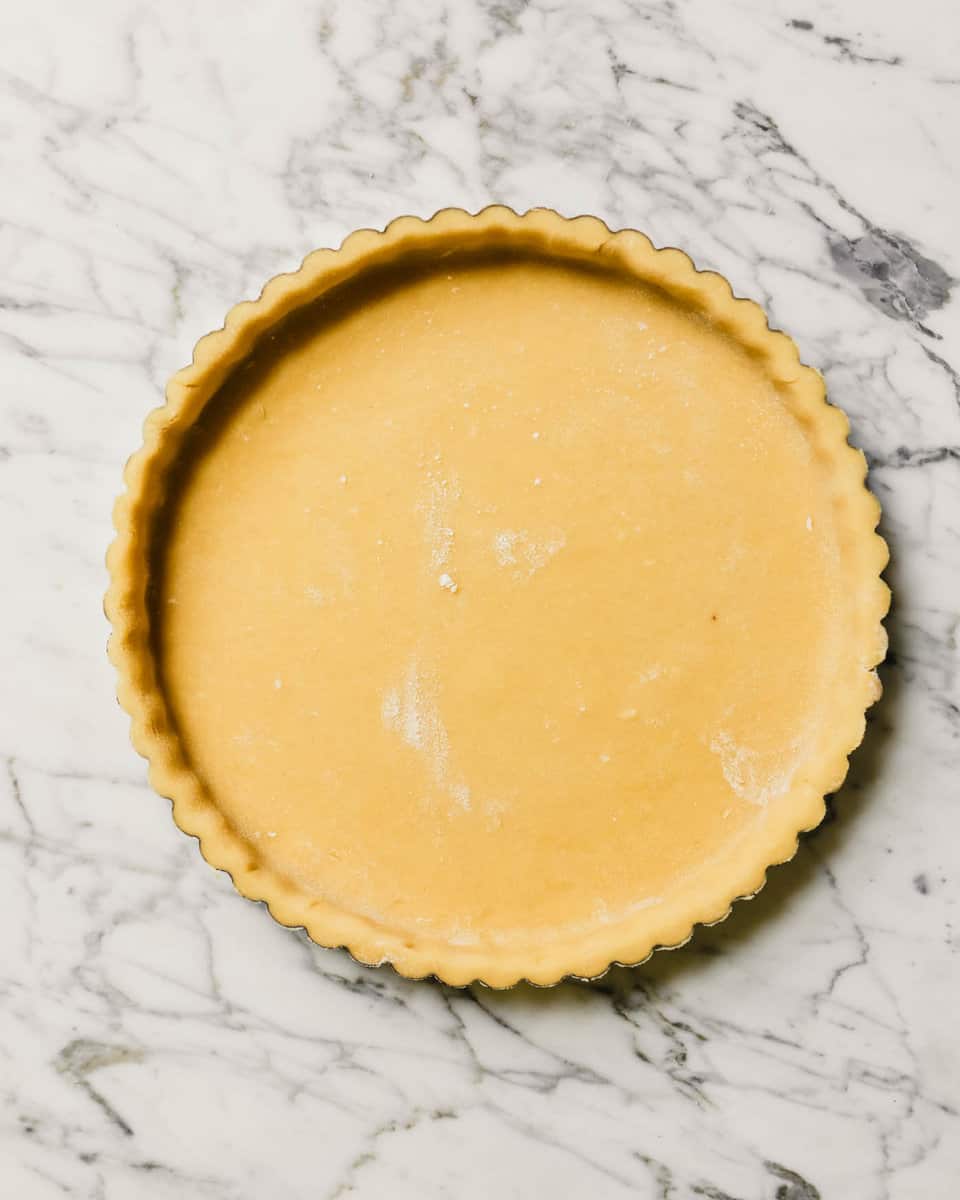
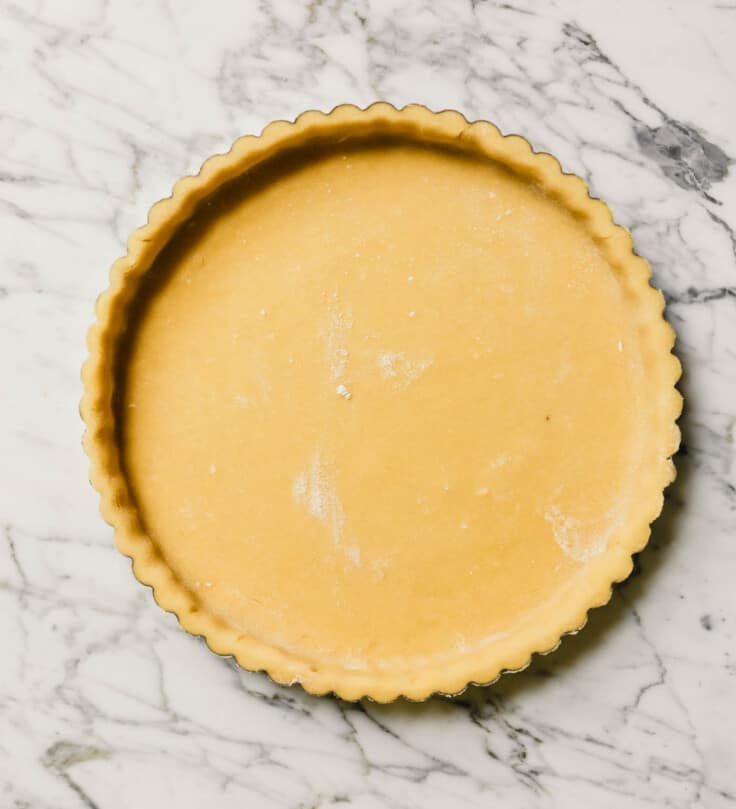
- Roll dough out then press into bottom of pan and up sides; trim edges and freeze until firm, about 30 minutes.
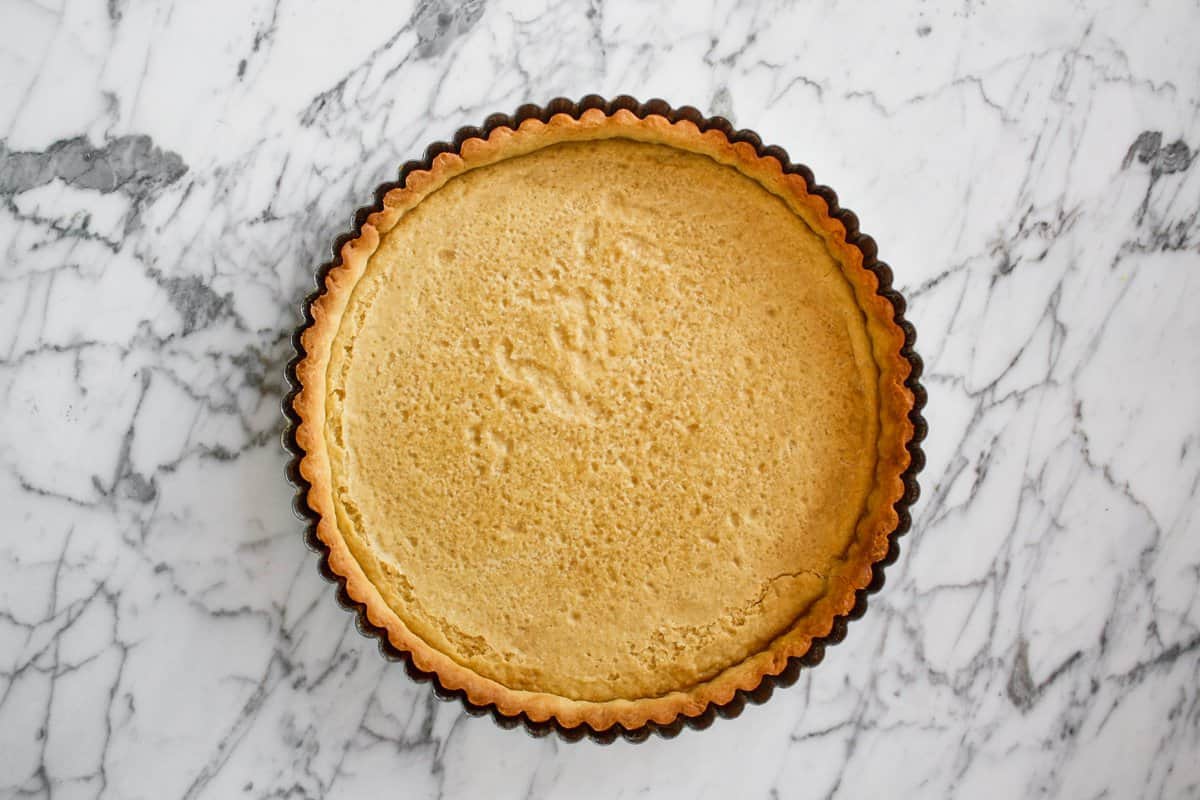
- Blind bake crust until starting to brown and dry to the touch. To blind bake, line the unbaked tart crust with foil, fill with baking weights (or beans) and bake.
Make Ahead Tips
You can freeze the tart dough or the baked crust. Here are my tips:
Refrigerating Tart Crust Dough
Chill the dough disk or dough-lined tart pan, wrapped tightly in plastic wrap, in the refrigerator for up to 3 days.
Freeze Tart Crust Dough
Freeze the dough disk or dough-lined tart pan, wrapped tightly in plastic wrap and placed in a zipper-lock bag, for up to 3 months.
For the dough disk, let it thaw completely on counter before rolling out. For the dough-lined tart pan, simply bake the frozen tart crust according to the recipe, adding a few minutes onto the bake time. No need to thaw.
Freeze Baked Tart Crust
Wrap the baked tart crust in a layer of plastic wrap then place in a zipper-lock bag and freeze for up to 1 month. Let the crust thaw at room temperature before filling and using as desired.
Use the Tart Crust in These Recipes
Fruit Dessert
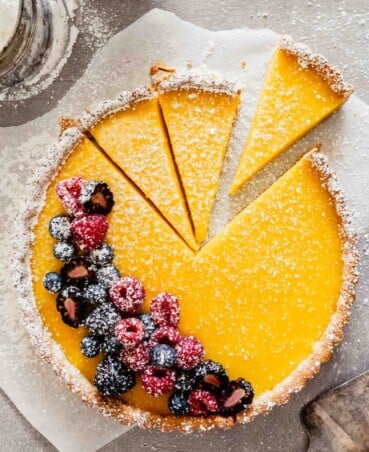
Lemon Curd Tart
Desserts
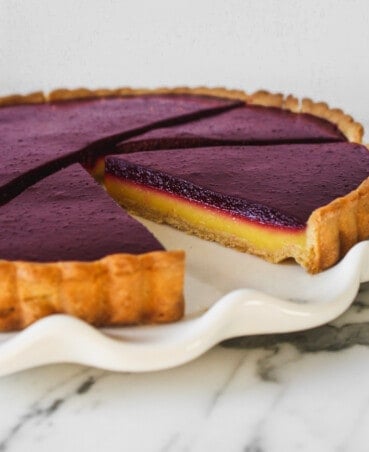
Blueberry–Lemon Curd Tart
Tarts and Pies
Raspberry Lemon Tart

Tarts and Pies
Rhubarb Tart with Lemon
Classic Tart Crust Recipe
Description
Video
Save This Recipe!
Ingredients
- 1 large egg yolk
- 1 tablespoon heavy cream
- 1 teaspoon pure vanilla extract
- 1 ¼ cups (177g) all-purpose flour
- ½ cup confectioners’ sugar
- ¼ teaspoon salt
- 8 tablespoons (113g) unsalted butter, cut into ¼-inch pieces and chilled
Instructions
- Whisk egg yolk, cream, and vanilla together in bowl. Process flour, sugar, and salt in food processor until combined, about 5 seconds. Scatter chilled butter over top and pulse until mixture resembles coarse cornmeal, about 15 pulses. With processor running, add yolk mixture and process until dough just comes together, about 12 seconds.
- Form dough into 6-inch disk, wrap tightly in plastic wrap, and refrigerate 1 hour. (Dough can be wrapped tightly in plastic and refrigerate for up to 2 days or frozen for up to 1 month. If frozen, let dough thaw completely on counter before rolling.)
- Let chilled dough sit at room temperature for about 10 minutes, roll dough into an 11-inch circle on a lightly floured surface. Loosely roll dough around rolling pin and gently unroll into a 9-inch tart pan with removable bottom, letting excess dough hang over edge. Ease dough into pan by gently lifting edge of dough with your hand while pressing into corners and fluted sides of pan with your other hand (make sure edges are about 1/4-inch thick). Run rolling pin over top of pan to remove any excess dough.
- Wrap dough-lined pan loosely in plastic, place on a large plate, and freeze until dough is chilled and firm, about 30 minutes. (Dough-lined tart pan can be wrapped tightly in plastic and refrigerated for up to 2 days or frozen for up to 1 month.)
- Adjust oven rack to middle position and heat oven to 375° (190ºC). Set dough-lined tart pan on baking sheet, discard plastic and line with a double layer of aluminum foil, covering edges to prevent burning; fill with pie weights. Bake crust until golden brown and set, about 30–40 minutes, rotating pan halfway through baking.
- For a par-baked tart crust: remove weights and foil and let crust cool.
- For a fully cooked tart crust: remove weights and foil and continue baking crust for an additional 5-10 minutes until deeply golden brown.
Can’t wait to try this recipe!! It looks perfect
Thanks Joanne! I love that it can all be made in the food processor! 🙂
Hi Lauren, I made my first ever tart shell using this recipe with great success. If I add 100g ground pistachio to the mix, should I reduce the flour or add more butter? How will I adjust other ingredients accordingly? Thank you
Hi Gigi—great question! I would use 3/4 cup flour with your 100g ground pistachios (which I assume will be about 3/4 cup). I’d also add 2 tablespoons regular cane sugar (in addition to the confectioners’ sugar). The cane sugar will help create a tender crumb. Keep the butter the same, but if the dough isn’t coming together add a splash of cream. Let me know how it goes!
Hi!
European here- could you may add a gramm info to the butter?
Many thanks, Maria
Hi Maria, I just updated the recipe card to include grams. For future reference, 8 tablespoons of butter is 113 grams.