This post may contain affiliate links.
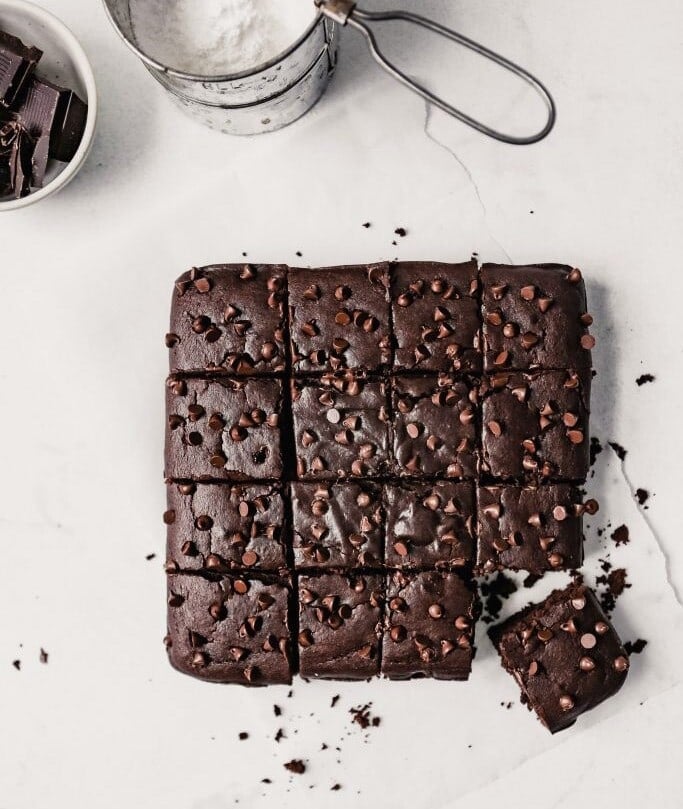
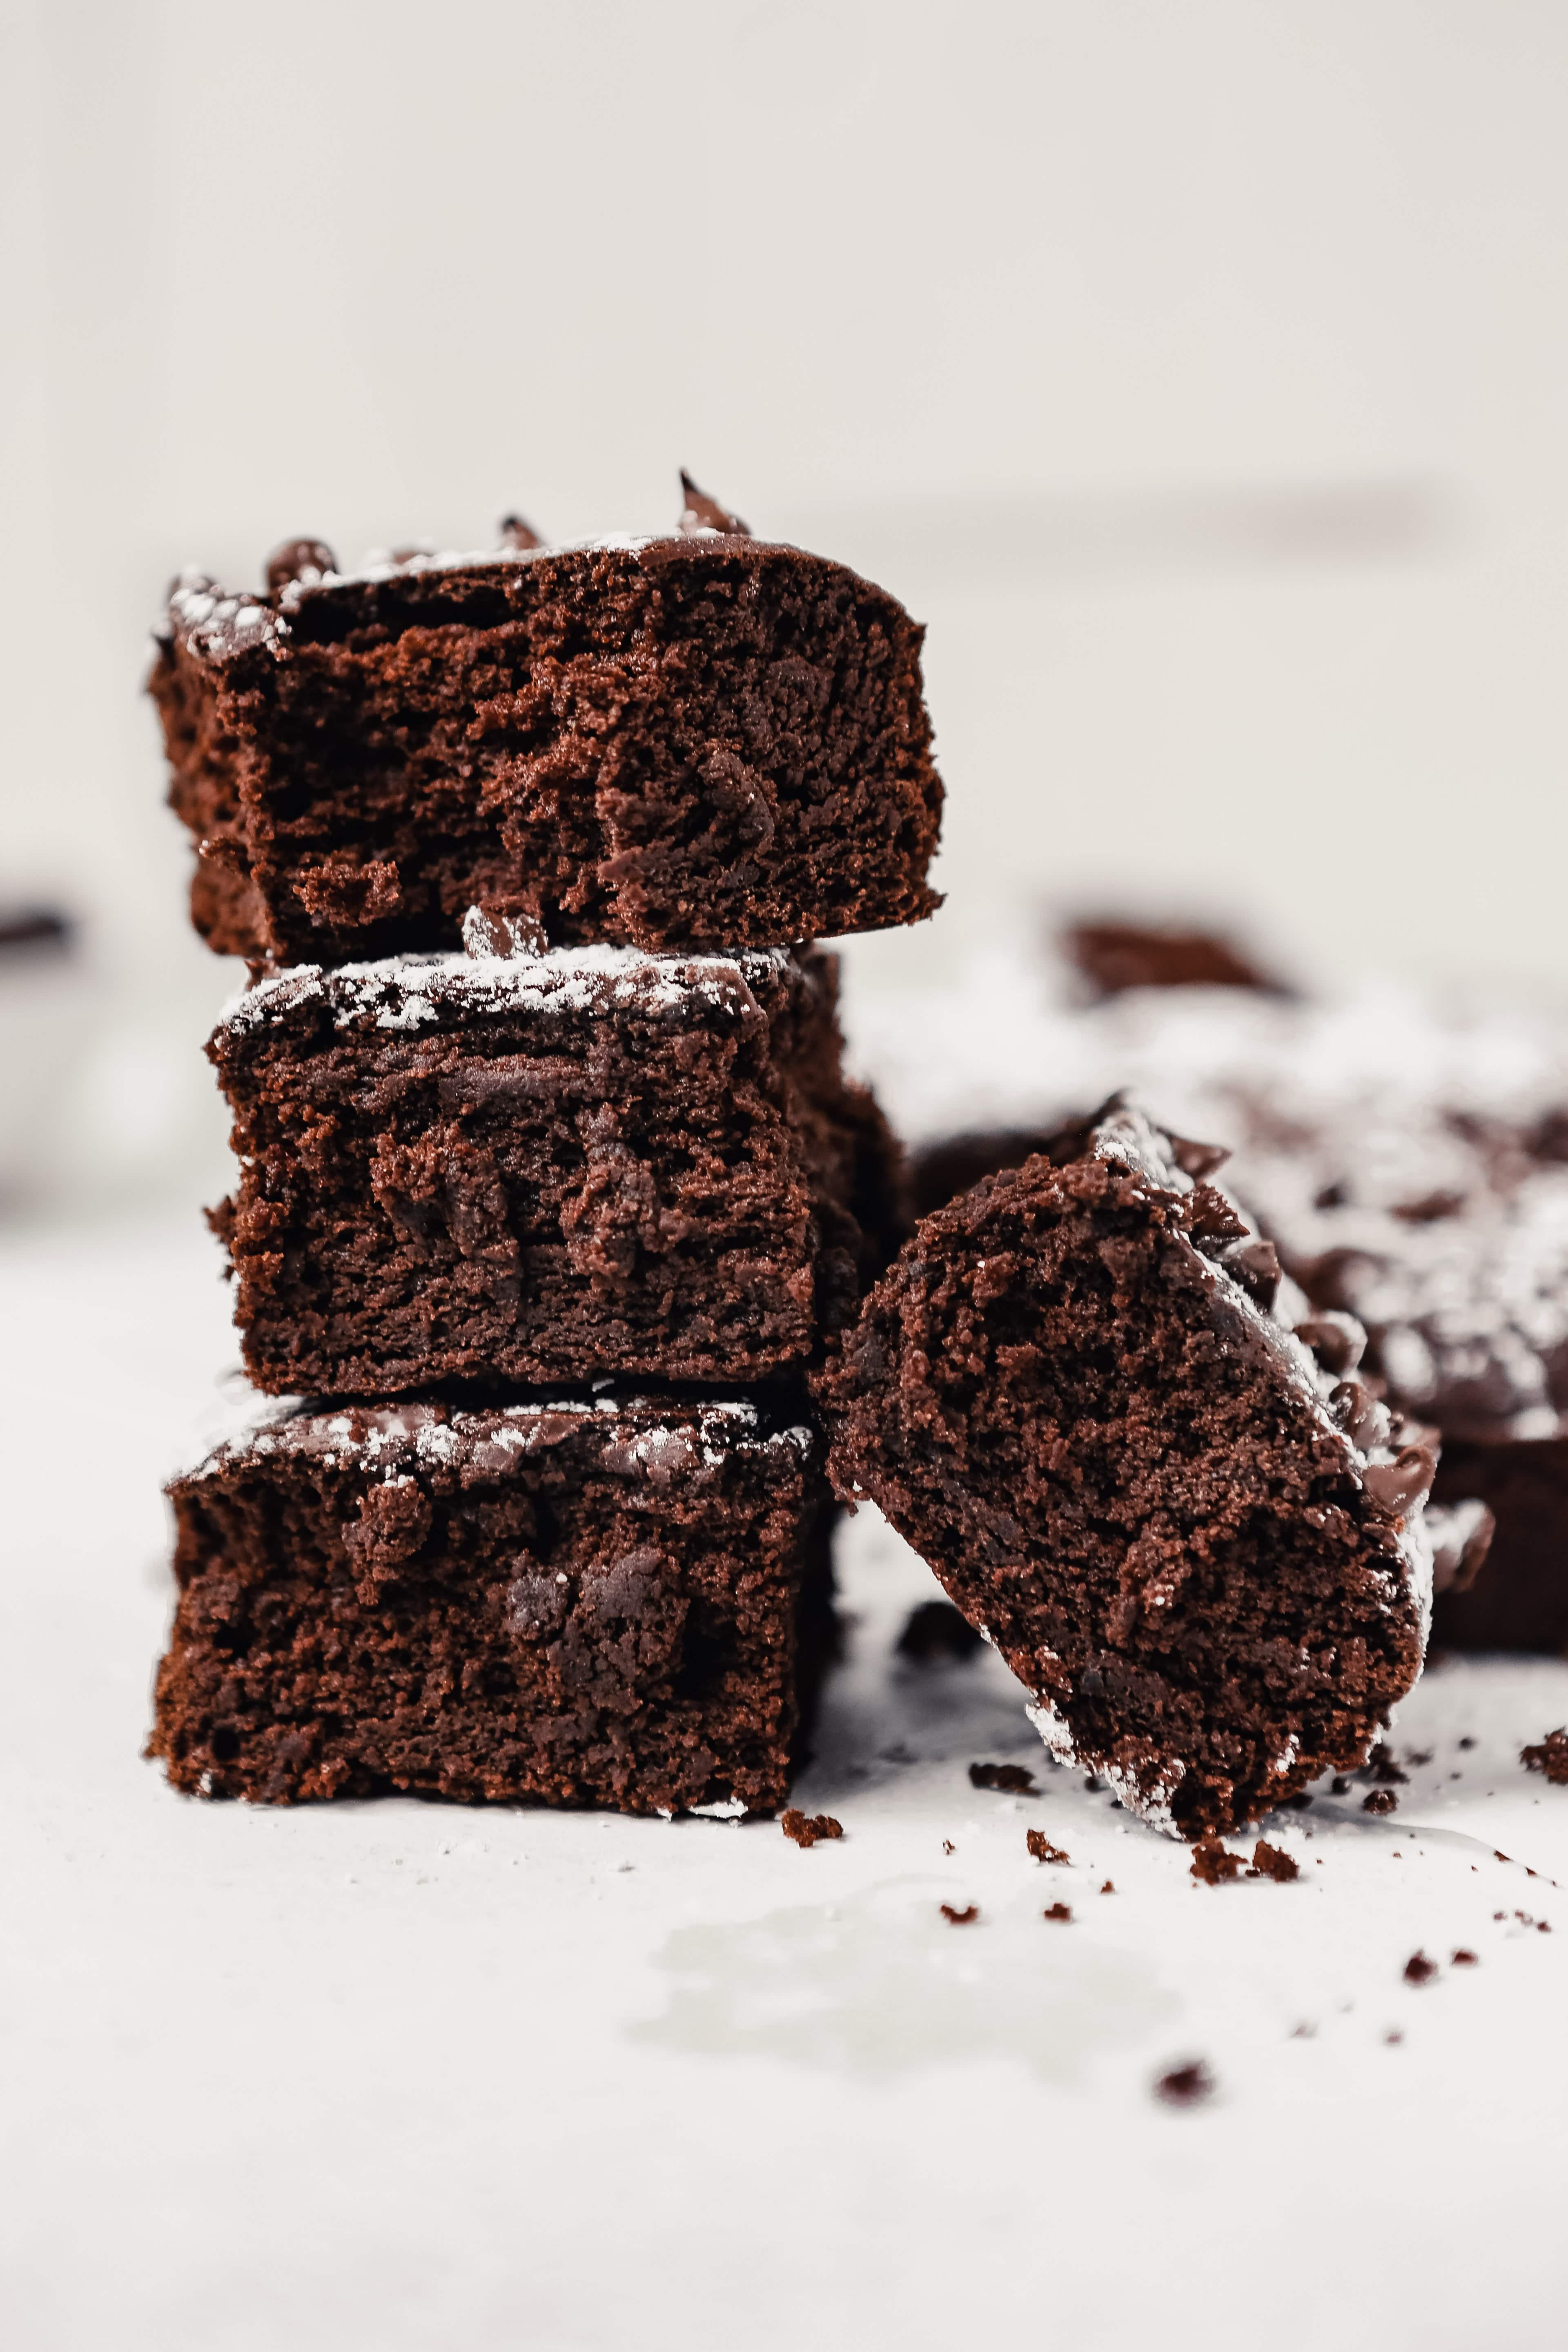
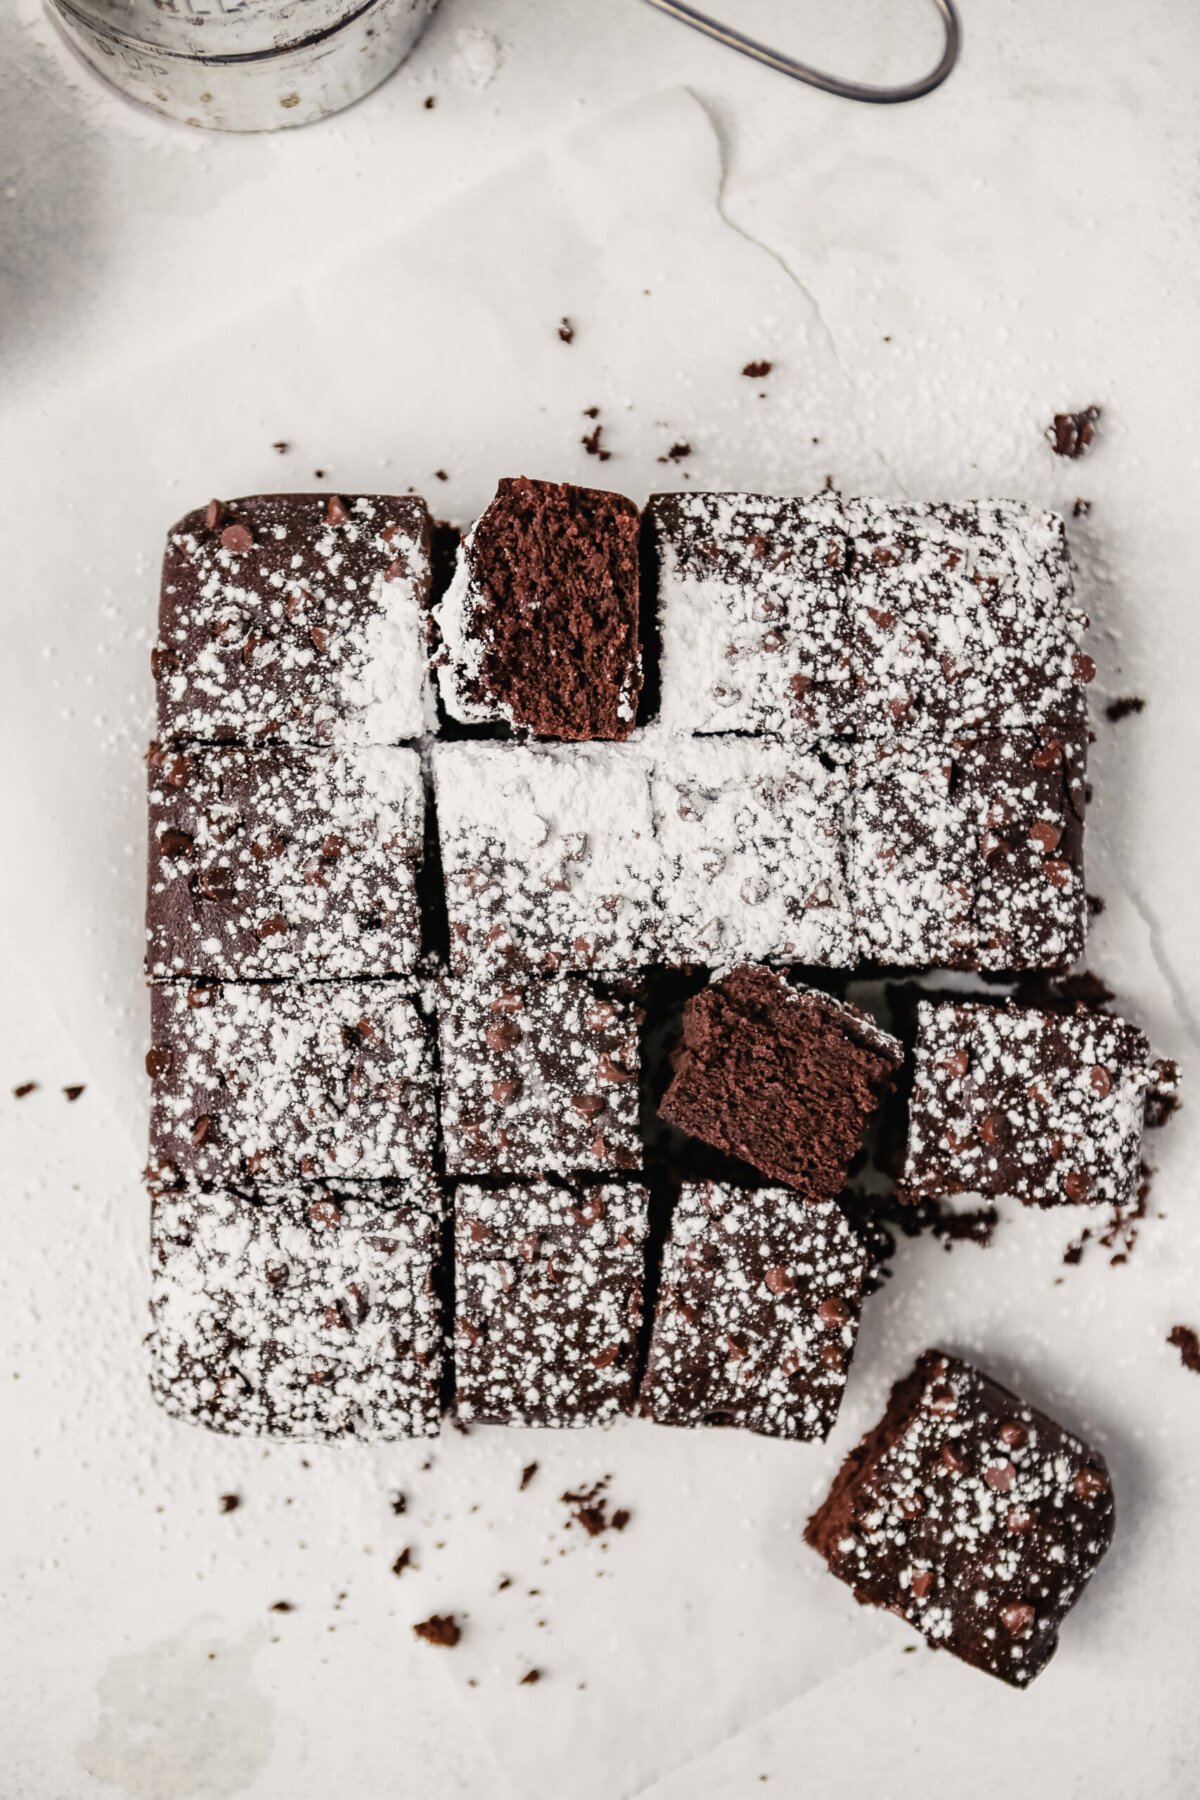
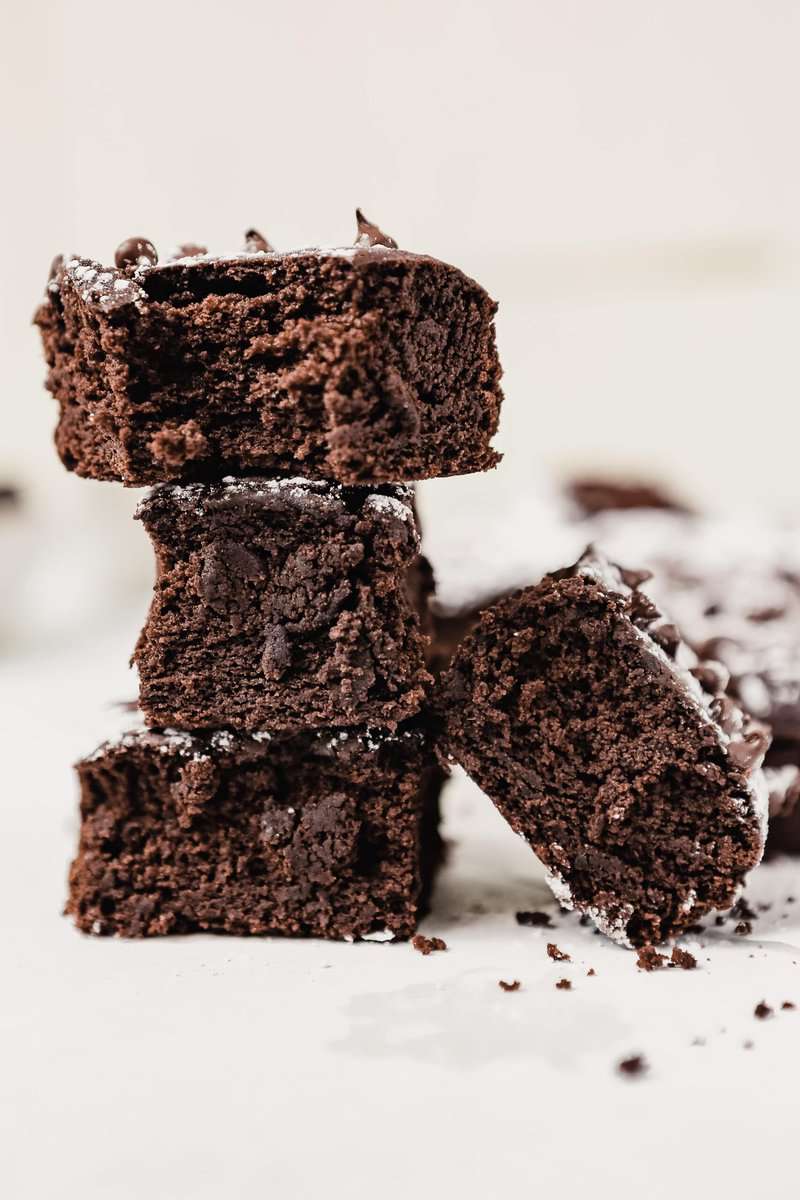
These Black Bean Brownies are bound to surprise you! I’ve been baking them for years because they’re moist, ultra-chocolatey, and melt-in-your-mouth. Done in 45 minutes with mostly pantry ingredients, these brownies are a great alternative to traditional brownies.
I’ve tested these every which way, and the best way I’ve found to make the batter is in the blender. This ensures everything is pureed and smooth (aka no bean chunks).
Plus, this brownie recipe uses a whole can of black beans, which means you won’t have any leftover.
Why beans? When pureed, the beans give the batter extra moisture which means you can use less butter or oil. And if you’re looking for more veggie-packed baked goods, add this Lemon Poppyseed Zucchini Bread and Browned Butter Carrot Bread to your repertoire.
This recipe article was originally published in March of 2019, it has since been updated with helpful tips, ingredient information and clearer instructions.
Reader Review
Tried this recipe and loved it! Will definitely be making these again! Great taste and texture. Thank you for this recipe!
– D
Why You’ll Love this Recipe
- 15 minute prep time. This dessert recipe is so simple and easy. Great for kids and beginner bakers, as well as experts. We’ve made it so many times, it’s truly foolproof.
- The blender does the work for you. Rather than use a bunch of bowls, all you need is your blender to mix the brownie batter perfectly.
- The moistest brownies you will ever make! Thanks to the moisture from the beans, these brownies are melt-in-your-mouth delicious.
Lauren’s Tip
Adding a pinch of espresso powder to brownie batters enhance the overall chocolate flavor without tasting like coffee.
Ingredients in Black Bean Brownies
- Coconut oil: a flavorful fat that pairs nicely with chocolate.
- Dark chocolate: melted bar chocolate makes the best brownies. I recommend dark chocolate, instead of milk chocolate, because it adds the most flavor. We can use sugar to sweeten the batter (not cheap chocolate).
- Canned black beans: make sure you use low-sodium or no salt added! Beans bind the batter together and add tons of moisture.
- Large eggs: Another important binding ingredient. Plus, they add to the overall fudginess of the brownies.
- Cocoa powder: a great ingredient for brownies because it can replace some of the flour all while deepening the chocolate flavor.
- Instant espresso powder: just a pinch to enhance the chocolate. Do not substitute with instant coffee granules.
- Vanilla: adds some caramel notes to the brownies.
- All-purpose flour or gluten-free flour: while less flour is used in this recipe compared to traditional brownie recipes, it is important to structure. You can sub with 1:1 gluten-free flour.
- Baking powder and baking soda: baking powder helps them to rise and baking soda makes for a tender bite.
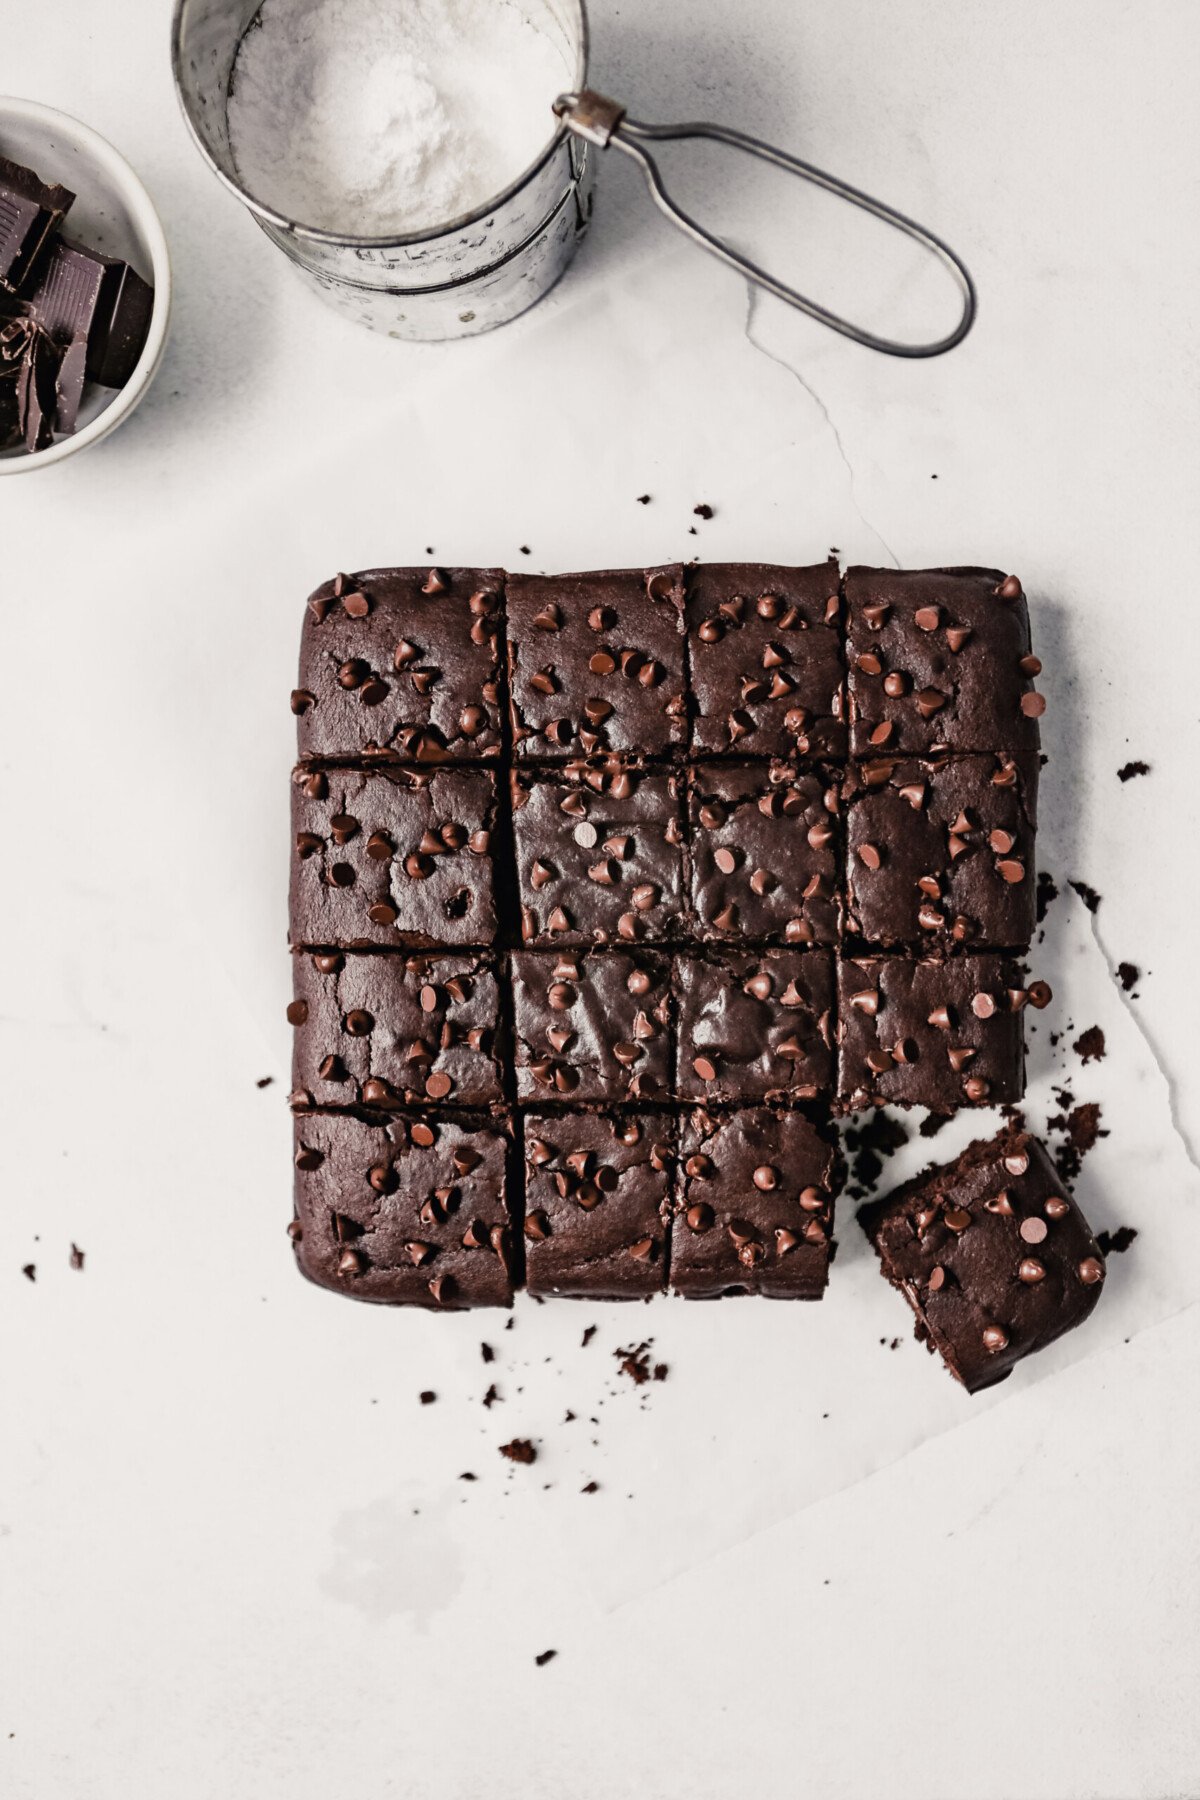
- Mini chocolate chips: optional, but delicious because it adds small pockets of melty chocolate.
How to Make this Black Bean Brownies Recipe
The batter for these easy black bean brownies is made in a blender which makes them easier than a traditional recipe!
- Preheat oven to 350°F. Grease and line a baking pan with parchment paper.
TIP: when lining the pan with parchment paper, make it like a sling with a 2-inch overhang. This way you can use that overhang like handles and lift the brownies out of the pan.
- Melt the coconut oil and chocolate together in double boiler (glass bowl set over a pot of simmering water) or in the microwave, until melted.
TIP: if melting the chocolate in the microwave, melt it in 30-second increments on 50% power. Stir after each round.
- Blend the beans, eggs, sugar, cocoa powder, espresso powder, and vanilla in a high-powered blender until completely smooth. Add chocolate mixture and blend until smooth.
- Add the flour, baking powder, and baking soda and blend just until combined.
- Pour the batter into prepared pan and sprinkle with chocolate chips. Bake until a toothpick inserted in the center comes out clean, this will take about 25 minutes.
- Let brownies cool in the pan for 5 minutes, then transfer to a wire rack to cool completely. Dust with powdered sugar and enjoy!
Test Kitchen Tips
- Don’t over-blend the brownies. Be sure to blend in the correct order according to the recipe, adding the dry ingredients last. This ensures you aren’t over-blending the batter, which could make them tough.
- Swap the dark chocolate. You can use semi-sweet or bittersweet chocolate if you prefer a brownie that’s a little less intense in chocolate flavor. Skip the espresso powder as well.
Storage & Freezing
Since these brownies are made with black beans, I highly recommend storing them in the refrigerator for up to four days.
Since the brownies will firm up in the refrigerator, I like to gently reheat them in the microwave for about 15 seconds on 50% power when I’m ready to enjoy one.
You can also freeze the brownies wrapped tightly in plastic wrap for up to two months. Thaw on the counter until ready to eat.
FAQs
Yes, you won’t even know the difference. They are so moist and rich in chocolate flavor.
Yes, walnuts would be a great addition.
They will be set on top, and an inserted toothpick should have fudgy crumbs on it.

Easy Black Bean Brownies Recipe
Description
Save This Recipe!
Ingredients
- 2 tablespoons coconut oil
- 4 ounces dark chocolate bar, chopped
- 1 (15-ounce) can low-sodium black beans, drained and rinsed
- 2 large eggs
- ⅔ cup granulated sugar
- ¼ cup cocoa powder
- 2 teaspoons instant espresso powder
- 1 teaspoon pute vanilla extract
- ¼ cup all-purpose flour or 1:1 gluten-free flour
- ¼ teaspoon baking powder
- ¼ teaspoon baking soda
- 2 tablespoons mini chocolate chips, optional
- Confectioners’ sugar, optional
Instructions
- Preheat oven to 350°F (176ºC). Grease an 8-inch baking pan with nonstick spray and line with parchment paper, leaving a 2-inch overhang.
- Melt coconut oil and chocolate together in a double boiler (or microwave) until smooth; let cool 5 minutes.
- Blend beans, eggs, sugar, cocoa, espresso powder, and vanilla in a high-powered blender until completely smooth. Add chocolate mixture and blend until smooth.
- Add flour, baking powder, and baking soda and blend just until combined.
- Pour batter into prepared pan, smooth top, and sprinkle with chocolate chips (if using). Bake brownies until a toothpick inserted in the center comes out clean, 25 minutes.
- Let brownies cool in pan 5 minutes, then transfer to a wire rack to cool completely. Dust with powdered sugar, if desired.
So easy and delicious!
I’m glad you liked them!! 🙂
Could these be made ahead and frozen in slices?? I can’t wait to try the recipe!
Hi Jessica!
Great question, I have not tried this, but I definitely think you could freeze them. I would wrap them in foil then place them in a ziplock bag for the best results. I found that they are best enjoyed within the first 3 days of making (and stored at room temp or in the fridge), after that they tend to get a bit crumbly. So, I would imagine the only risk with freezing is that they could get a bit crumbly, but I think you should be good!
But they do look cakey, though. Are they more on on a fudgy side or cakey side? Perhaps baking powder and baking soda should be omitted to make them more fudgy?
Both baking powder and soda are used to give these brownies some lift so they aren’t totally flat. They are definitely still fudgy! But if you want them to be super fudgy and gooey you can leave out the soda.
Tried this recipe and loved it! I baked them in a muffin tin, made 12 large muffins.
I used vegan dark chocolate, whole wheat flour instead of all purpose flour, and vegan butter instead of the coconut oil – and it worked perfectly. Will definitely be making these again! Great taste and texture. Thank you for this recipe!
Hi D! I am so happy to hear you enjoyed them! And I love hearing about the changes you made—I need to try these as muffins! Thanks for sharing!!
Really enjoyed this. But I’m calling it a black bean cake as it’s consistency is that on a cake not brownies. Great flavor though
Hi Mandy, I’m so glad to hear you enjoyed this! Great note on the texture—I should develop a more fudgy version.
Your recipe worked perfectly for us. Will be making again!
Yay! So happy to hear that!!