This post may contain affiliate links.
The key to perfect meat, poultry and seafood at home—using an instant-read meat thermometer! But what’s the correct way to use it? We break down everything you need to know from what types of thermometers to buy, how to use and calibrate them, and how to cook meat perfectly ever single time!
When cooking meat (especially different types of steak), there’s one essential thing you should know: how to properly use a meat thermometer to ensure your meat comes out perfect every time.
It’s easy to overcook meat when going by cook time alone. Check out our Ultimate Internal Temperature Cooking Guide—it tells you the exact temperatures for everything from beef and pork to poultry and seafood should be cooked to.
Our favorite instant-read thermometers:
Thermapen
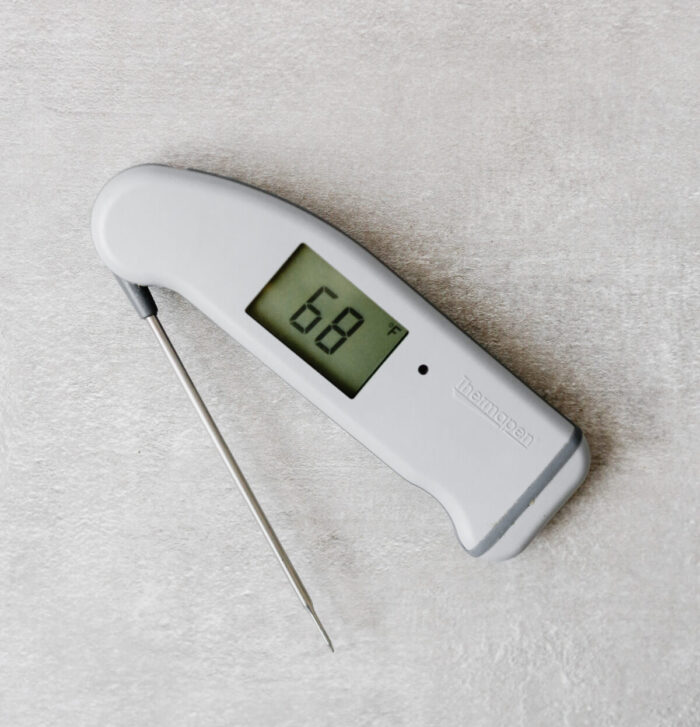
We love the Thermapen Mk4 from ThermoWorks, it’s super reliable and Lauren has used it in countless test kitchens. It’s an excellent tool for temping a variety of items but is especially great for taking meat temps!
ThermoPop
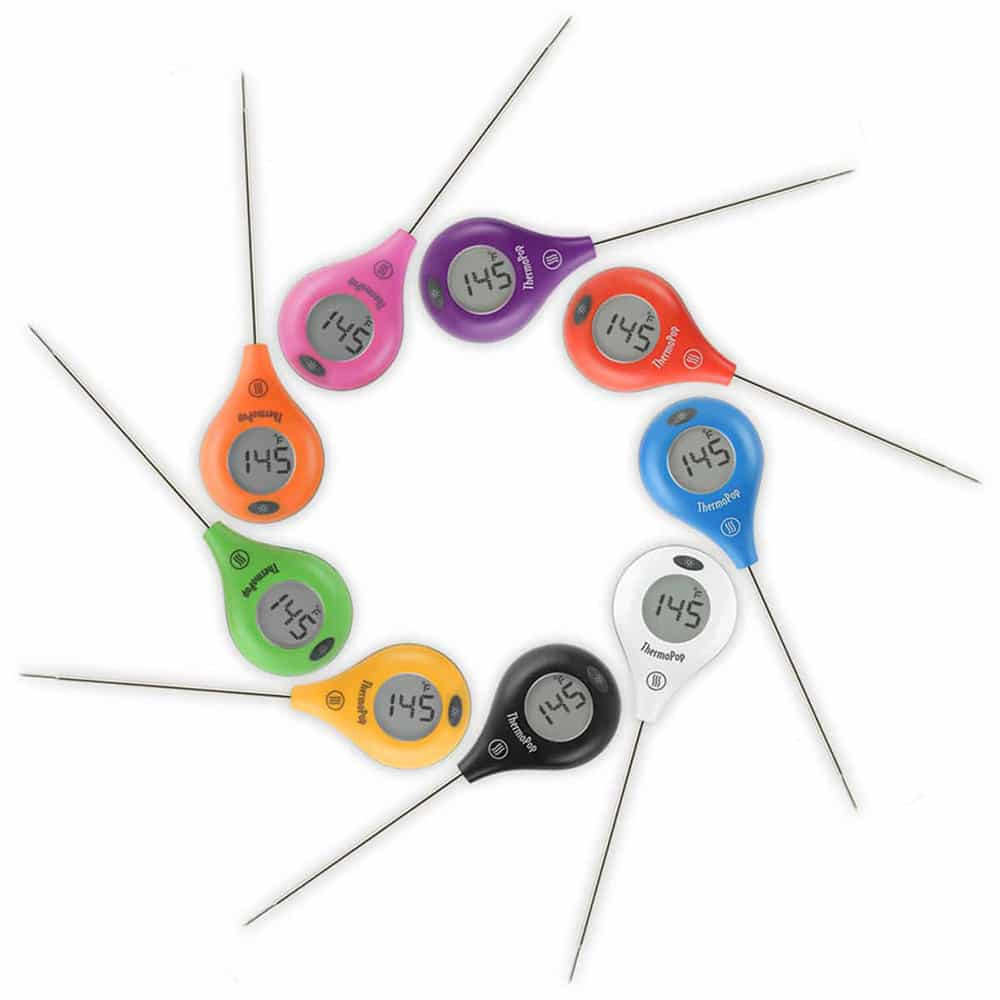
This little gadget is super cute, compact, and more economical than the Thermapen. The Thermopop is also by ThermoWorks, so you know it’s good. Most ThermoWorks instruments carry a two-year warranty and guarantee against defects in either components or workmanship (some items even offer a five-year warranty!)
Folding Thermometer
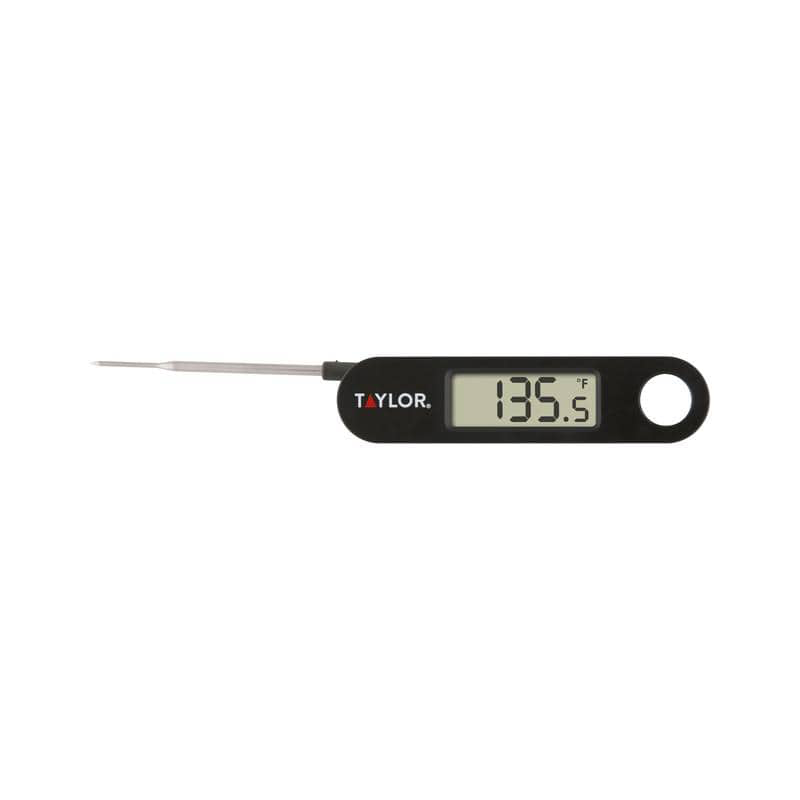
A more economical option comes in the form of this Folding Thermometer from TaylorUSA. It’s just $10. It’s built small which makes it an easy item for on-the-go grill-outs making or small kitchens.
Kinds of Meat Thermometers
There are plenty of different types of meat thermometers on the market however, the above two by ThermoWorks are our favorites— they’re extremely reputable, consistent and incredibly accurate.
But you don’t necessarily need to splurge if it’s not in your budget. As long as the thermometer is properly calibrated it will do the trick! Bear in mind standard options take much longer to give a temperature read-out and aren’t nearly as accurate as higher-quality digital instant-read thermometers.
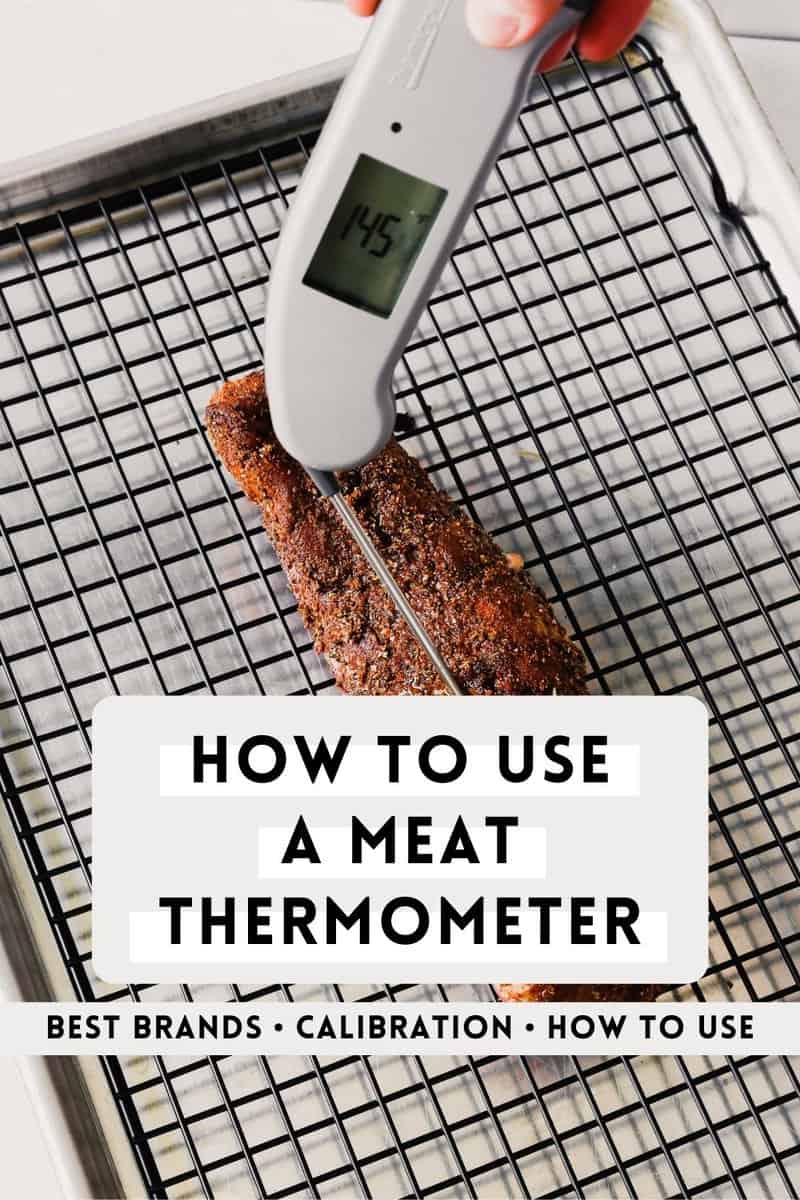
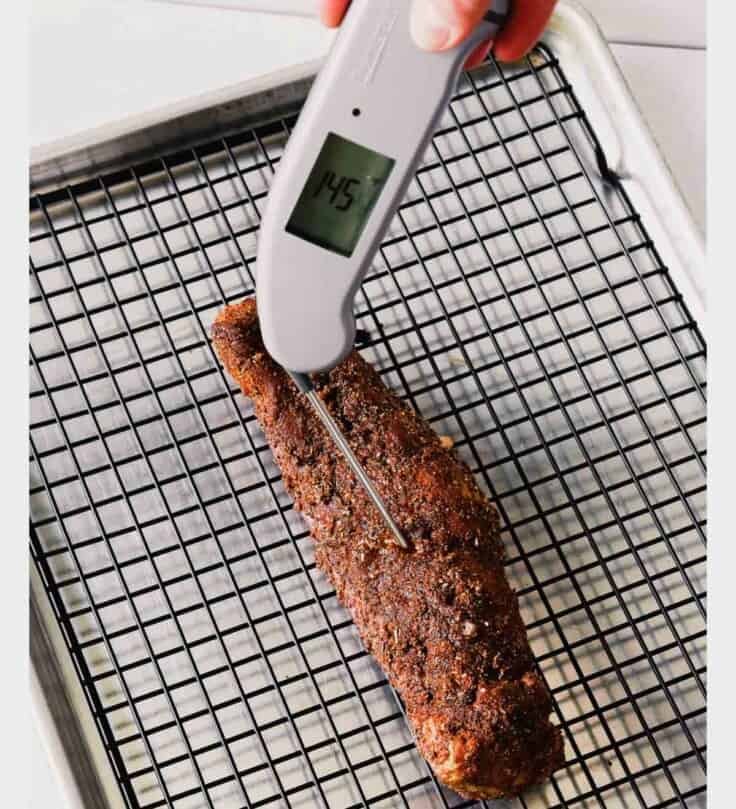
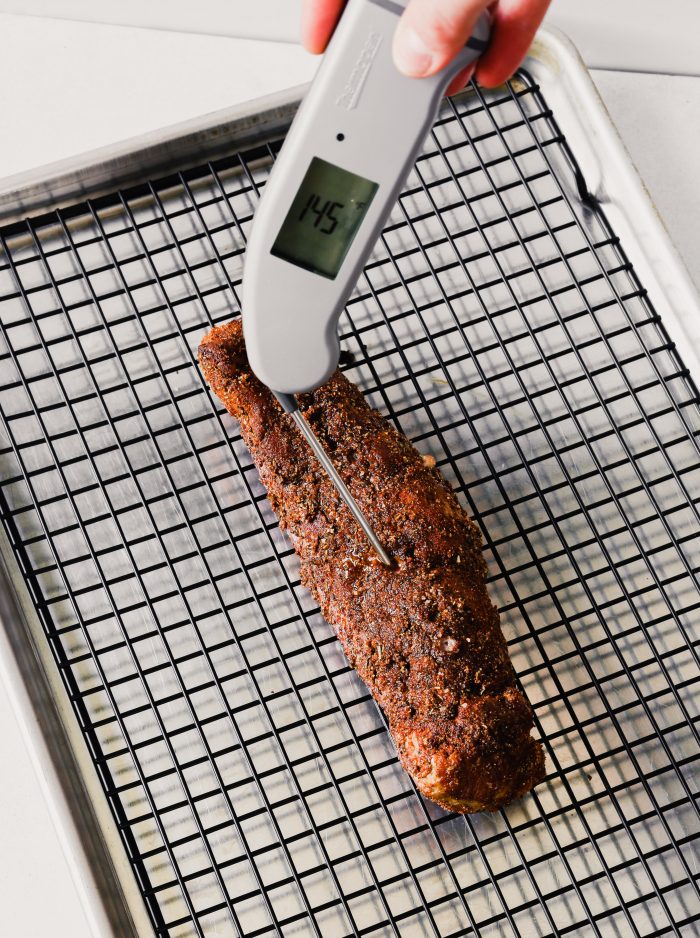
How to Use Meat Thermometers
Once you’ve purchased or (re-)calibrated your meat thermometer you’ll find it’s extremely simple to use. Just insert the probe about one inch into the thickest part of the meat; avoid touching any bones or fatty areas. The lowest internal temperature can be found in the core of the meat so that’s where you’ll get the most accurate readings.
If you’re using one of the ThermoWorks models the temperature readings are actually taken from the tip of the probe. When inserting the probe the temperature should decline. If it begins to rise you’ve gone too far and should retract until the temp steadies for the most accurate reading.
How to Calibrate Digital Thermometers
If there’s ever any doubt as to whether or not your thermometer is temping right it’s time to recalibrate. Even if it’s brand new it might not be calibrated correctly.
The easiest way by far to re-calibrate digital thermometers is with an ice-bath. Prepping an ice bath is easy, but does need to be done correctly. Follow our steps below to properly calibrate your digital read thermometer.
- Fill a large glass or ThermoWork Ice Bath Mug to the top with ice.
- Add very cold water to just an inch below the rim ensuring it fills in the spaces between the ice and allow the mixture to rest a couple of minutes.
- Insert the stem or probe vertically of your thermometer into the mixture.
- An ice bath should read 32ºF if it’s been properly calibrated. If it doesn’t read 32ºF and is off by more than two degrees, hit the reset button and repeat these steps until the thermometer reads correctly.
Check the Temperature as You Cook
When cooking meat we recommend using time as a guide and temp as a rule. And when cooking by temperature it’s key to check early and often. Temperatures can rise quickly so it’s important to closely monitor!
Check out our Ultimate Internal Temperature Cooking Guide for guidelines on internal temps for everything from chicken and beef to fish and seafood. Following these temperature guidelines, and monitoring the temp as your meat cooks, will help you avoid gritty, dry meat.
Take Carry Over Cooking into Account
The temperature you pull your meat off the heat is likely not the temperature it will end up being. The internal temperature of all meat and fish, but especially red meat, increases as it rests. This is called carry over cooking.
Carry over cooking can be best explained as meat, no matter its size, will retain heat and continue to cook even after being removed from heat.
For example, even a hamburger or thin slice of poultry will rise 3–4ºF while your annual turkey can rise in temperature as much as 10–15ºF.
Meat isn’t actually done until carry-over cooking is complete and you get a correct internal temp reading. As a general rule of thumb you’ll want to subtract the rest time from your target temperature. (Or just use our cooking temp guide and save yourself the headache!)

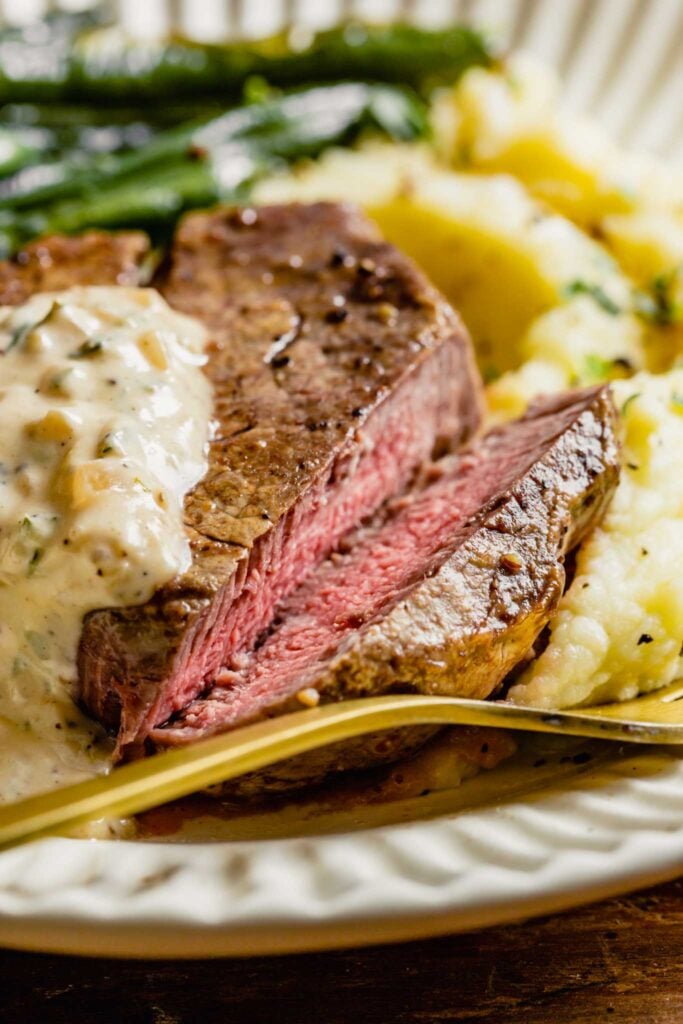
Allow Meat to Rest
If you’re working with a piece of red meat such as beef, pork, veal or lamb, you’ll want to allow for a rest time that’s about half as long as the cook time (this includes the carry over cooking time).
All meat should rest once done cooking to allow for redistribution of juices. This is critical to creating moist and juicy meat.
In general, meat should rest for 10–15 minutes or more. If that time includes carry over cooking, allow the meat to rest another 5–10 minutes after the desired internal temperature has been reached.
If you are handling a roast, allow 10–20 minutes time before you carve into it. If it’s a thinner piece of meat like steaks, pork chops or lamb chops, allow for at least 5 minutes rest time. Many chefs allow 1 minute of rest for every 100g of meat. Next, it’s time to eat!
On the fence about buying a digital thermometer? Check out our article 12 Surprising Ways to Use a Meat Thermometer. You can use them in more ways than you think!