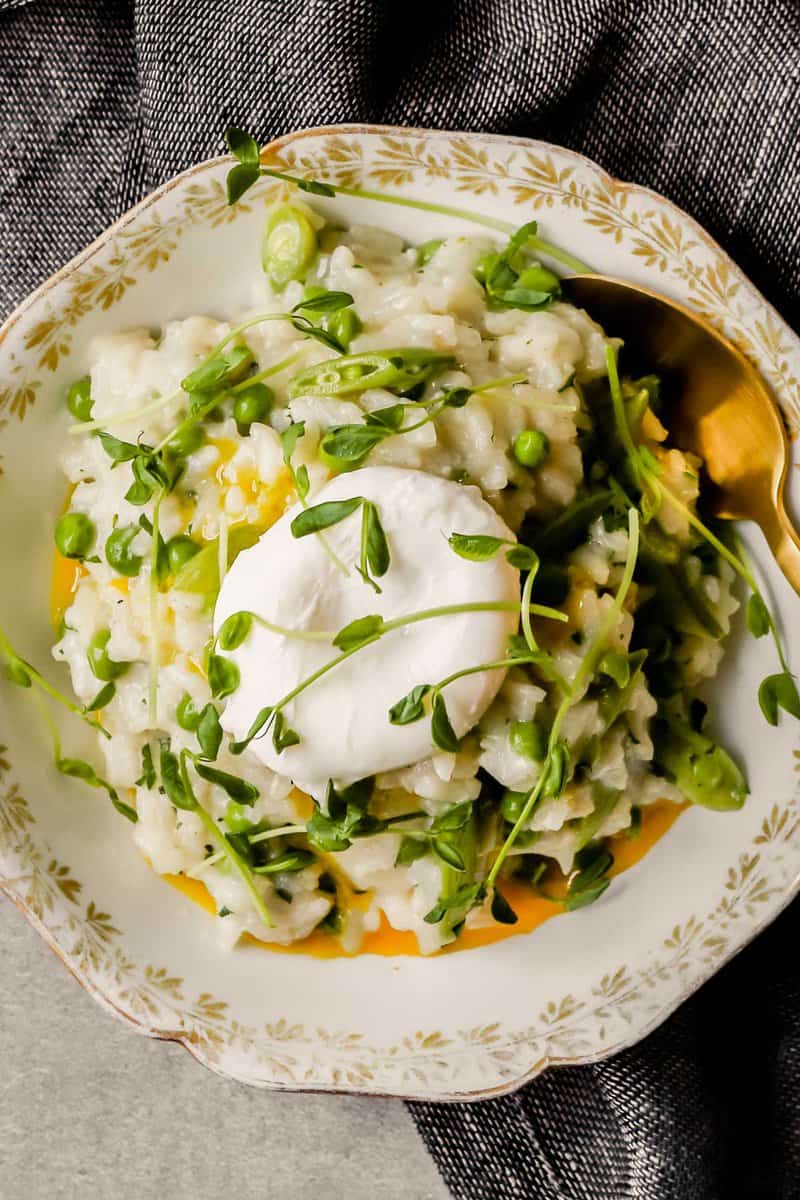
This spring pea risotto recipe is comforting and fresh—the perfect combination to showcase the vibrant produce of the season.
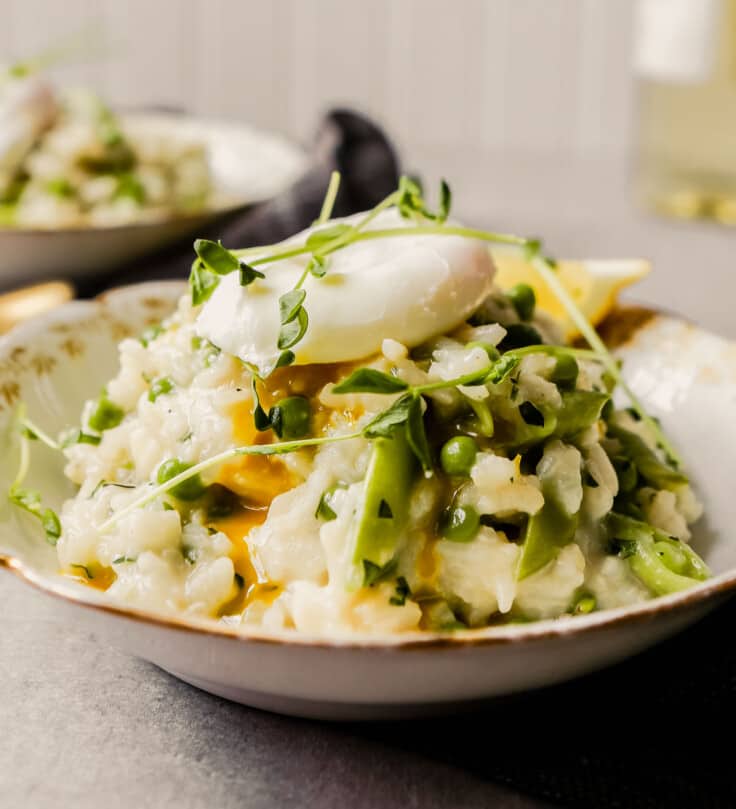
What’s the first thing that comes to mind when you think risotto? Time intensive? Unhealthy? Heavy? We hear you, which is why this recipe defies all of those thoughts. This spring risotto is more hands-off than most, features three different types of peas (green peas, sugar snap peas and pea shoots) and is bright and fresh thanks to lots of herbs, Parmesan and lemon.
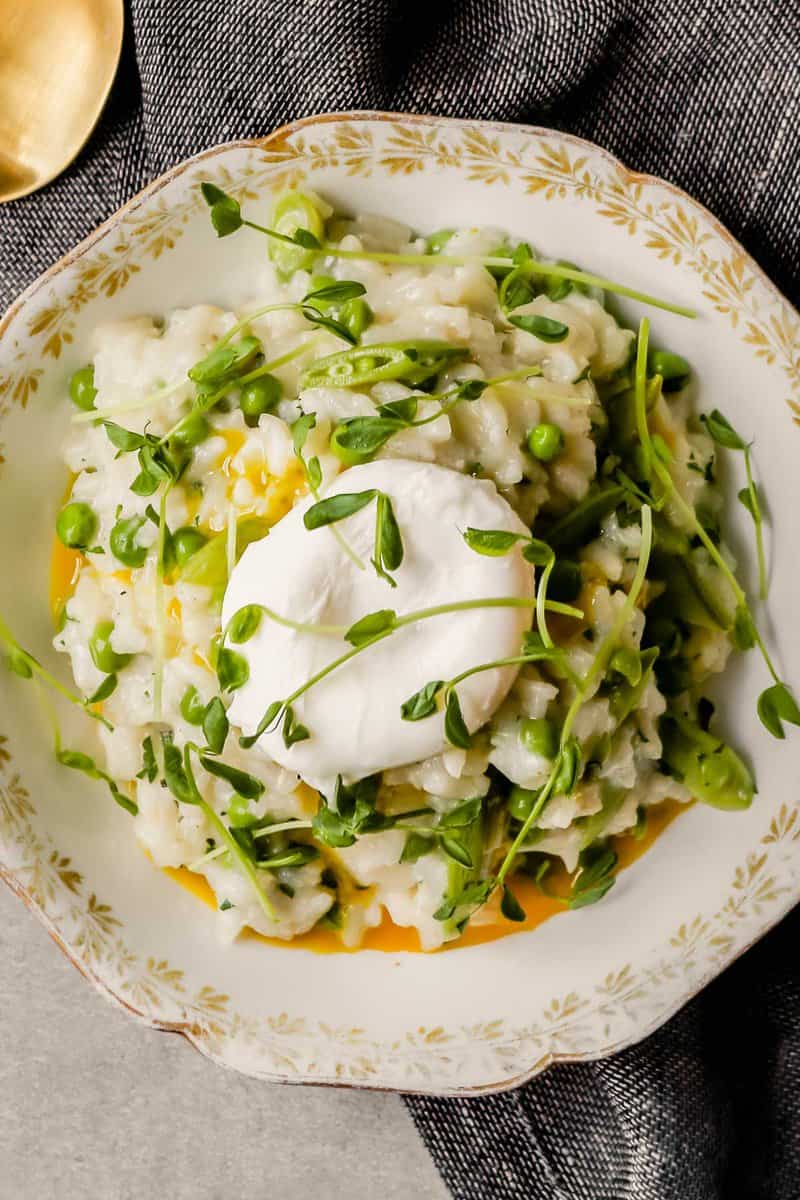
A perfectly poached egg on top of this spring risotto is seriously the cherry on top. Not only does it add some protein, but the luscious yolk adds a bonus silky, smooth sauce to the whole megillah.
Table of Contents

Ingredients in Pea Risotto
- Broth — we like low-sodium chicken broth, though you can also use vegetable broth.
- Butter — use unsalted butter so you can control the seasoning level
- Aromatics — onion and garlic lay the foundation of flavor here. Make sure you use fresh cloves of garlic for the best flavor.
- Kosher salt
- Rice — you’ll need risotto rice aka arborio rice. It’s a short-grain, high-starch variety that lends itself to cooking up very creamy.
- Dry white wine — we like to use sauvignon blanc or pinot grigio. Anything you enjoy drinking on its own will work well here—just don’t use anything too expensive. You can also replace the wine with additional broth.
- Lemon juice — just a splash brightens up the dish. You can also use vinegar.
- Green peas — we use frozen but you can also use fresh.
- Sugar snap peas — when sliced thin, the peas add a light crunch to every bite.
- Parmesan – use grated fresh Parmesan for the best flavor and meltability.
- Herbs — we recommend using a combination of parsley and tarragon though dill would also be delicious.
- Pea shoots — finish each bowl with a sprinkling of pea shoots. They add a fresh flavor and soft, crisp texture.
How to Make Pea Risotto
- Warm broth in a saucepan.
- Cook onion until softened.
- Add garlic and rice and cook until edges of rice become translucent.
- Stir in the wine and cook until fully absorbed.
- Stir in the warm broth.
- Simmer the risotto until most of liquid has been absorbed, about 15 minutes.
- Add the remaining broth to risotto and stir until creamy.
- Add the peas, sugar snap peas, Parmesan, and butter, cover, and let stand 5 minutes.
- Stir in herbs and season with salt and pepper to taste.
- Serve with pea shoots, poached eggs and lemon wedges.
Test Kitchen Tips
- You’ll know the risotto is done when it’s thick and creamy and the rice is very tender.
- Be sure to season to taste at the end with salt, pepper and additional vinegar or lemon juice.
- Feel free to swap out the wine for vermouth or additional broth.
- If the broth is too thick, thin it out with a bit of additional broth, wine or water. If it’s too thin, allow it to cook a bit longer on the stovetop.

Serving Risotto
There are so many ways to personalize risotto. Top each serving with a couple of poached eggs, pan-seared scallops (or vegan scallops), pan-seared salmon, pan-seared chicken, crispy baked chicken cutlets, sautéed mushrooms or spinach. Crispy bacon bits or prosciutto would also be a great addition.
Pair risotto with any kind of side dish! We like to serve a fruit salad such as this Savory Citrus Salad or Strawberry Salad. For even more pea goodness make our Triple Pea Salad! Our Carrot Salad and Fennel Salad are also spring favorites.
FAQ
Of course! This spring risotto is especially easy to modify to be vegan. Here’s all you need to do:
Use vegetable broth instead of chicken broth
Use olive oil instead of butter
Leave out the Parmesan (add a few tablespoons of Nutritional yeast for a cheesy flavor)
In most cases, no, you need to gradually add the broth and stir after each addition to ensure it is fully absorbed into the rice. Our recipe was developed to allow you to dump most of the broth in at once and do the stirring at the end.
The consistent stirring helps release the starch from the rice, making for a super thick and luscious risotto.
Make sure you are cooking over medium-low heat. If it’s too high you risk the risotto sticking to the pan and burning.
More Risotto Recipes to Try
- Our Carrot Risotto is another must-try spring risotto recipe. It’s made with carrot juice so it has a lovely orange color!
- We also have a Butternut Squash Risotto that is perfectly cozy and savory for fall.
Pea Risotto
Description
Ingredients
- 5 cups low-sodium chicken broth
- 3 tablespoons unsalted butter, divided
- 1 cup diced yellow onion
- Kosher salt and black pepper
- 1 teaspoon minced fresh garlic
- 1½ cups dry arborio rice
- 1 cup dry white wine, such as sauvignon blanc or pinot grigio
- 1 tablespoon fresh lemon juice
- 1 cup frozen peas
- 1 cup sugar snap peas, bias-sliced
- ½ cup grated fresh Parmesan (1 ounce)
- ¼ cup chopped fresh mixed herbs such as parsley, dill and/or tarragon
- ¾ cup pea shoots
- 6 poached eggs *see notes
- Lemon wedges
Instructions
- Bring broth to a simmer in a saucepan over medium heat.
- Heat 2 tablespoons butter in a Dutch oven or pot over medium. Add onion, season with salt, and cook until softened and translucent, 5–7 minutes. Add garlic and cook 30 seconds. Add rice, and cook, stirring constantly, until edges become translucent, 3 minutes.
- Add wine to rice, and cook, stirring constantly, until fully absorbed. Stir in 4 cups warm broth, reduce heat to medium-low, cover, and simmer risotto until most of liquid has been absorbed, about 16 minutes, stirring twice.
- Add remaining 1 cup broth to risotto and stir until creamy, 3–4 minutes.
- Off heat, stir in peas, sugar snap peas, Parmesan, and remaining tablespoon butter, cover, and let stand 5 minutes. Stir parsley and tarragon into risotto; season with salt and pepper.
- Top servings with pea shoots and poached eggs; serve with lemon wedges.
Notes
- Bring a large pot of water to a boil. Crack eggs into a colander, let drain 30 seconds, then gently transfer to a liquid measuring cup.
- Stir vinegar and 1 teaspoon salt into boiling water. Remove pot from heat, then gently lower liquid measuring cup to just above the water and carefully drop eggs into water one at a time, rotating 90-degrees after each addition.
- Cover pot and let eggs cook 3 minutes until whites are set. If they are not set after 3 minutes, continue to cook, checking every 30 seconds.
- Gently remove each egg with a slotted spoon, allowing water to drain off then transfer to a plate.
- Use olive oil instead of butter
- Use vegetable broth instead of chicken broth
- Leave Parmesan out (sub in a few tablespoons of nutritional yeast)
- Leave eggs off
Nutrition

