This post may contain affiliate links.
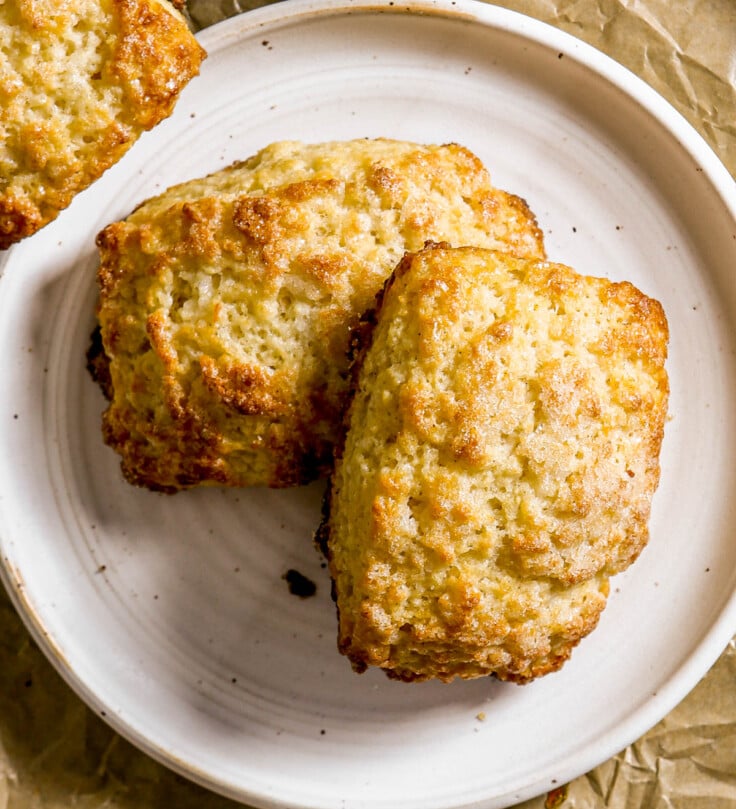
When it comes to scones there are two types of people: those who love them, and those who hate them. This recipe for Buttermilk Scones has proven to be a hit with both camps. I love all scones, but the main complaint with scones is that they’re too dry and too dense (at least the American variety).
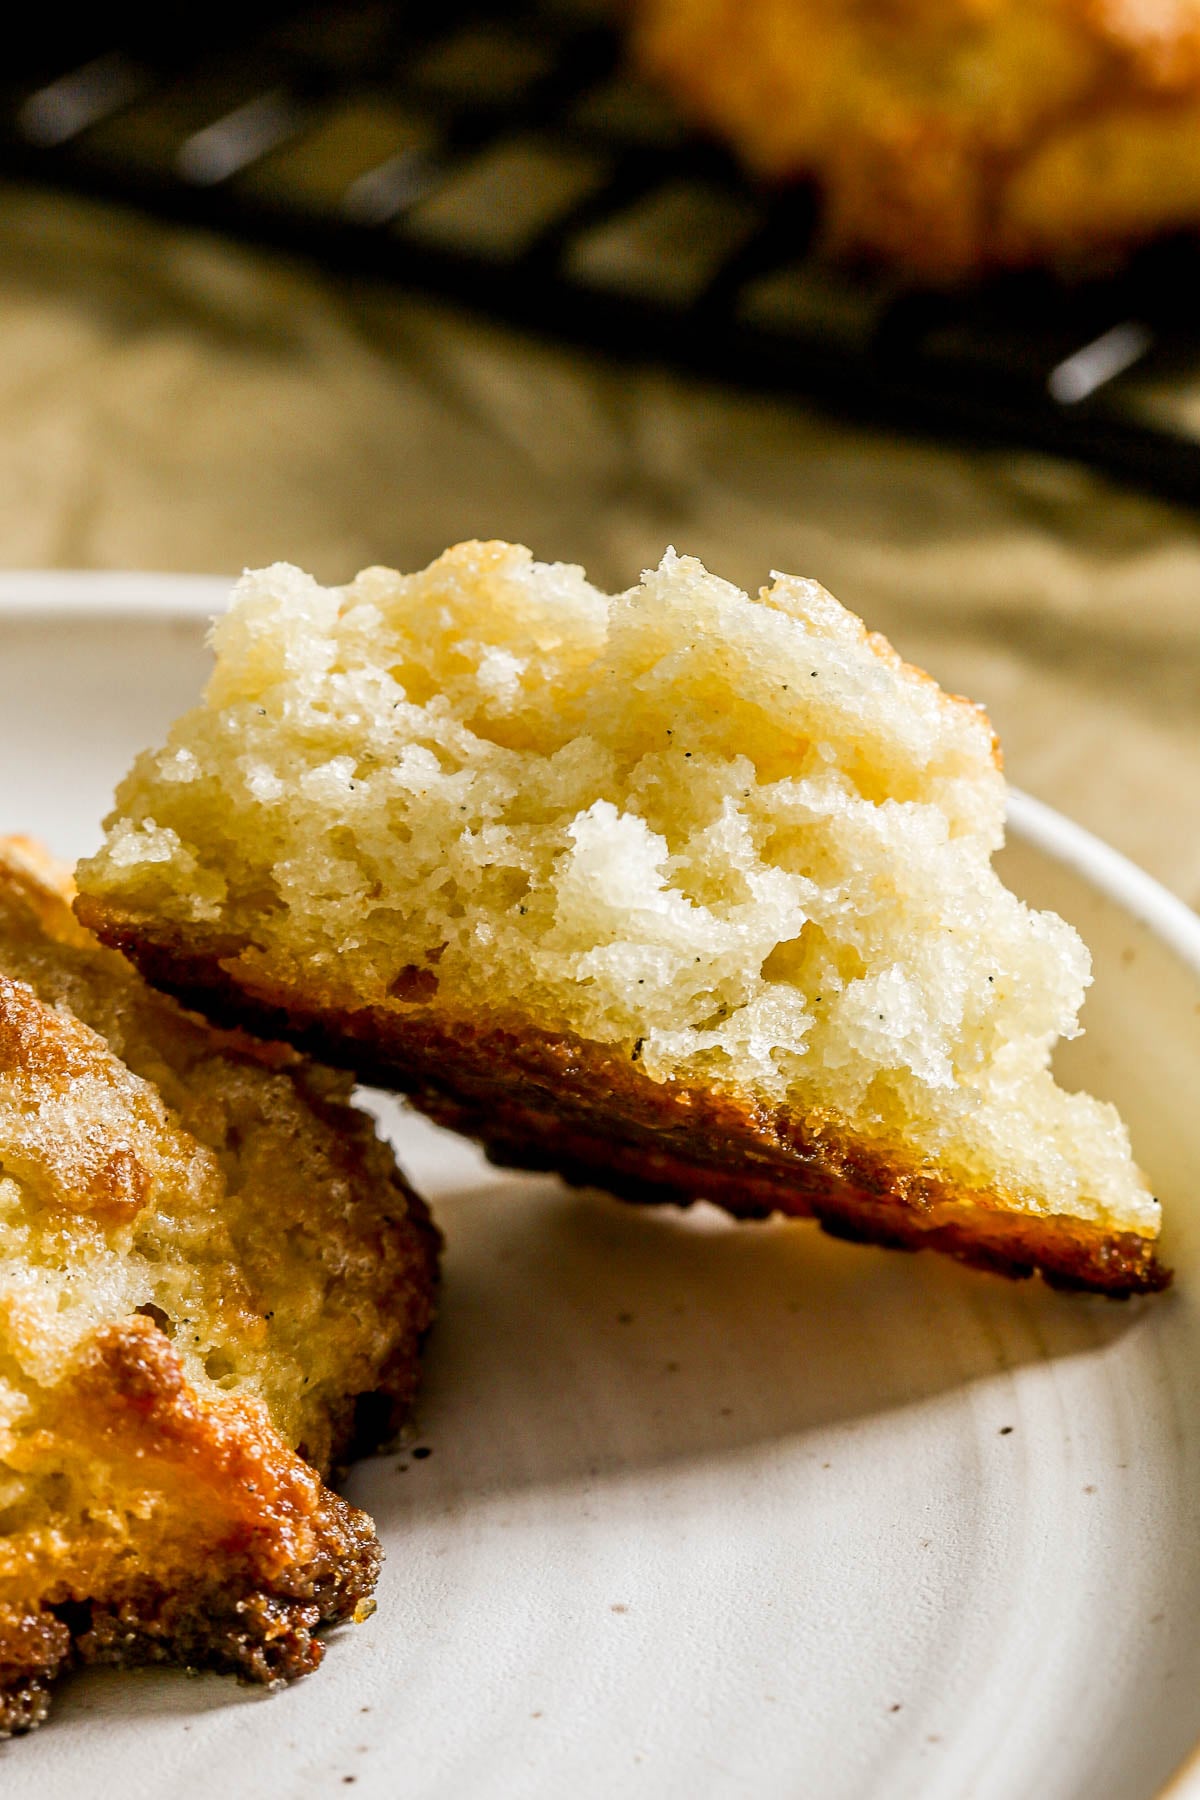
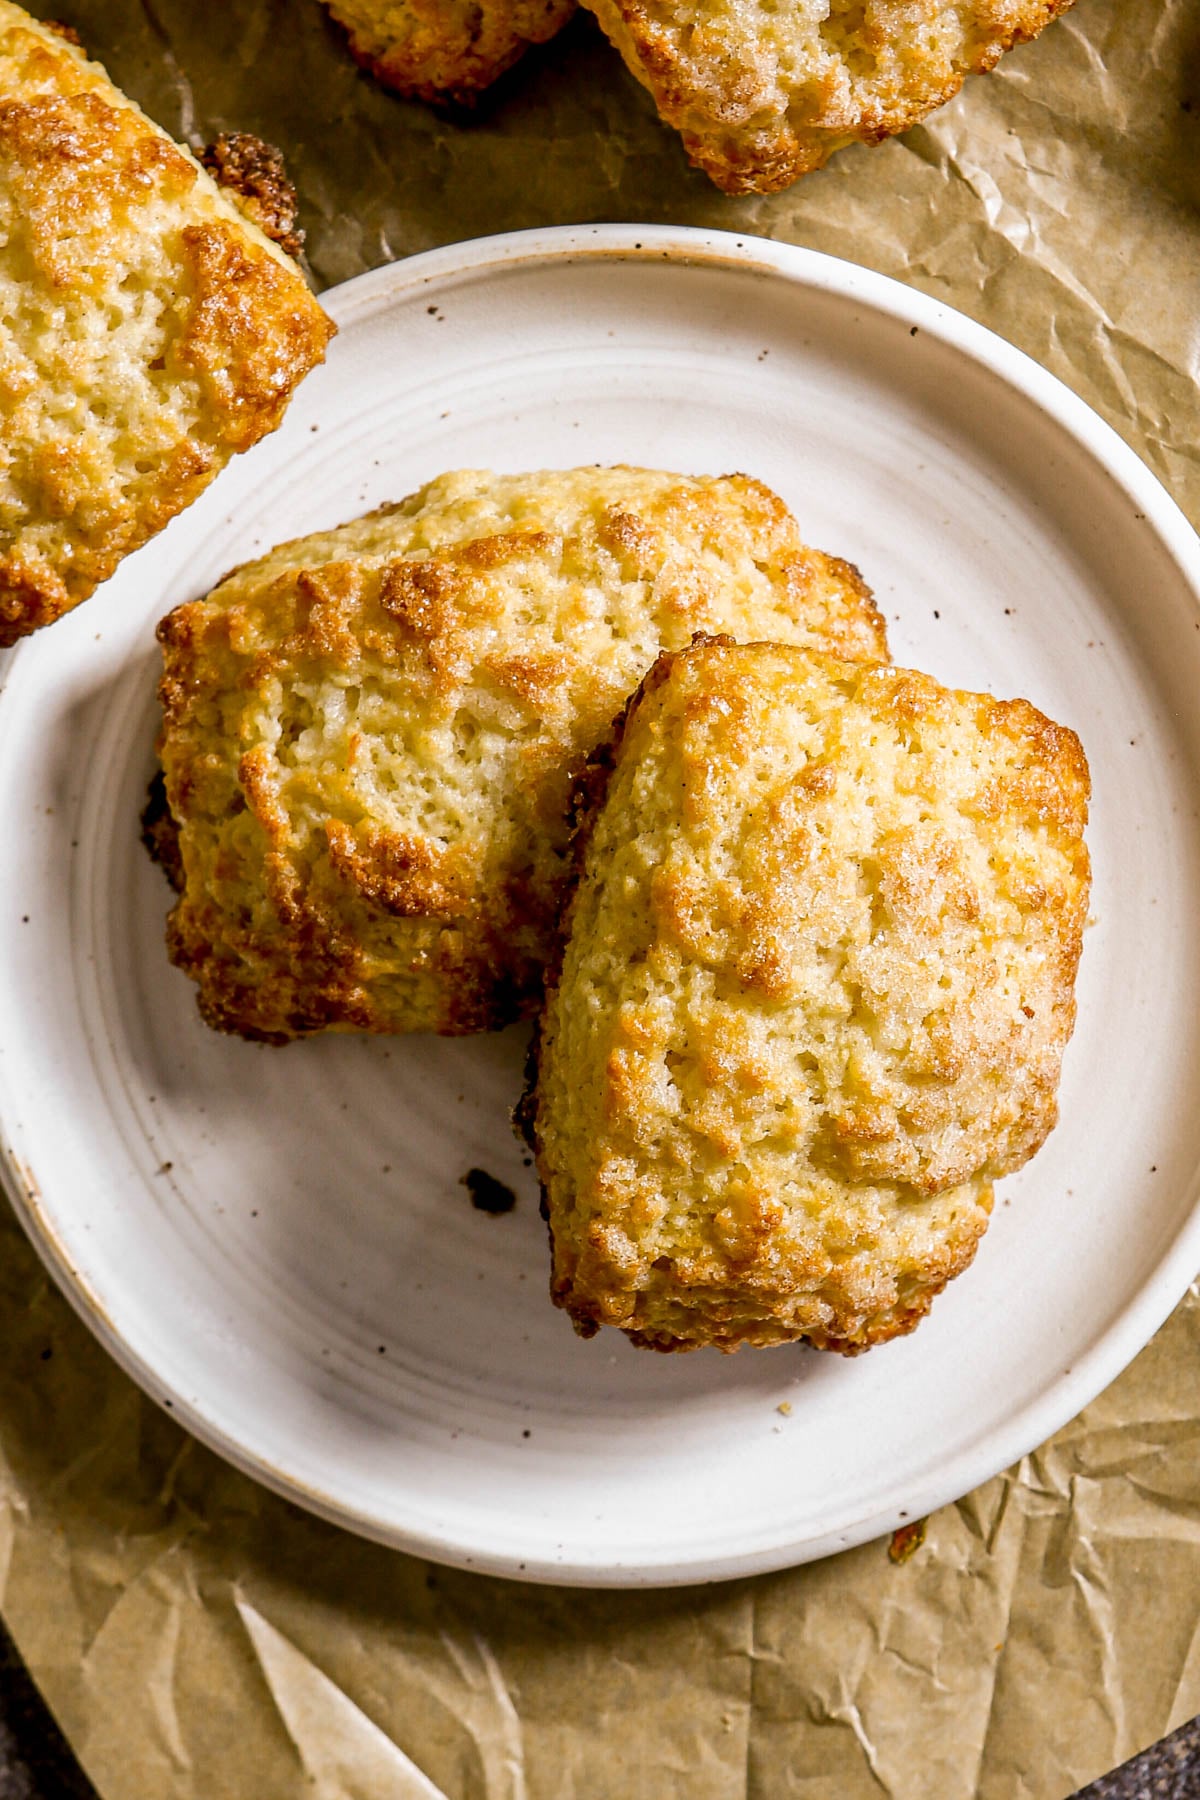
These are neither dense nor dry. Instead, they’re the ideal cross between an English scone and an American one. They’re fluffy and tender like the English variety with crispy, craggy edges like a good American scone should be. The best of both worlds! I really believe these are some of the best scones you can make at home. I hope you love them.
I’ve tested this scone recipe every which way, and after 8 different tests and countless taste testers, here’s some of the feedback I’ve gotten:
- “I could eat these all day! I love that I don’t have to drink something with these. They aren’t dry at all!”
- “Pretty damn good scone. THANK YOU”
- “So. FREAKIN. Delicious. I’ve never had a scone like those. In a good way”
- “Just tried scone A and WOAH that is life altering. Almost biscuit like?!”
- “A beautiful amount of fluff but still had texture. Less crumbly than others I’ve eaten”
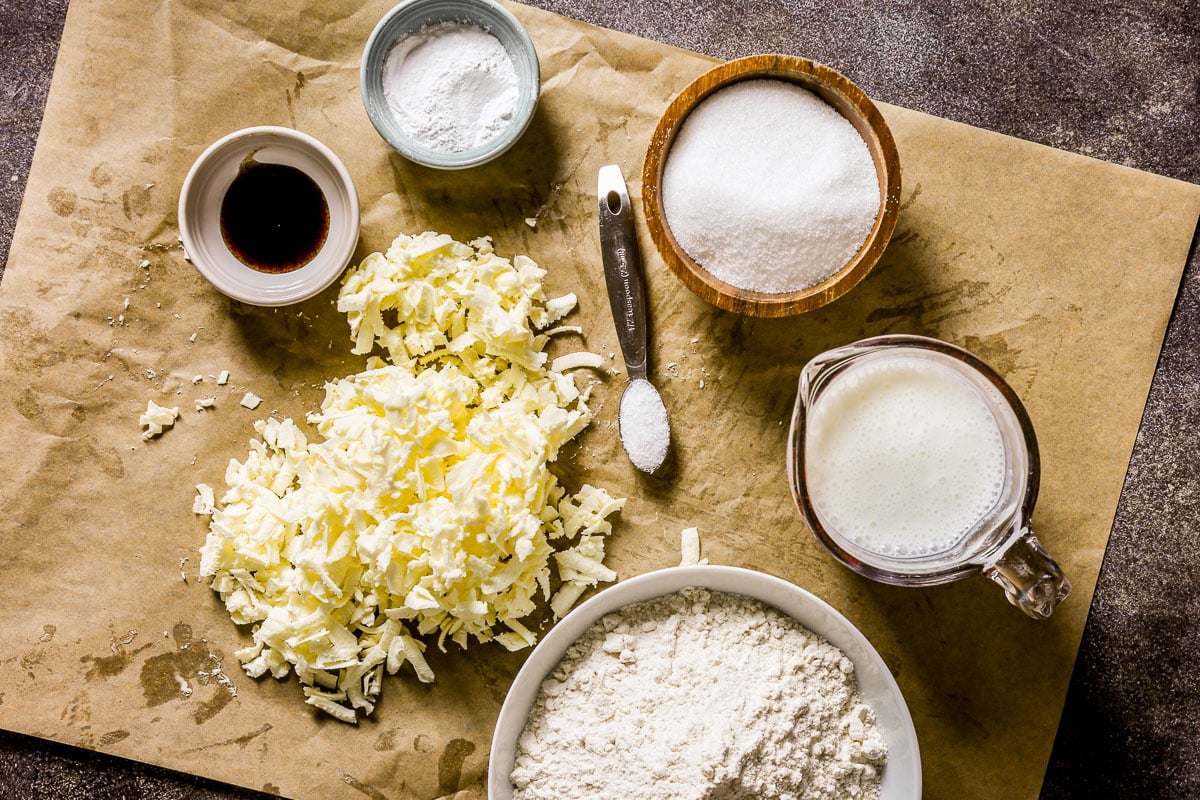
Ingredient Info
Luckily, really great homemade scones require no specialty ingredients or equipment. All you need is butter, sugar, flour, baking powder, salt, and buttermilk.
This is a base recipe, so I keep the flavor simple using either vanilla extract or vanilla bean paste (I prefer the paste).
Why Use Buttermilk In Scones
Since this recipe uses baking powder, the buttermilk is here for flavor and moisture (not to activate the leavener). The tangy flavors balance the richness of the butter and sugar. And the moisture is important for creating a tender (not dry!) scone.
Plus, buttermilk brings moisture without additional fat. There’s already a lot of fat in the dough from butter, so buttermilk adds the moisture you need without making them greasy.
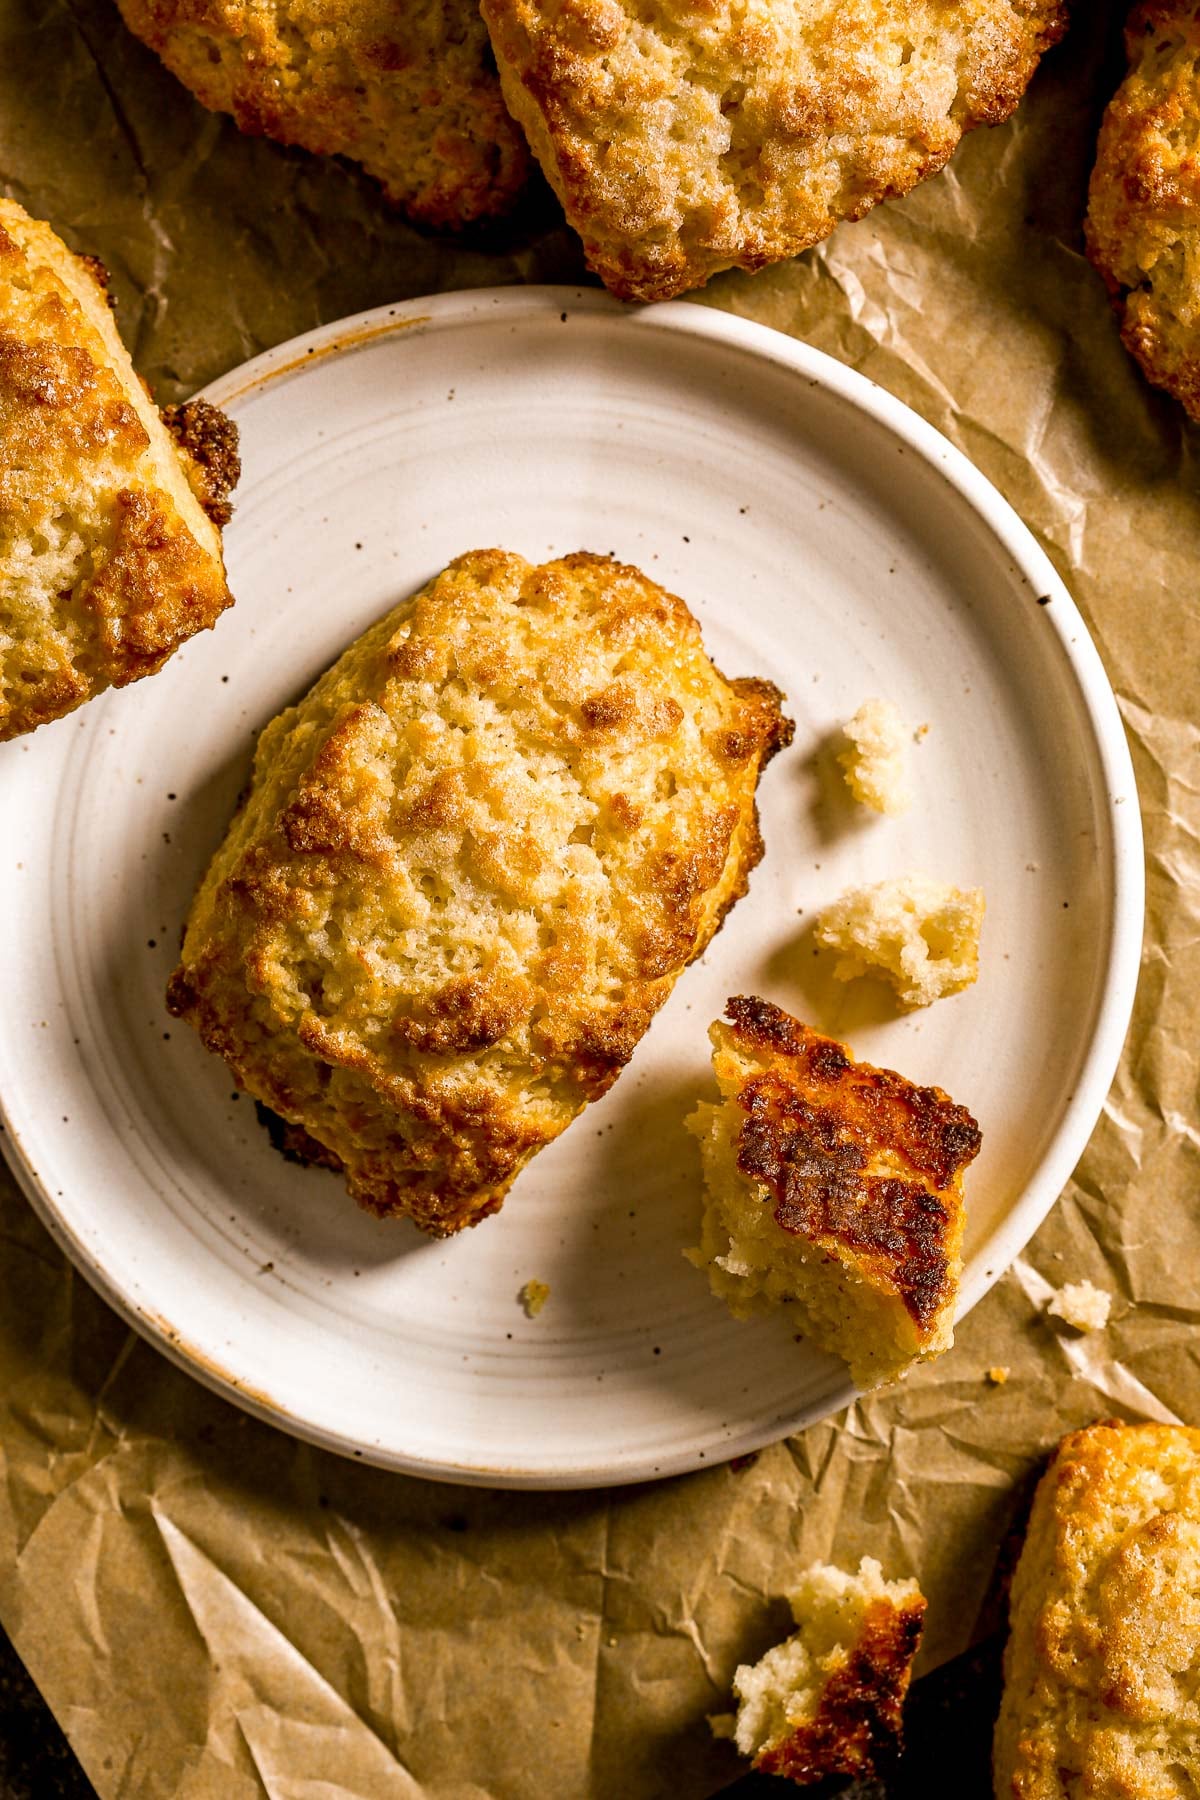
Let’s Walk Through the Simple Process
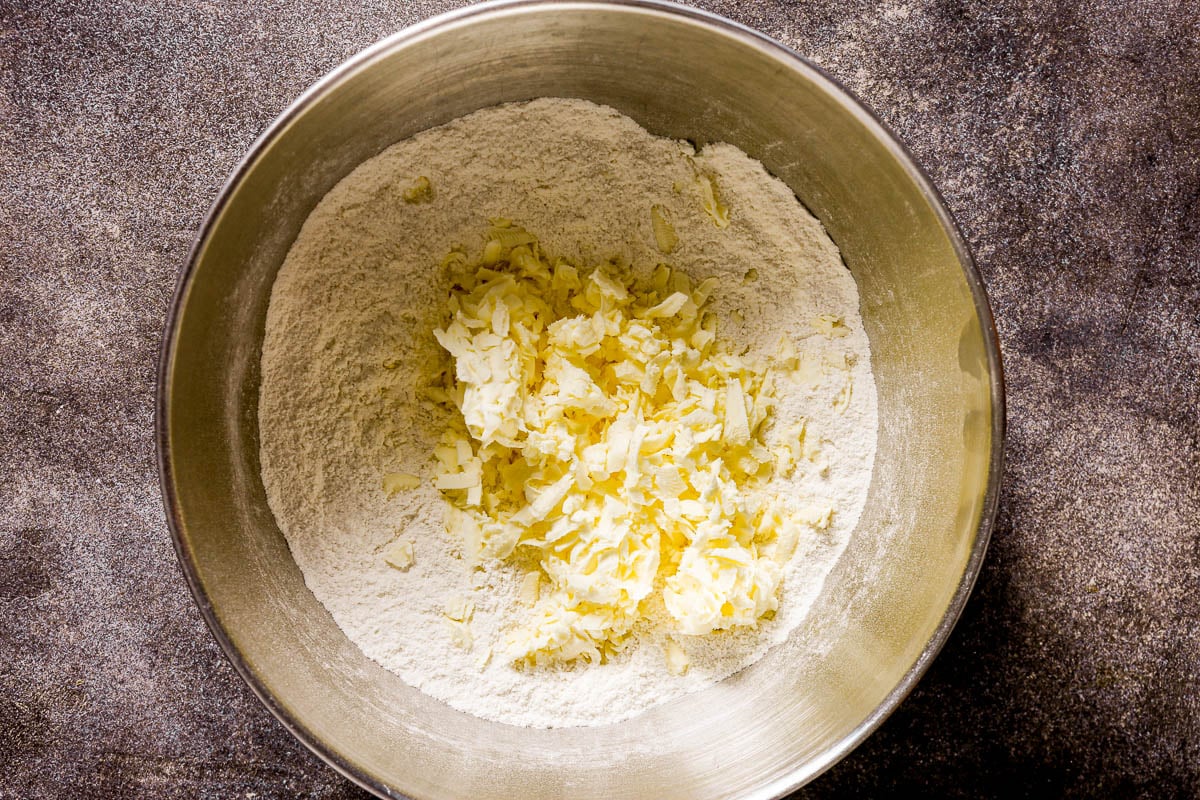
- Start by mixing together the dry ingredients in a large mixing bowl.
- Grate the frozen butter then add to the flour and toss to coat.
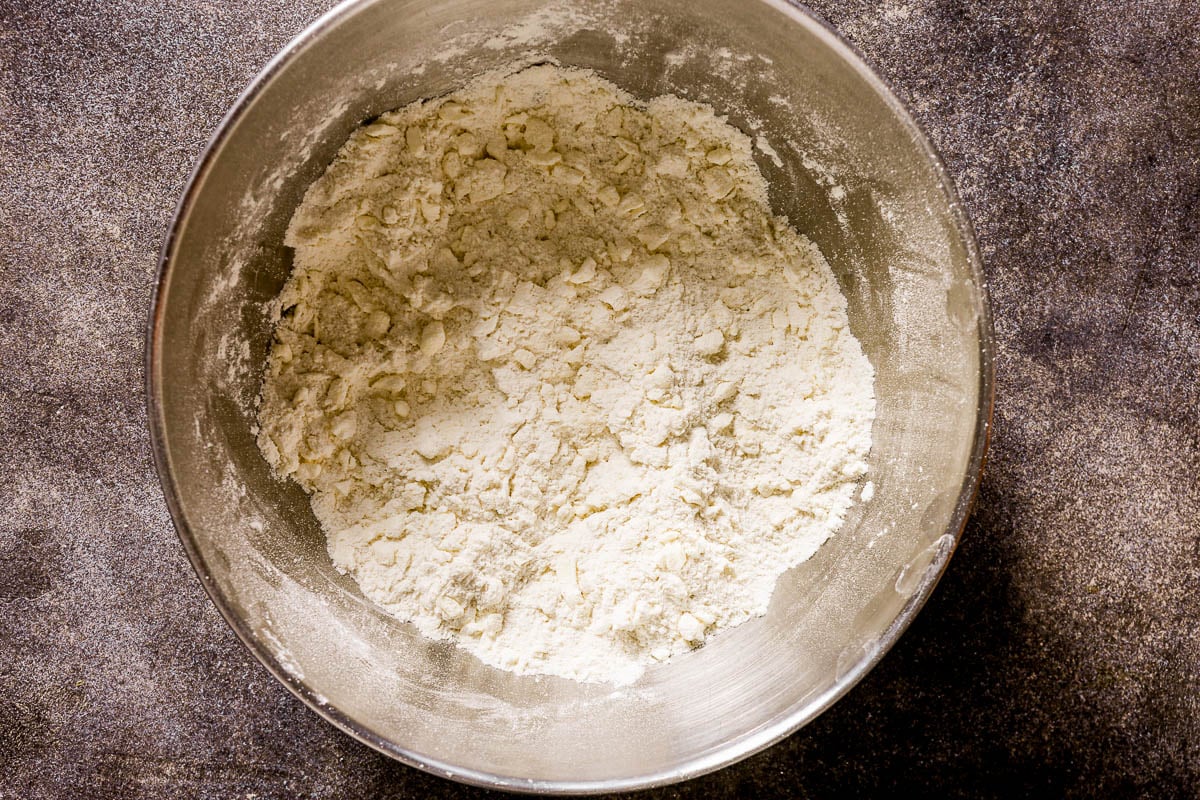
- Add the buttermilk and gently mix until a shaggy dough comes together.
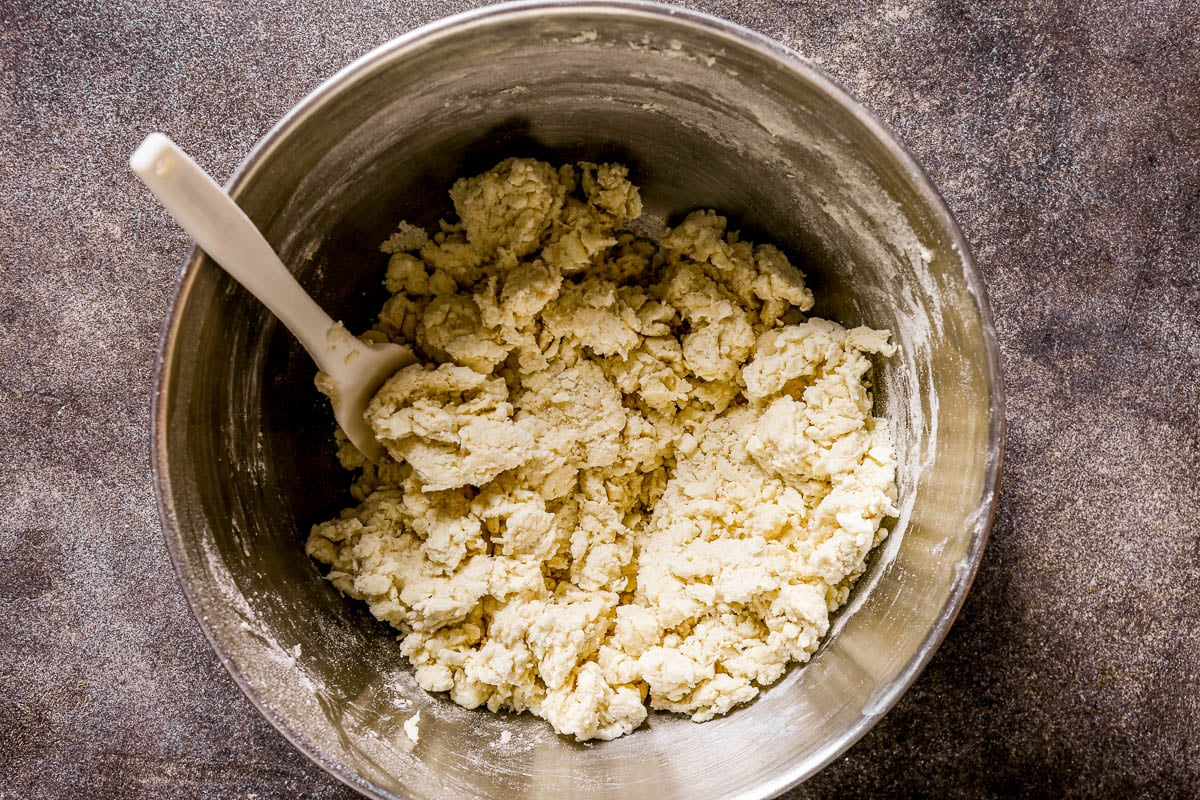
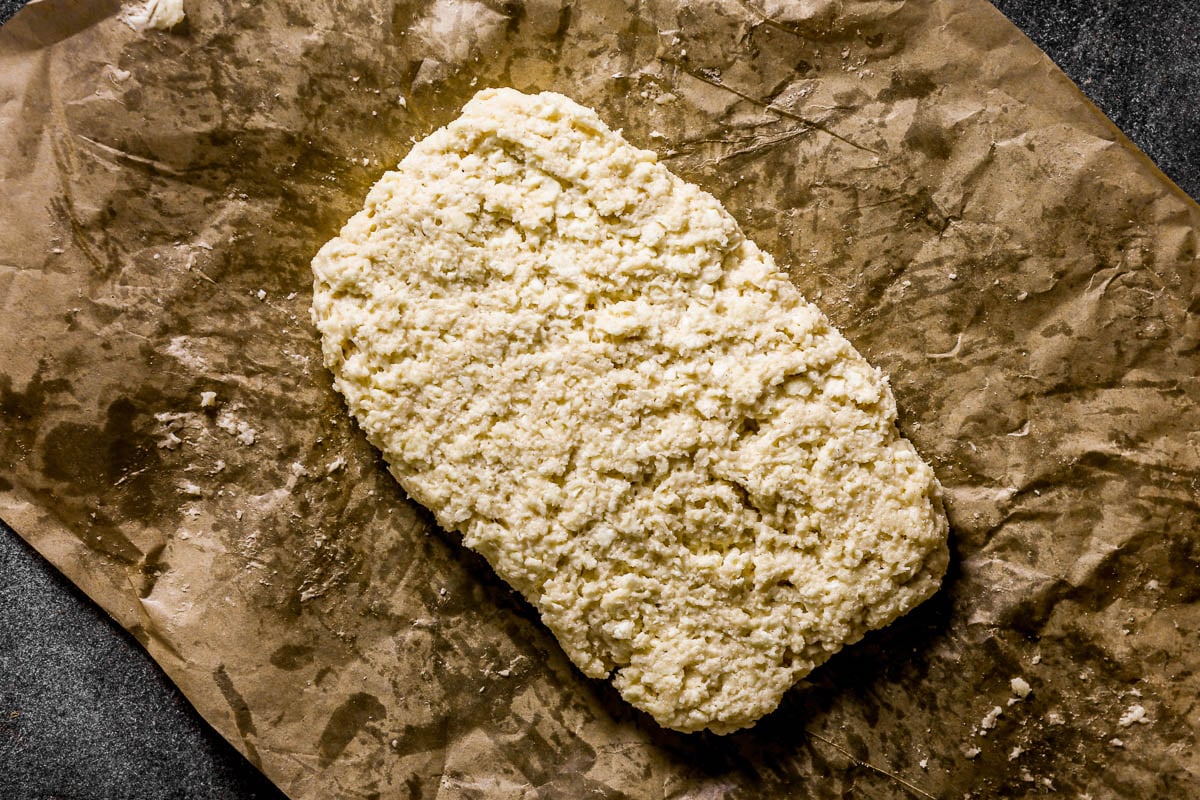
- Lightly press the dough into a rough rectangle. Fold into thirds (like a letter) and press down into a 1-inch thick rectangle. Repeat folding and pressing twice more. (I use this method for my homemade cheese biscuits so check out that article if you want to see the step-by-step folding process). If the dough gets sticky and hard to work with, pop it in the fridge for 5 minutes to chill.
- Shape the dough into a rectangle and chill for 30 minutes. Preheat the oven while the dough chills.
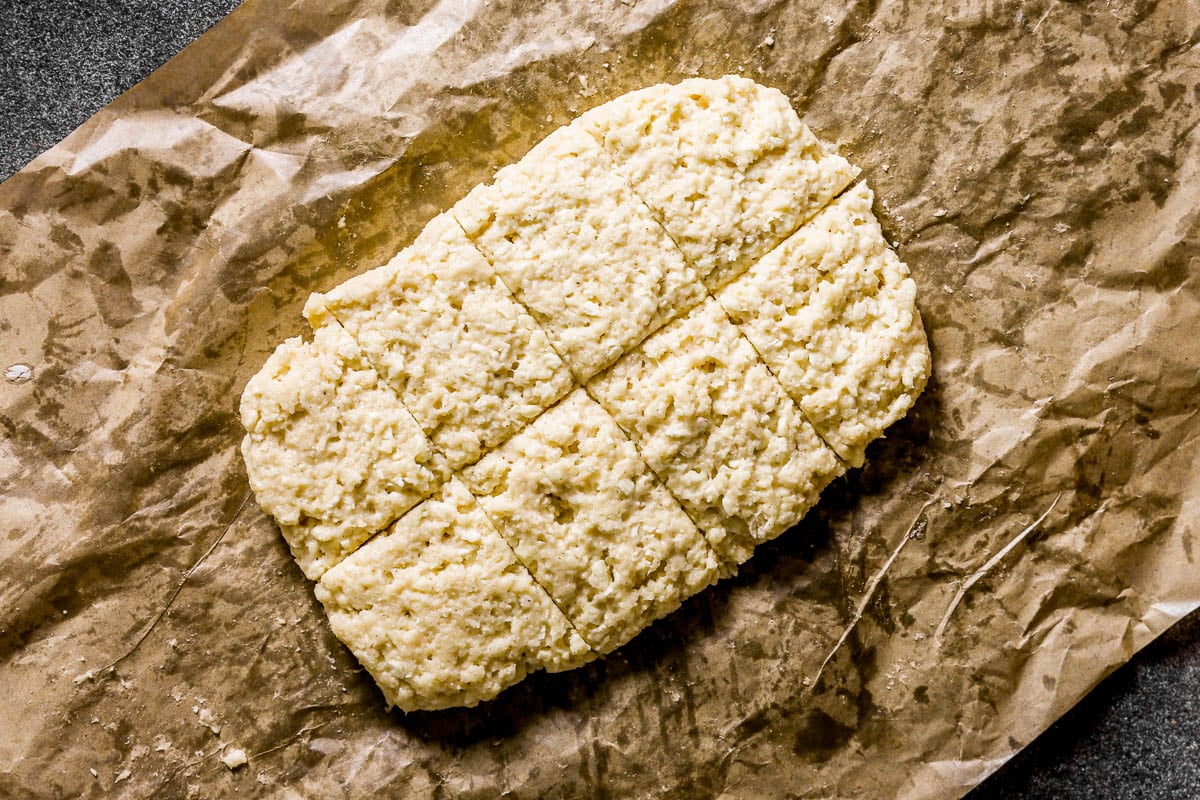
- Cut the chilled dough into 8 even pieces.
- Arrange the scones evenly on a half sheet pan then brush each with melted butter and sprinkle heavily with sugar.
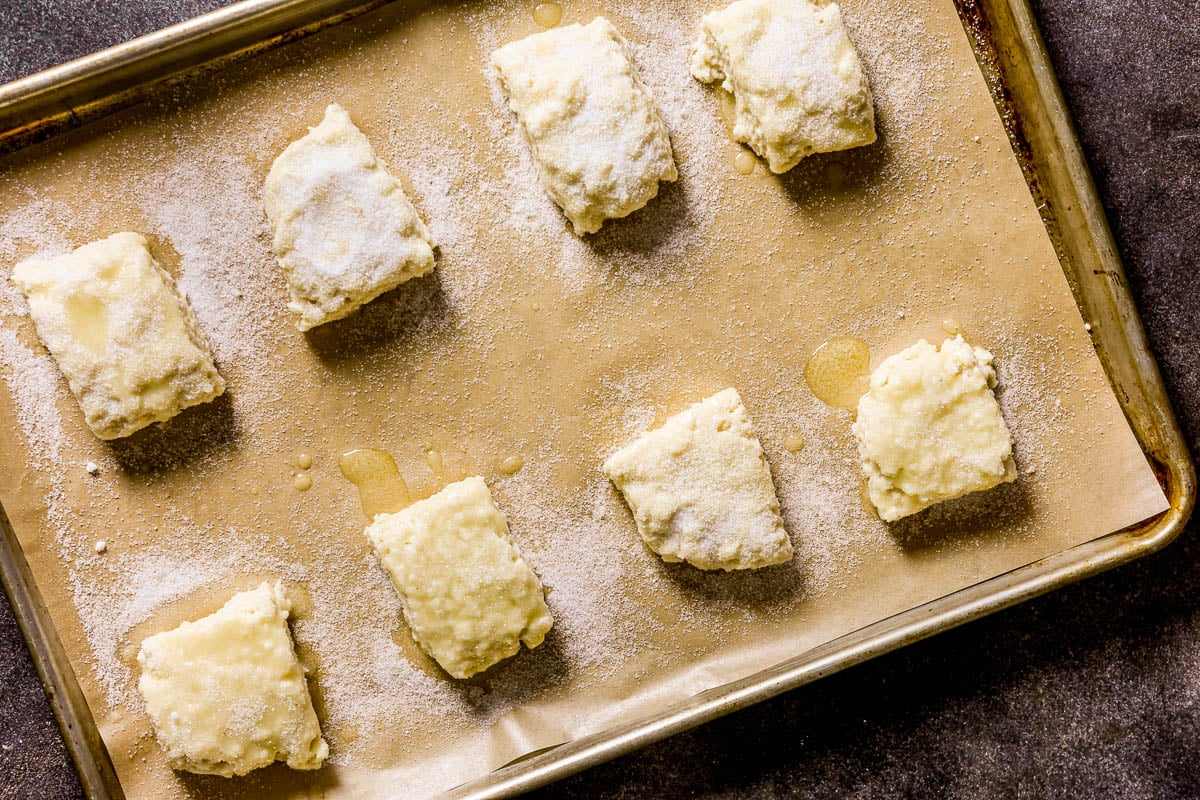
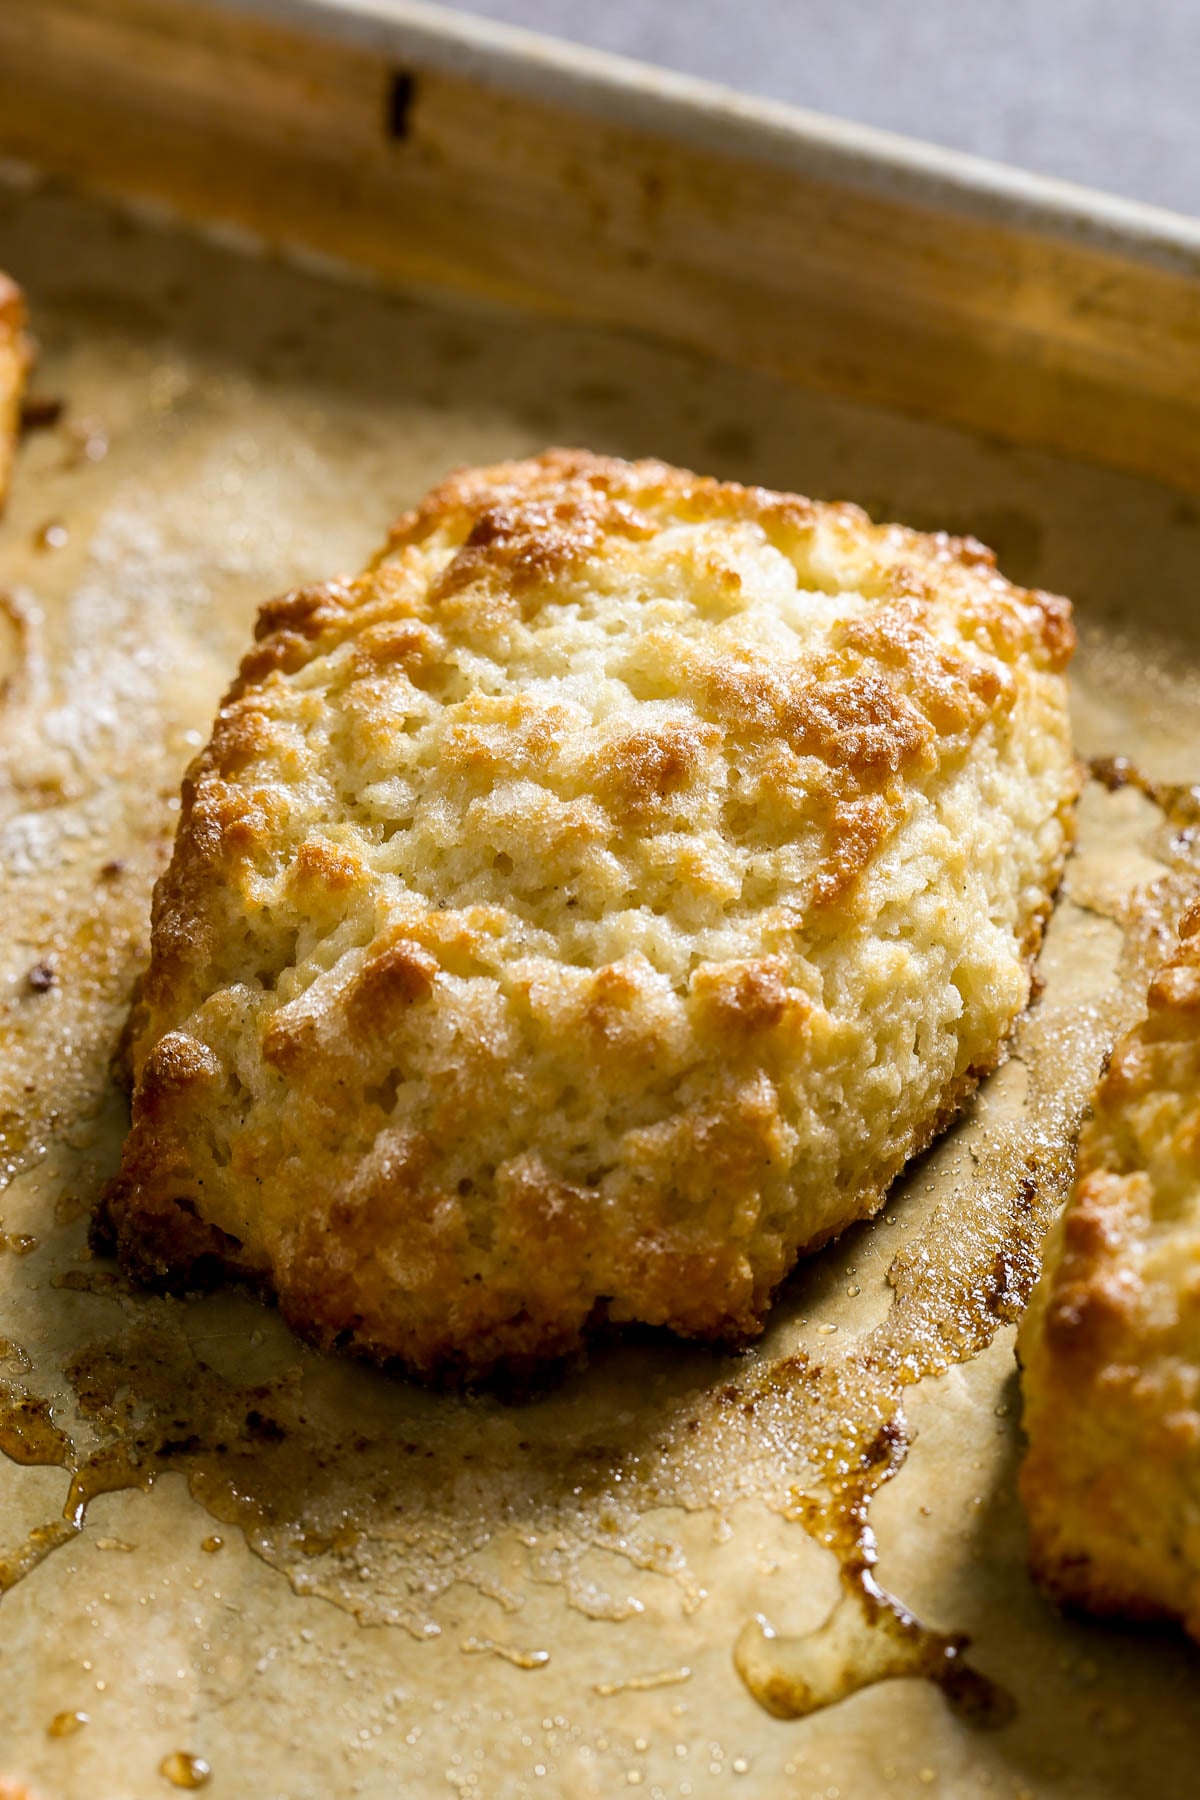
- Bake the scones until they’re deeply golden brown on top and very dark brown on the bottoms (they will look nearly burnt on the bottom—that’s what you’re going for).
My Best Tips From Recipe Testing
- Keep the butter, buttermilk, and scone dough as cold as possible. So if you’re prepping ingredients, measure out the buttermilk then put the buttermilk back in the fridge until you need it, grate the butter then place it in the freezer until you need it. Keep everything cold just like you would with homemade biscuits!
- Work the dough as little as possible. If it starts to get sticky or tacky (getting too warm) when you’re folding, transfer the dough to a piece of parchment and pop it in the fridge for 5–10 minutes before resuming folding and pressing.
- If you can, weigh the ingredients with a food scale instead of measuring by cup to ensure accuracy.
- If you don’t have a food scale and are measuring by cup, don’t just scoop your cup through the flour. For most accurate measurement, fluff the flour with a spoon then spoon it into the cup and level.
- The scones get deeply golden brown and crisp on the bottom. So if they look nearly burnt, don’t worry. That’s what you’re going for!
Fresh Scones Are the Best Scones
I’ve cracked the code for making really great scones using buttermilk. But there’s no way around it—scones are best eaten the day they’re baked. Especially these with their crisp exteriors and fluffy interiors. Stored overnight at room temp, their crisp edges soften and the scones themselves become slightly tough (not bad but certainly not as good as fresh).
So, if you’re trying to get ahead, I recommend prepping the scone dough, portioning, and freezing until you’re ready to bake.
You can also freeze baked scones. Instructions for both are below.
Baking Scones from Frozen
- Once the dough is prepped and cut into 8 pieces, arrange the unbaked scones on a parchment-lined baking sheet. Transfer to the freezer and freeze until solid.
- Once solid, transfer scones to a zipper-lock bag or airtight container and keep in the freezer until you’re ready to bake them.
- When you’re ready, bake the scones from frozen (do not thaw) at 400ºF for 24 minutes.
Freezing Baked Scones
- Cool baked scones to room temperature.
- Then arrange scones back on the parchment-lined baking sheet and transfer to the freezer.
- Once frozen solid, transfer scones to a zipper-lock bag or airtight container and store in the freezer until ready to eat.
- To reheat, allow the scones to thaw at room temperature for about 30 minutes, then reheat in a 300ºF oven until edges are recrisped and scones are warmed through, about 10 minutes.
Fluffy Buttermilk Scones (Without Egg)
Description
Video
Save This Recipe!
Ingredients
- 2 cups (250g) all purpose flour
- ½ cup (100g) granulated sugar + more for topping
- 1 tablespoon (14g) baking powder
- ½ teaspoon (3g) kosher salt
- 10 tablespoons frozen unsalted butter, divided
- ¾ cup (173g) buttermilk
- ¾ teaspoon vanilla bean paste or vanilla extract
Instructions
- In a mixing bowl, combine 2 cups (250g) all-purpose flour, 1 cup (100g) sugar, 1 tablespoon (14g) baking powder, and ½ teaspoon (3g) salt.
- Grate 8 tablespoons (113g) butter on a large hole grater.
- Add shredded butter to flour mixture and lightly mix with fingers until combined and butter pieces are completely coated in flour.
- In a liquid measuring cut, mix together ¾ cup (173g) buttermilk and ¾ teaspoon vanilla bean paste.
- Form a well in center of flour mixture; pour buttermilk-vanilla mixture into well and using a rubber spatula, mix gently until a shaggy dough comes together.
- Transfer dough to a work surface and lightly press dough into a rough 8✕5-inch rectangle (about 1-inch thick)
- Fold rectangle into thirds (like a letter) and press down into a 1-inch thick rectangle. Repeat folding and pressing twice more. Chill for 5 minutes if dough gets really soft or sticky.
- Shape rectangle into a rough 8✕5-inch rectangle (about 1¼-inches thick). Transfer to a parchment-lined baking sheet and chill in fridge 30 minutes.
- Meanwhile, heat oven to 425ºF (218ºC) with rack set in middle position.
- Melt remaining 2 tablespoons butter in a heatproof bowl in the microwave.
- Cut biscuit dough in half lengthwise then cut each half into 4 squares; arrange on parchment-lined baking sheet.
- Brush biscuits with melted butter then sprinkle with sugar to coat.
- Bake until risen and golden brown on tops and sides, 20–21 minutes, rotating halfway through. Let cool on sheet 5 minutes, then transfer to a cooling rack to cool completely.

Can I add anything like nuts or dried cherries or citrus zest?
Hi Tara, great question. I haven’t tested additions yet, but citrus zest can definitely be added, I would start with 1 to 1 1/2 teaspoons of zest. For nuts, I would start with 1/2 cup of toasted and chopped nuts (any kind) and add them to the dough after you’ve added the butter but before adding the buttermilk. I have a working list of variations I plan to try, but am always open to adding more! Anything specific combinations you’d like to see?