This post may contain affiliate links.
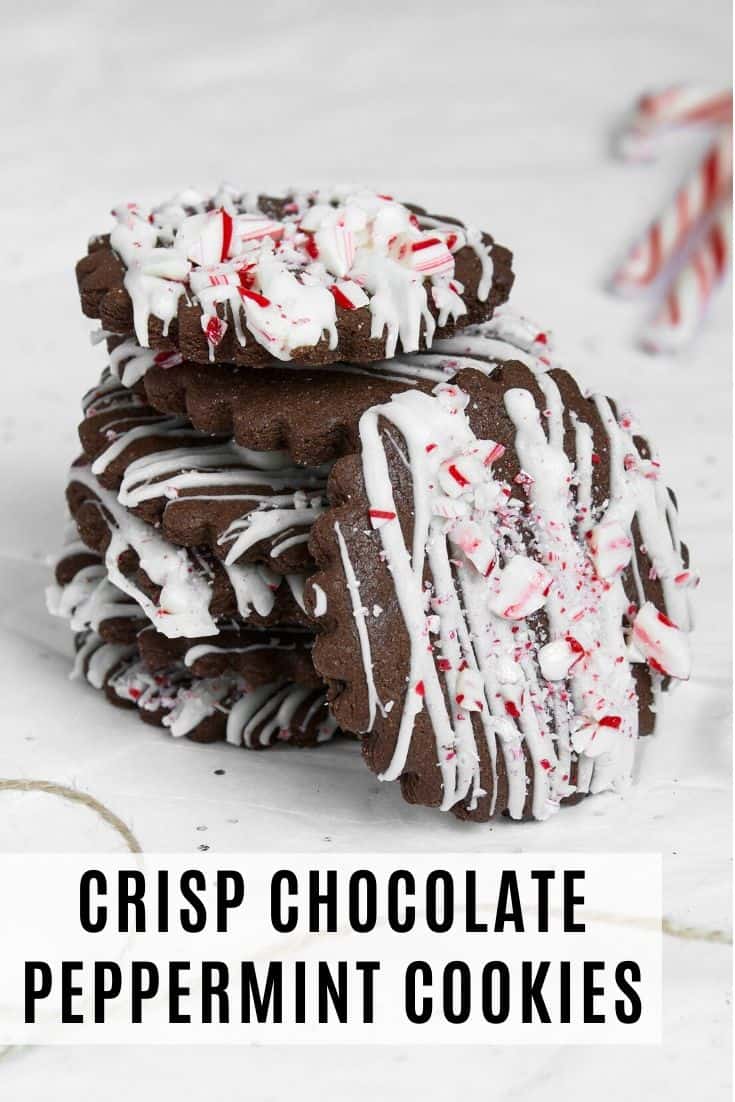
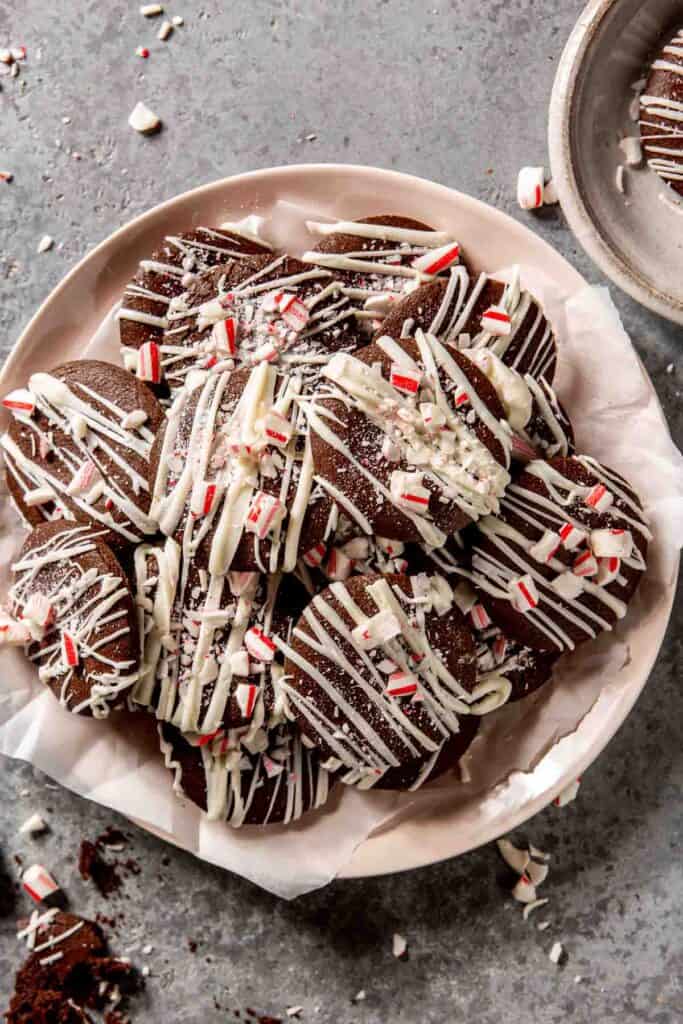
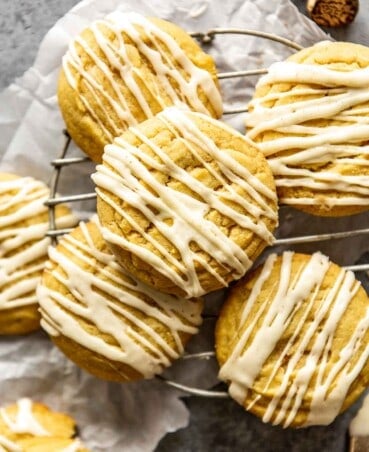
These Chocolate Peppermint Cookies are baked to crisp perfection, drizzled with silky white chocolate, and topped with crushed peppermint candies. They’re a fun and different cookie to bring to holiday parties and gatherings.
So many cookies during the holidays are soft, chewy and gooey. Not these! When you’re looking for a chocolate dessert with a little snap, turn to this Chocolate Peppermint Cookie recipe. This makes them ideal to dip into hot chocolate or coffee, just delicious.
Another thing I made sure to test out several times when developing this recipe was making sure the dough could be made in advance. You can wrap it in plastic wrap and keep it in the fridge for up to 2 days. Plus, once baked they last a long time at room temperature and also the freezer. Talk about the perfect make ahead holiday cookie!
And if you’re looking for more make ahead chocolate treats, try Dark Chocolate Truffles or fudgy Olive Oil Brownies!
Lauren’s Tip
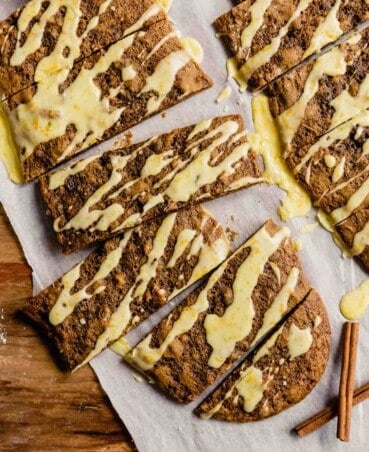
These cookies are so versatile! Try them with the white chocolate drizzle and crushed peppermint candied or give them the Thin Mint treatment and coat them in chocolate.
Simply melt some chocolate chips with a bit of coconut oil and a splash of peppermint extract before dunking the cookies in the chocolate to coat and cooling until set.
Why You’ll Love this Recipe
- Make the dough in advance: the dough needs to be chilled before rolling out, cutting and baking. But silver linings only here—this means you can make the dough ahead of time and store it in the fridge for up to 3 days before baking.
- Crisp and Snappy: most, if not all, chocolate peppermint cookie recipes out there are for chewy cookies. Not this one! These crisp peppermint cookies are resemblant of Oreos or Thin Mint. They’re snappy, snackable and so damn good.
- Perfect gift or dessert for a holiday gathering: another argument for crisp cookies—they’re great for gifting because they store well for quite a while. And visually, they are different than most other holiday cookies which is no doubt make them a hit.
Ingredient Notes
- All Purpose Flour: no specialty flour needed. Be sure to fluff, spoon and level the flour while measuring it out. Or better yet, use a food scale for accuracy.
- Cocoa Powder: for this recipe I recommend using unsweetened Dutch processed cocoa powder.
- Baking Soda & Baking Soda: Leaveners for this dough. You don’t need much since we’re only going for a little bit of lift to give the cookie crispness,
- Kosher Salt — we develop our recipe using Morton kosher salt. If you’re using a different brand, you can learn how to make the conversion in our What Is Kosher Salt article.
- Butter — it’s best to use unsalted butter in most baking recipes. Most recipe development of baking recipes use (or should use) unsalted butter because salt content of salted butter can vary between brands. Using unsalted butter allows you to have control over salt level in your baked goods.
- Granulated Sugar
- Instant Espresso Powder — use instant espresso powder, not instant coffee. It’s usually sold in small glass jars with a green lid either near the coffee or baking ingredients. Then make use of the instant espresso powder in Cardamom Cookies or Olive Oil Brownies.
- Egg Yolks — we develop recipes using eggs labeled as large so it’s important to use egg yolks from large eggs. If you use smaller eggs the yolks will be smaller and will result in a dough that’s too dry and doesn’t stay together.
- Peppermint Extract — just a dash of peppermint extract really enhances the peppermint flavor of these cookies. Don’t be heavy handed through! The dough just needs 1 teaspoon—any more and they enter into the “minty fresh” category.
- Candy Canes — the candy canes get crushed so you can also use round peppermint candies (though we like the high red-to-white ratio that candy canes offer).
- White Chocolate — use white chocolate chips instead of white bar chocolate or almond bark. It melts well and stays set on the cookies at room temperature. We like Ghiradelli the best.

Let’s Make Peppermint and Chocolate Cookies
Start by sifting together the dry ingredients in a medium bowl. This combines the ingredients and it sifts out any lumps.
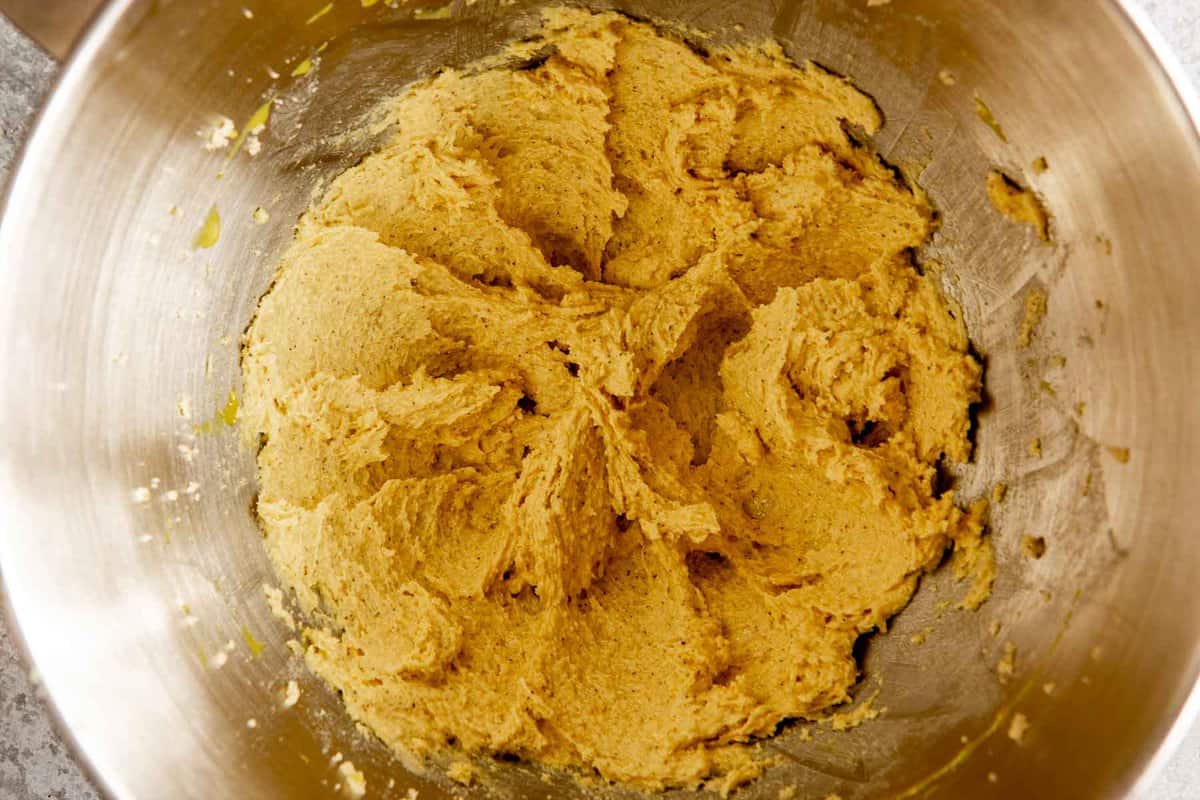
Beat the butter, sugar and espresso powder in a stand mixer fitted with the paddle attachment until it’s smooth. You will likely need to scrape down the sides of the bowl occasionally.
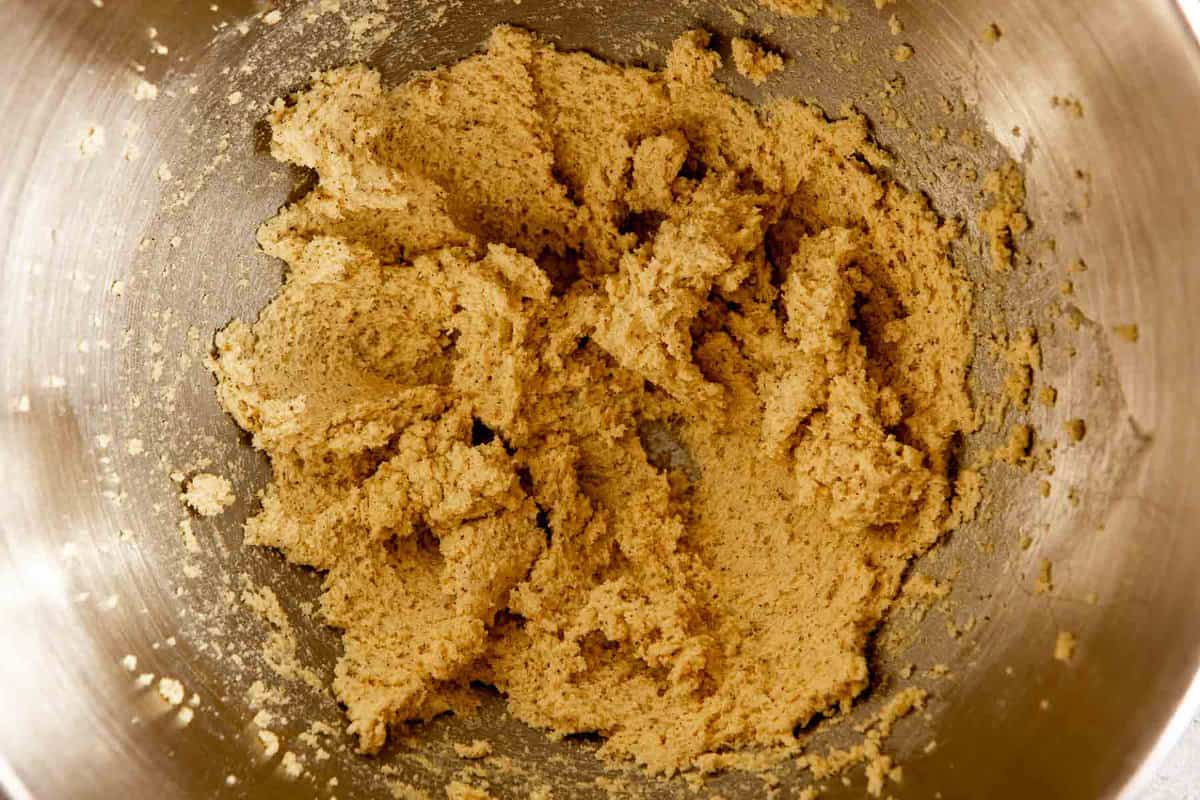
With the mixer running, add the egg yolks and peppermint extract and mix to combine.
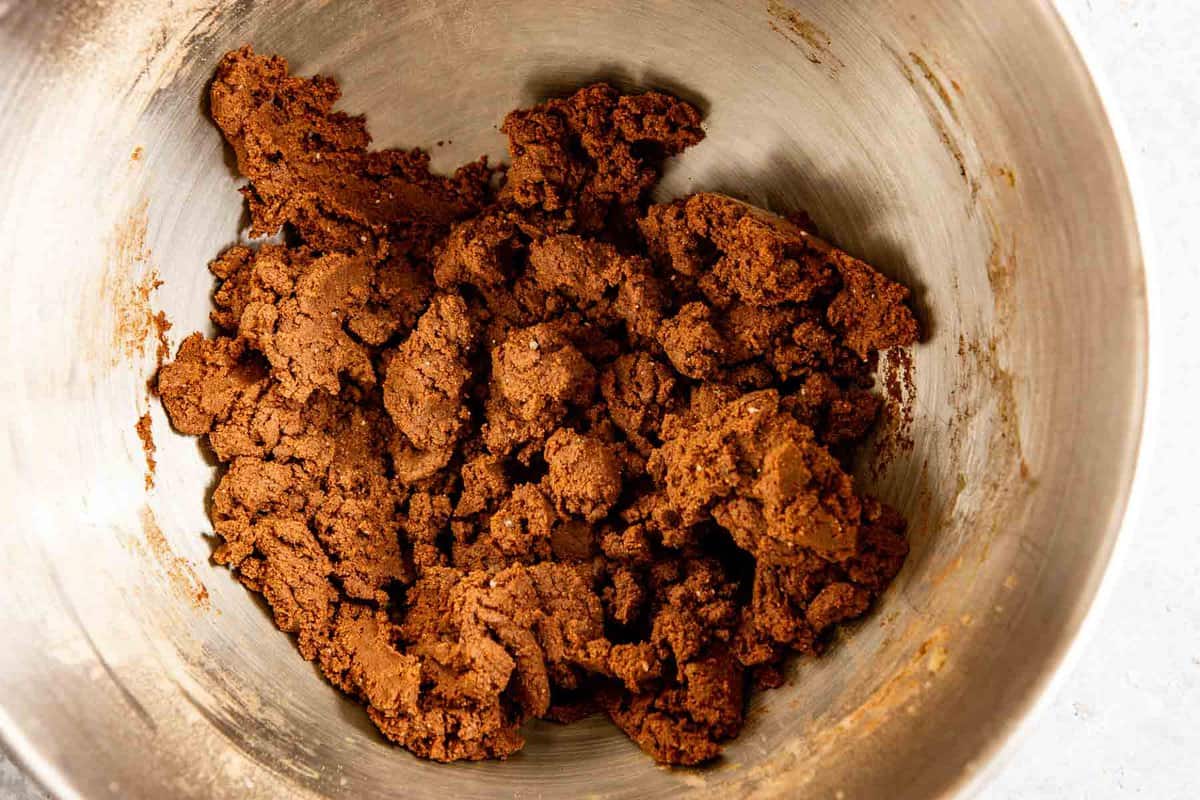
Add the flour mixture in increments—mixing to combine after each addition—until all of the flour has been added. Mix until a dough comes together, be patient, if you measured everything correctly the mixture will come together!
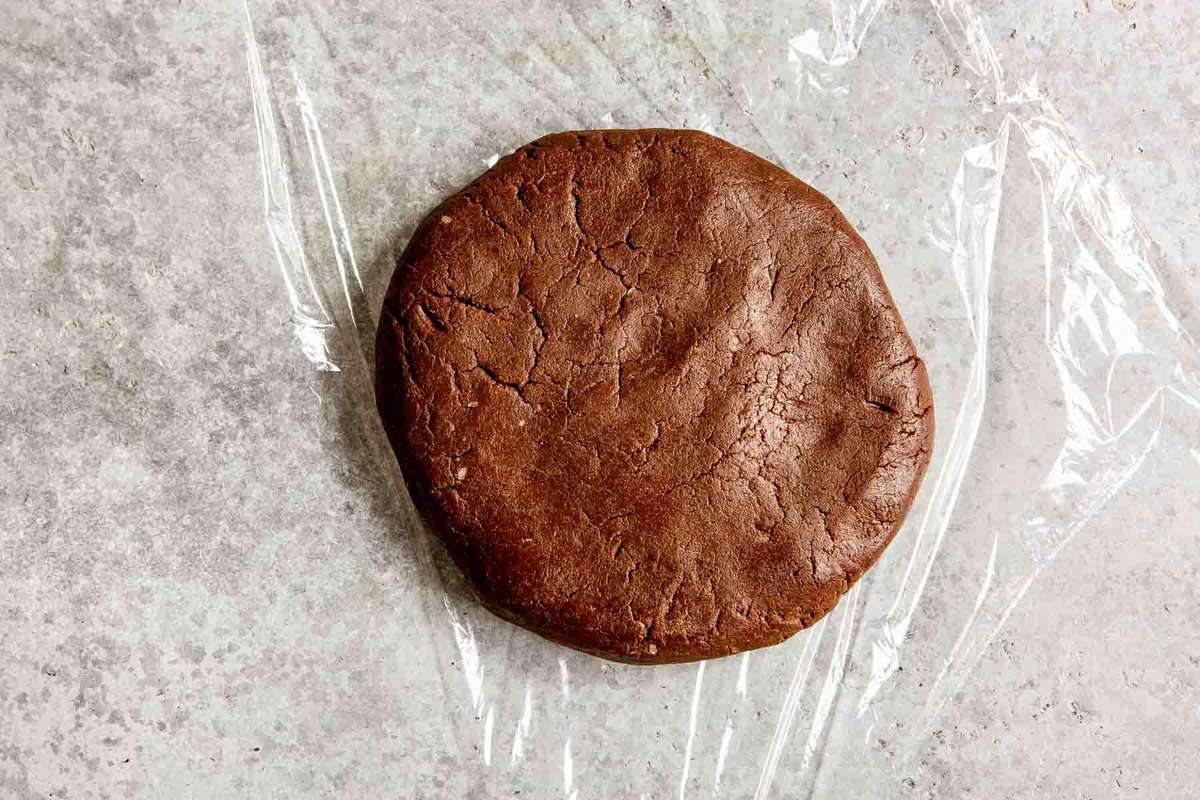
Divide the dough in half and form each half into disks. Chill the dough until firm—this will take at least 1 hour (though it can be stored in the refrigerator for up to 3 days).
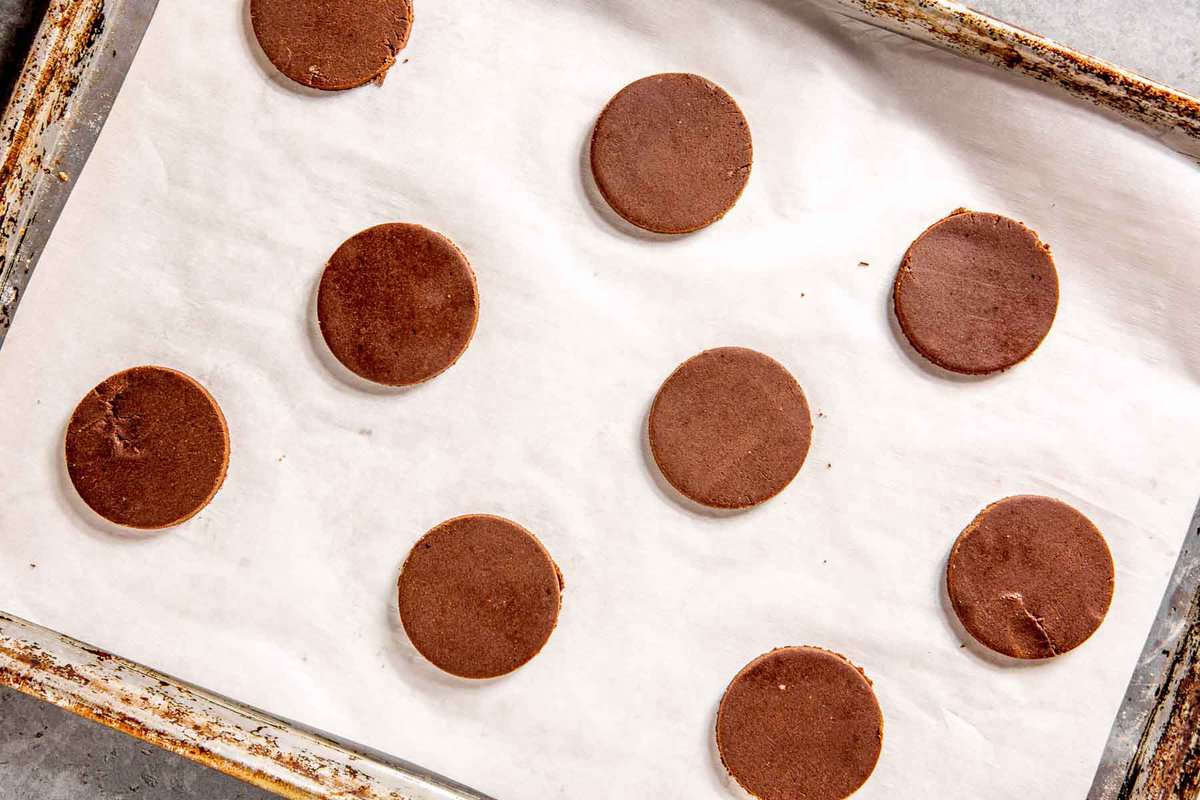
Roll out one disk of dough to ¼-inch thick. This is important! Any thinner and these cookies will burn. But any thicker and they won’t be crisp.
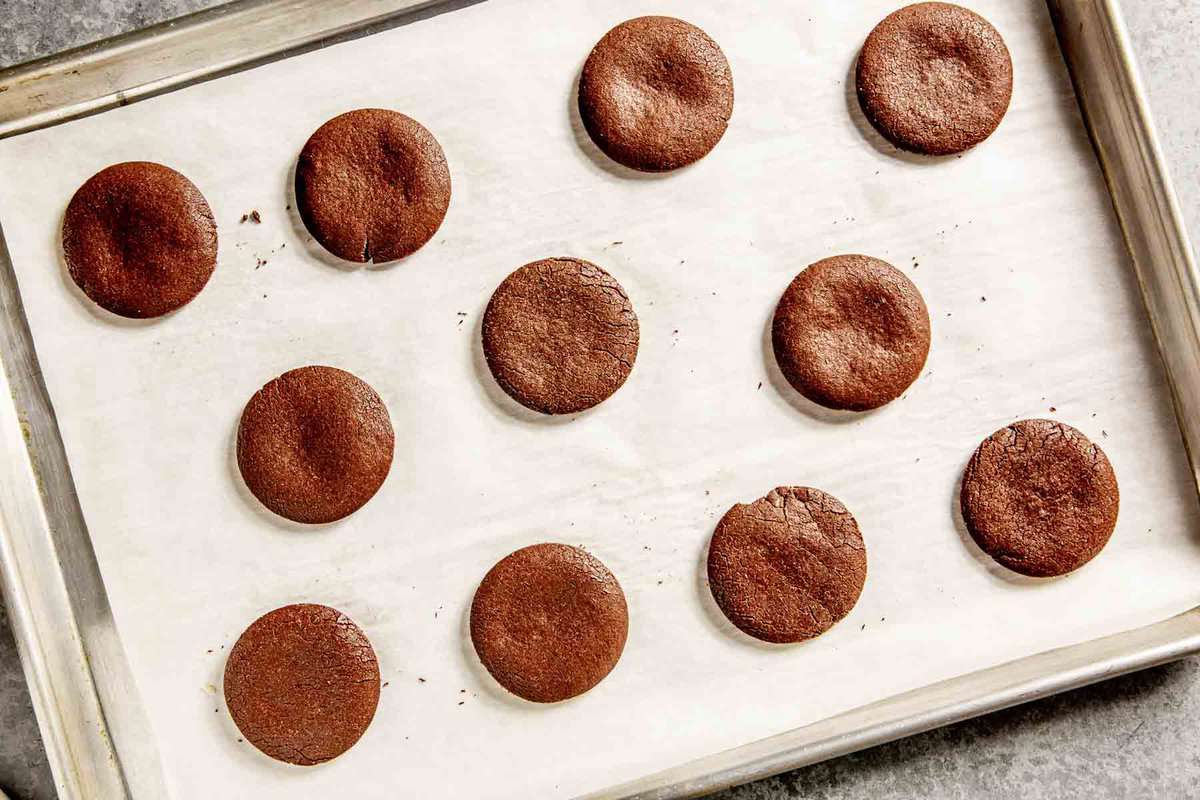
Cut the cookies out using a 2¼-inch or 2½-inch round cutter then arrange the rounds on a parchment-lined baking sheet (they don’t spread so they only needs to be spaced about 1-inch apart).
Bake the cookies until the edges are dry to touch and they barely yield in the center—this will take about 13–15 minutes at 350ºF. (Check your oven’s temperature with an oven thermometer to be sure you’re baking at the right temperature.)
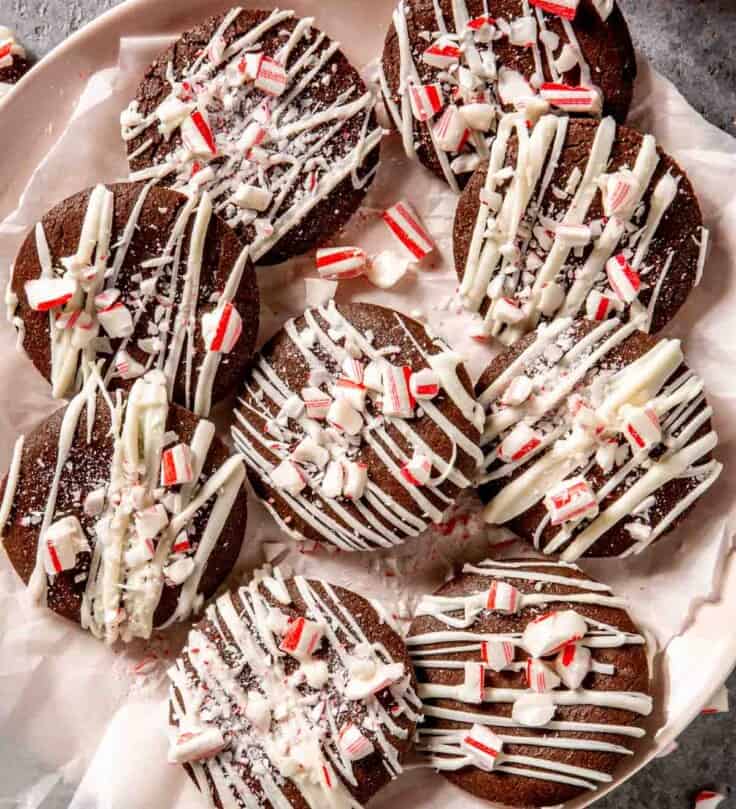
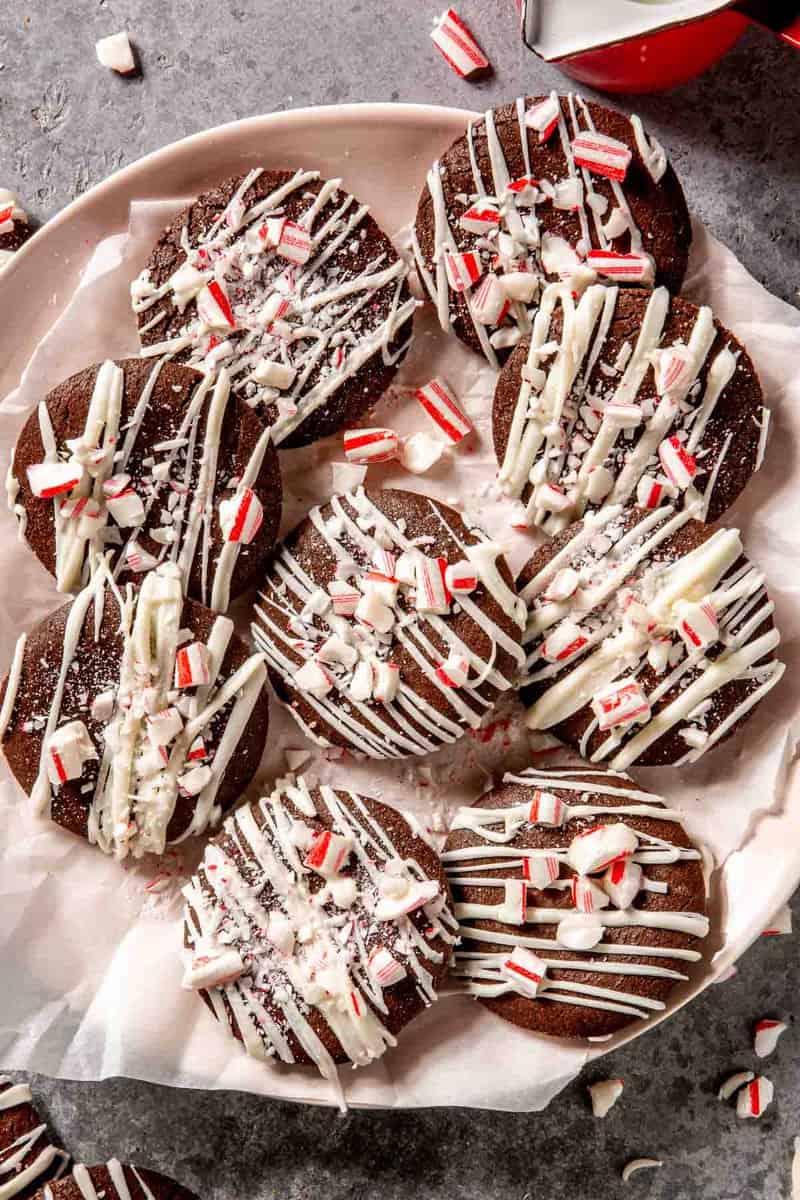
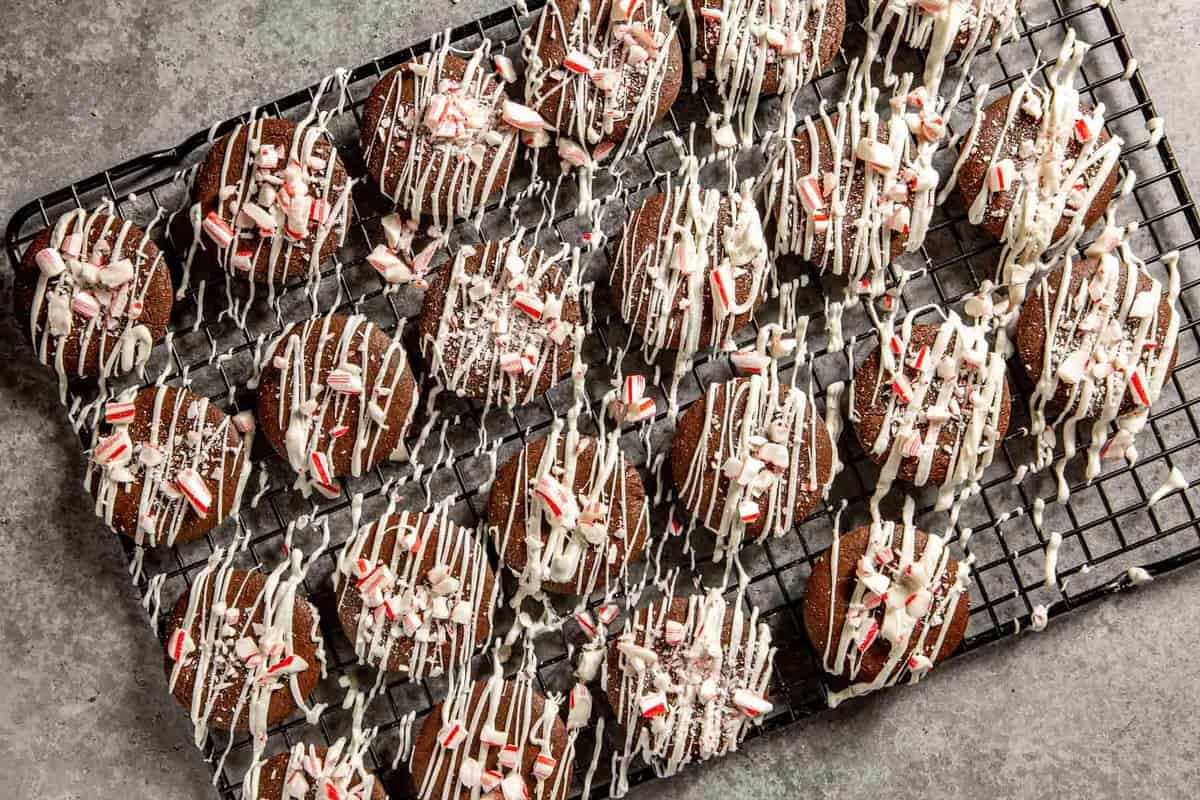
Cool the cookies on the sheet pan then drizzle with melted white chocolate and top with crushed peppermint candies. Let the cookies dry until the chocolate is set. Transfer the cookies to an airtight container and store at room temperature for up to 1 week.
Expert Baking Tips
- Refrigerate the dough. Plan to bake these cookies over a two-day period or make the dough in the morning and bake in the afternoon. To keep the cut out shape in tact, the dough should be chilled until firm.
- Work quickly when drizzling the chocolate over the cookies and topping with the crushed peppermint candy. The chocolate sets quickly! To ensure the candies stick to the chocolate, drizzle and sprinkle in batches.
- Want to make these even more festive? Add green food coloring to the white chocolate or top with green sprinkles.
- Sift the dry ingredients together. This makes for more even mixing of ingredients to create a better cookie.
Storage and Freezing
Chocolate peppermint cookies can be stored at room temperature, in an airtight container, for up to 1 week.
For longer storage, they can be stored in the refrigerator for up to 2 weeks or in the freezer for up to 2 months.
FAQs
Absolutely, we recommend freezing these peppermint chocolate cookies without the chocolate drizzle on them. When you’re ready to serve, let them sit at room temperature for a few hours before drizzling with chocolate and topping with the crushed peppermint candies.
Yes! Since this recipe was developed to create a crisp cookie, it does well when made with a gluten-free flour blend. We like Bob’s Red Mill’s 1:1 gluten-free flour blend.
Stored in an airtight container, chocolate peppermint cookies will last up to 1 week.
More Holiday Cookies to Try


Peppermint Cookies Recipe
Description
Video
Save This Recipe!
Ingredients
- 1 cup (122g) all-purpose flour
- ½ cup (45g) unsweetened Dutch-processed cocoa powder
- ¼ teaspoon baking soda
- ¼ teaspoon baking powder
- ½ teaspoon kosher salt
- 5 tablespoons (70g) unsalted butter, softened
- ¾ cup (150g) sugar
- 1 teaspoon instant espresso powder
- 2 large egg yolks
- 1 teaspoon pure peppermint extract
- 8 candy canes, crushed
- 1 cup (6 ounces) white chocolate chips
Instructions
- Sift flour, cocoa powder, baking soda, baking powder, and salt into a bowl.
- Using a stand mixer fitted with the paddle attachment, beat butter, sugar, and espresso powder on medium-high speed until combined and smooth, scraping down sides as needed, about 1 minute.
- Reduce speed to medium-low, add yolks and peppermint extract; beat to combine.
- Add flour mixture in increments, briefly mixing after each addition.
- Divide dough in half, shape into disks, wrap each tightly in plastic wrap, and refrigerate until firm, 1 hour or up to 2 days.
- Adjust oven rack to middle position; heat oven to 350°F (177ºC). Line 2 baking sheets with parchment paper. Working with 1 disk at a time, roll dough to ¼-inch thick on a large sheet of parchment paper.
- Using a 2¼-inch or 2½-inch cutter, cut dough into shapes; space shapes 1 inch apart on prepared sheets.
- Bake one sheet at a time until edges of cookies are dry to the touch, and barely yield in the center, 13–15 minutes; rotating halfway through. Transfer sheets to wire racks; let cookies cool completely on sheets.
- Repeat cutting and baking with remaining dough dish. Gently reroll scarps until all dough is used.
- Add chocolate to a microwave-safe bowl and microwave in 30 second increments until completely melted and smooth. Drizzle cookies with white chocolate and sprinkle with crushed peppermint candies. Let set then transfer to an airtight container with tight fitting lid.
Notes
Nutrition
This recipe article was originally published on December 14, 2017.