
This post may contain affiliate links.
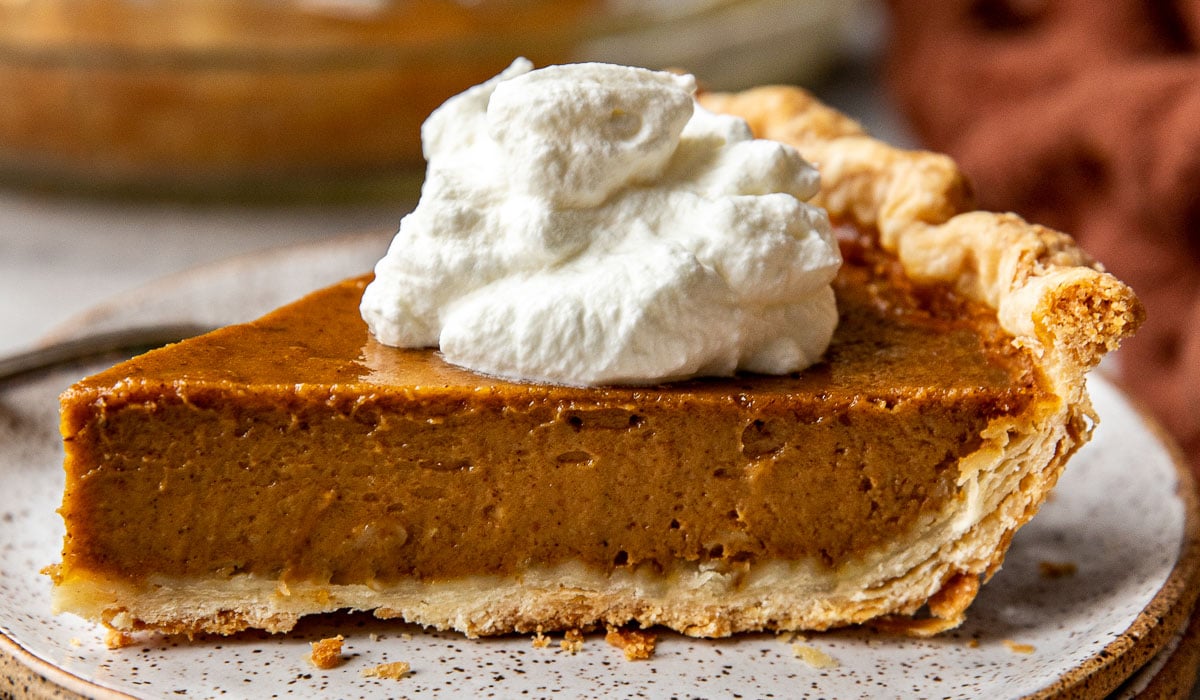
This all-butter pie crust has gone viral on social media for years—and for good reason! It’s flaky and buttery like a croissant, but with a fraction of the work. Over the years, I’ve made this crust more than 30 times, and I can say with confidence it’s one of the best pie crusts out there. It comes together quickly, can be made and stashed in the freezer months ahead of time, and can be used for all kinds of pies and quiches.
For years, this recipe lived as part of my Pumpkin Pie recipe. But after many requests, I’ve finally decided to give the crust its own dedicated article. This article will be here for all of your pie and quiche needs! I’ve also included my full video tutorial below.
The Key to Making Flaky Layers
This butter pie crust recipe is all about the blind-baking method. Most single pie crusts are blind baked by lining the chilled pie dough with foil or parchment paper and filling with baking weights.
This butter crust pie dough recipe uses a non-weighted blind-baking method.
Why?
Weighing the crust down with pie weights keeps the crust shape intact, but it doesn’t allow steam to escape during baking, which creates a pie crust that’s moist and greasy, not buttery and flaky.
For this method, you’ll line the pie plate with the pie dough and chill until firm. Then you’ll line the pie crust with foil, and prick it all over. The crust will chill again before being baked.
During baking, steam will escape out of the vent holes, and the crust will start to puff up. It’s during the puffing that layers will start to form. When you see the crust start to puff, use a kitchen towel or oven mitt to push the puffed crust back down.
This repeated puffing and pushing down will create crisp, flaky, buttery layers!
Why You’ll Love This All Butter Pie Crust Recipe
- Tastes like a croissant: the crisp, buttery flaky layers are reminiscent of a croissant. What an upgrade to traditional, stodgy pie crusts!
- No baking weights needed: I’ve perfected a method for blind baking pie crust without weights. And the result is even better than blind baked with weights!
- Can be used for sweet or savory recipes: Use this crust for pumpkin pie and Dutch apple pie as well as quiche and pot pies.
All Butter Pie Crust Recipe Ingredients
- Butter: I used unsalted butter, but you can use salted. If you do, just reduce the amount of added salt to ¼ teaspoon. Don’t use a European-style butter here; standard butter works best.
- All-purpose flour: If you have it, use a food scale to weigh out the flour. If not, measure the flour by spooning it into your measuring cups and leveling it off.
- Salt: Just a dash of kosher salt to enhance the buttery flavor.
- Ice water: Many recipes out there will promote using alcohol or club soda. I find ice water works just as well—especially since this recipe is all about the method.
Recommended Equipment
- Food processor: What I love about this recipe is that so much of the work is done in the food processor. If you don’t have one, you can cut the butter into the flour using a pastry cutter.
- 9-Inch glass pie plate: This crust is for a regular 9-inch pie plate, not a deep-dish. If you only have a deep dish pie plate, you’ll want to 1.5x the recipe. And glass is ideal because it conducts heat more evenly than metal or ceramic (and you can see how done the crust is on the bottom!).
- Plastic wrap and tinfoil: Plastic wrap is needed for wrapping the dough before chilling, and foil is important for the baking method.
How to Make Butter Pie Crust
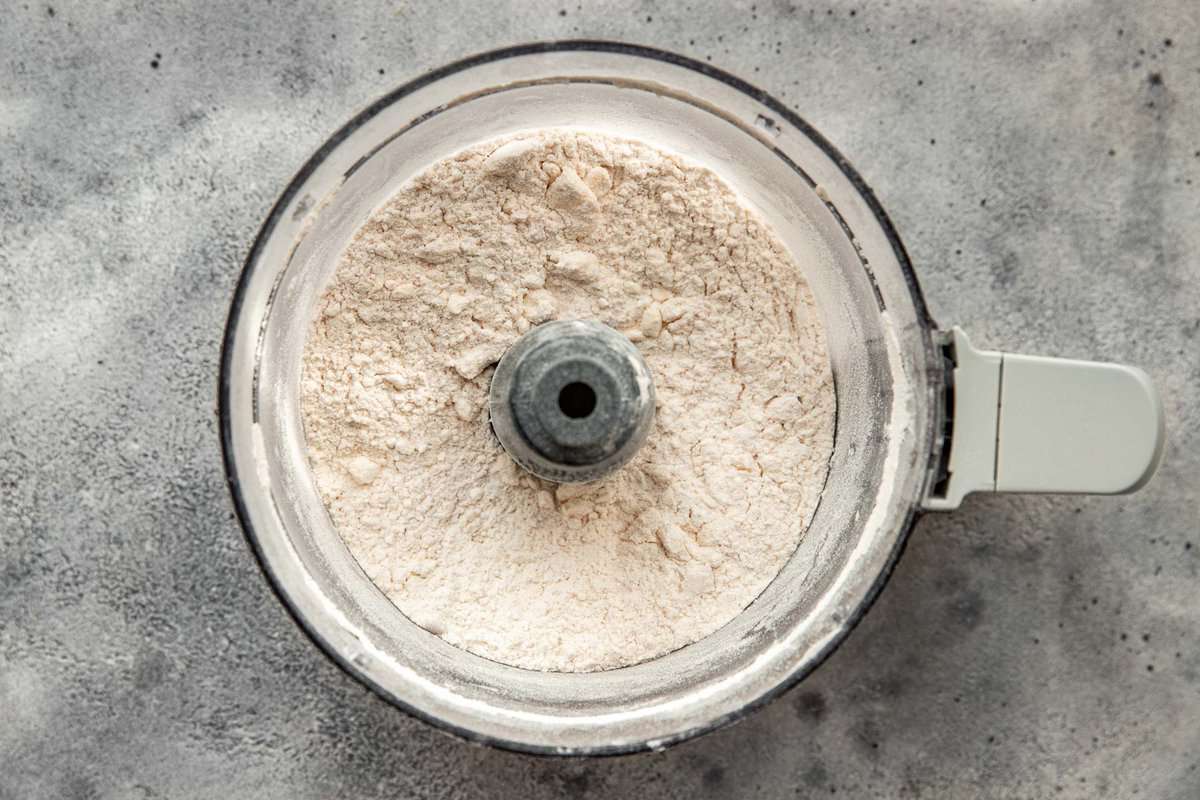
- Process the flour and salt in a food processor.
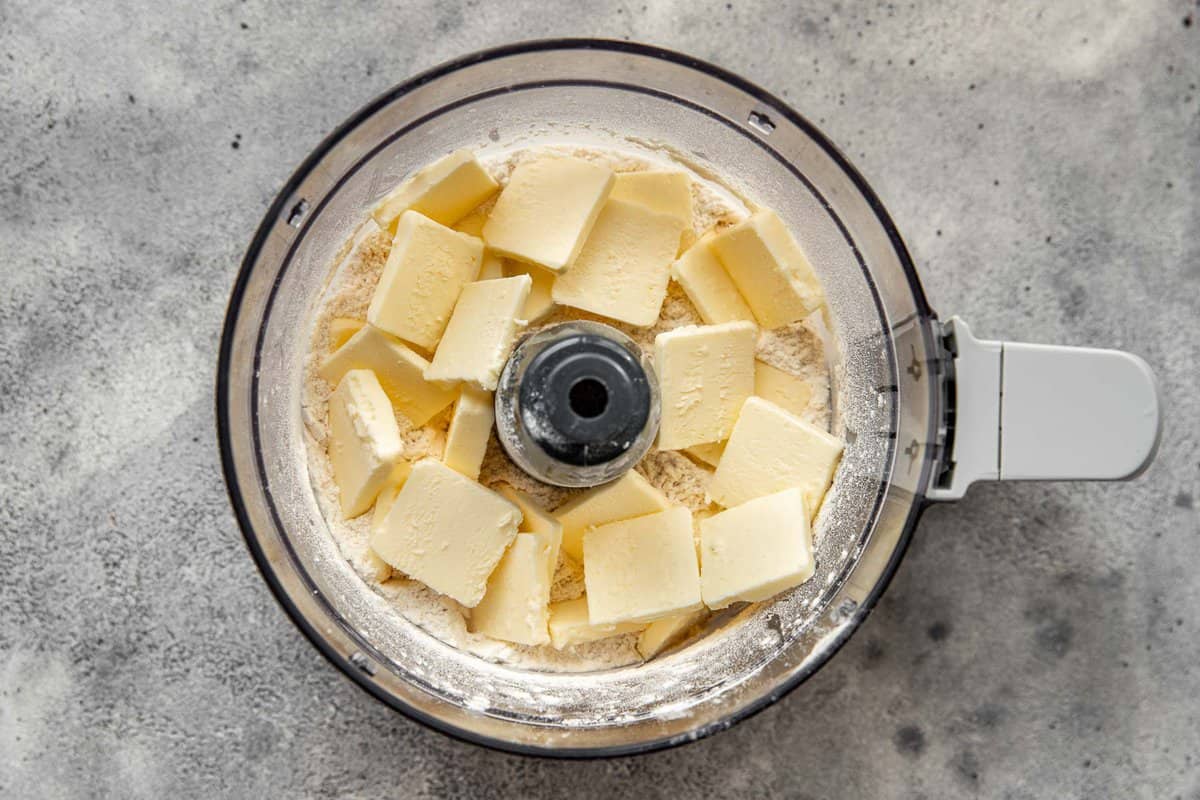
- Pulse in the butter until the flour mixture resembles very coarse cornmeal.
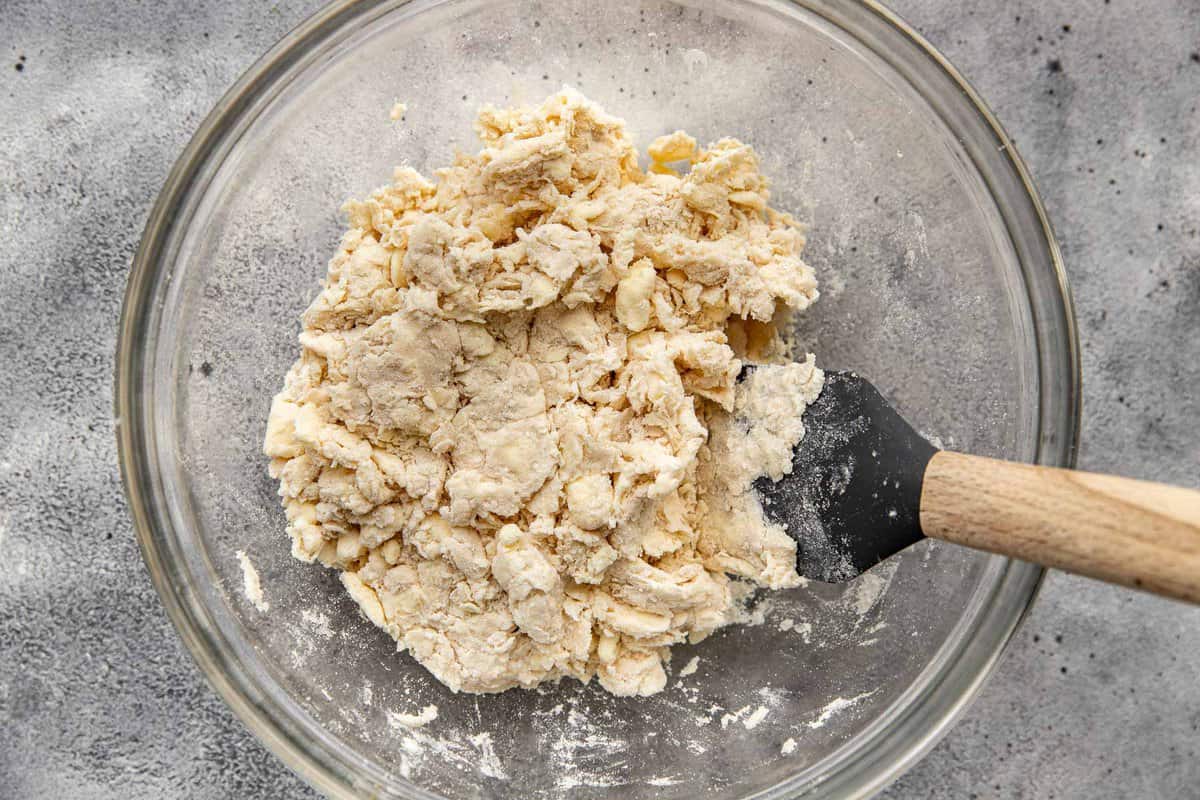
- Transfer the mixture to a large mixing bowl and drizzle ice water over top.
- Use a rubber spatula to bring the dough together by mixing and pressing the dough against the sides of the bowl.
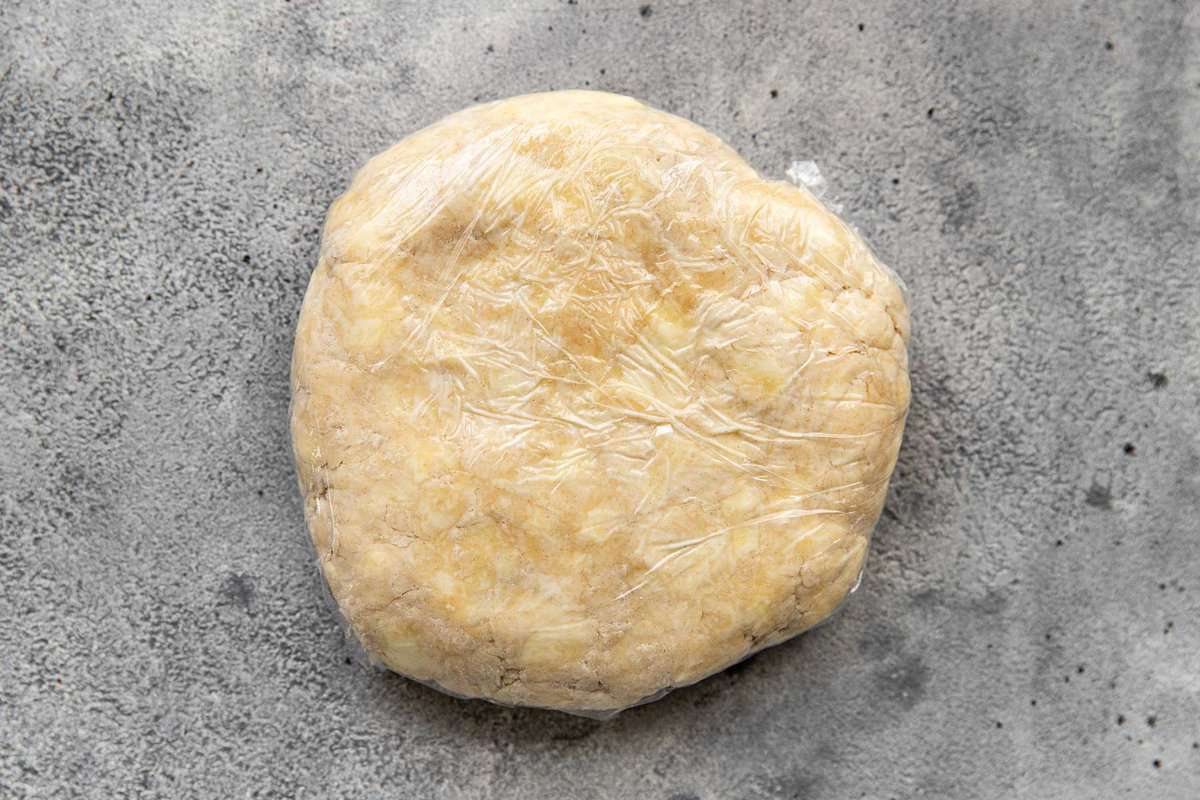
- Form the dough into a disk, wrap in plastic wrap, and chill.
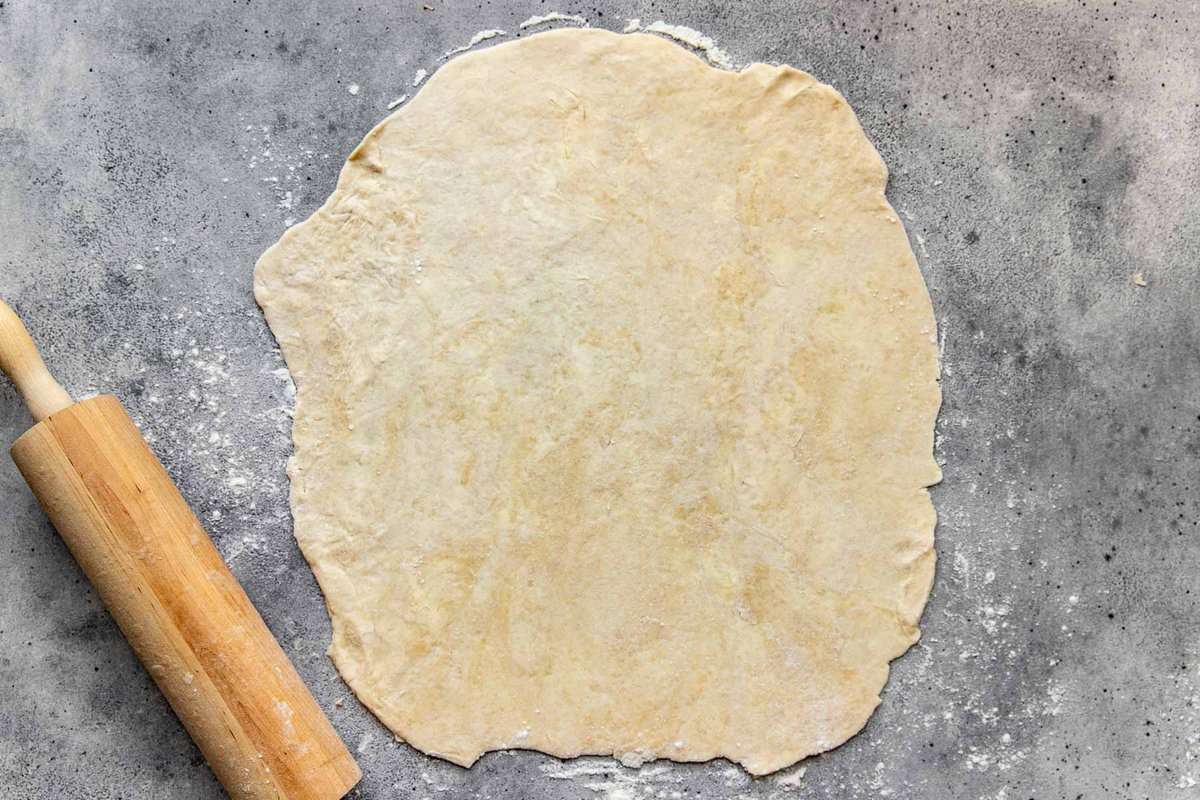

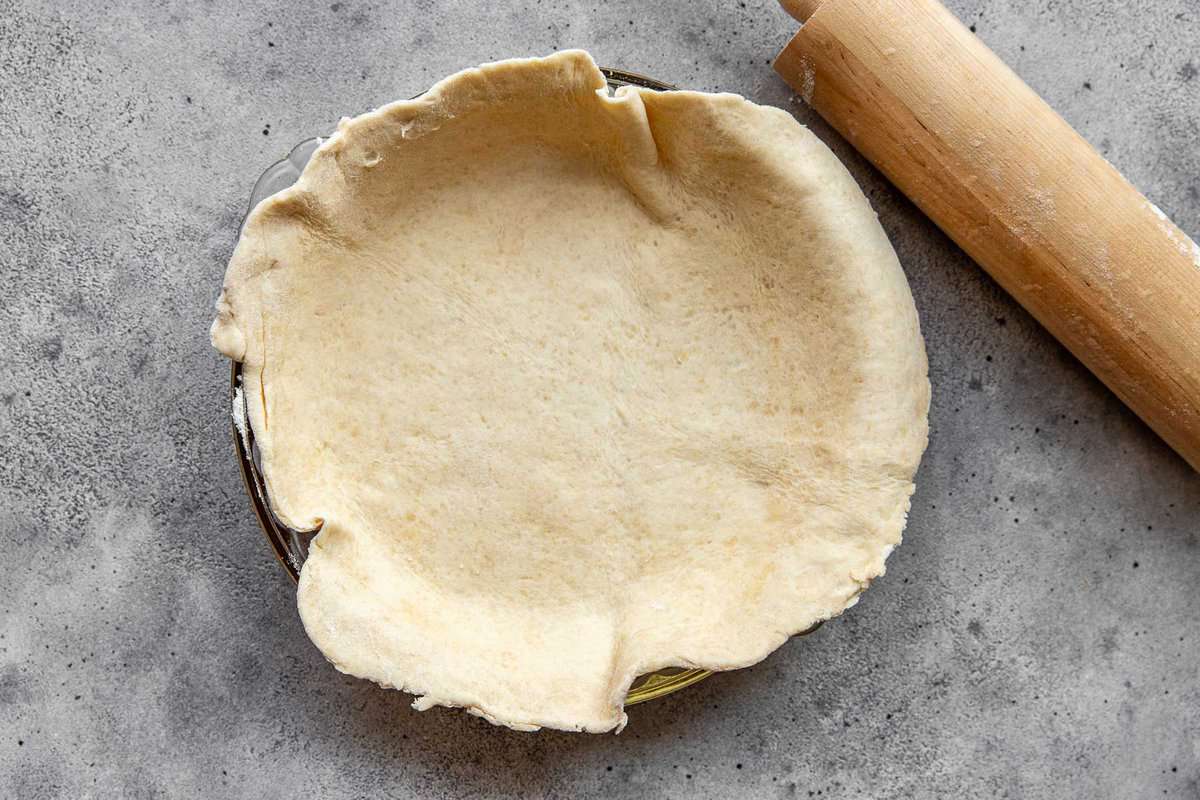
- Roll dough out, then transfer to pie plate and press into bottom and up sides.
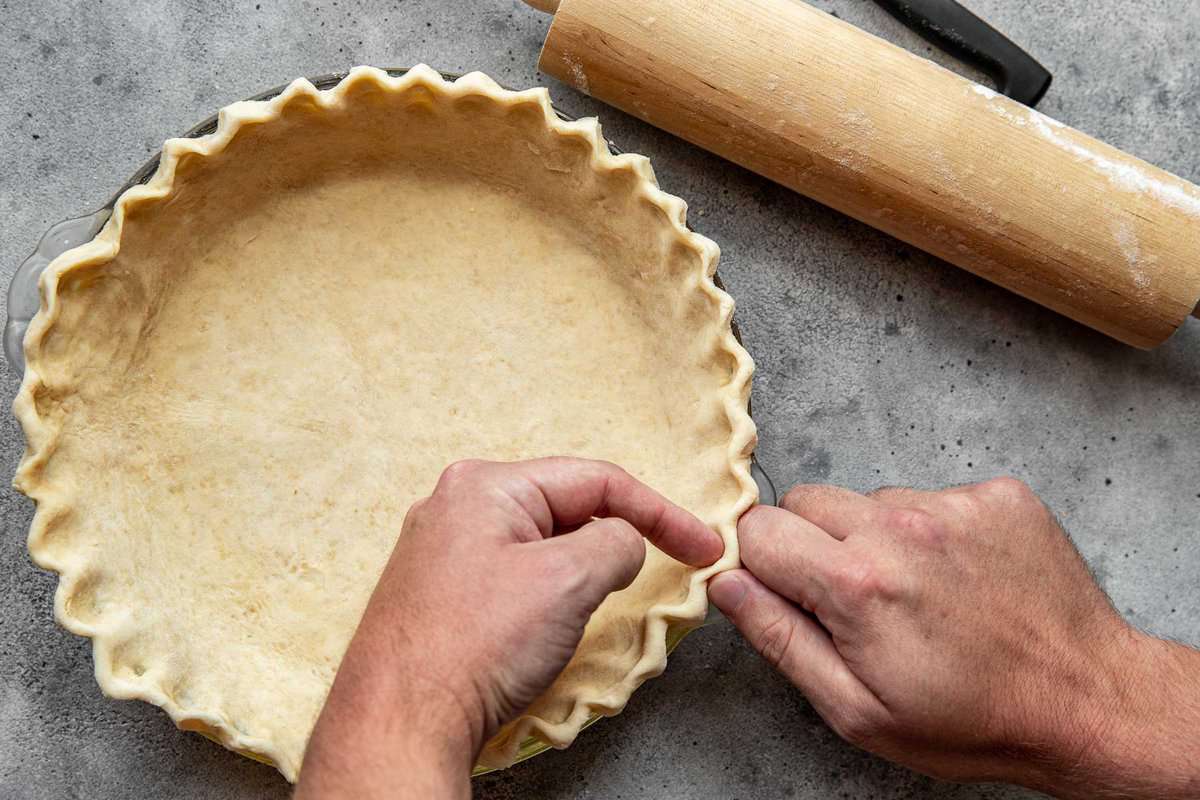
- Crimp edges, making sure edges sit on top of the pie plate edge (not inside the pie plate edge). This will keep the crust from shrinking down too much.
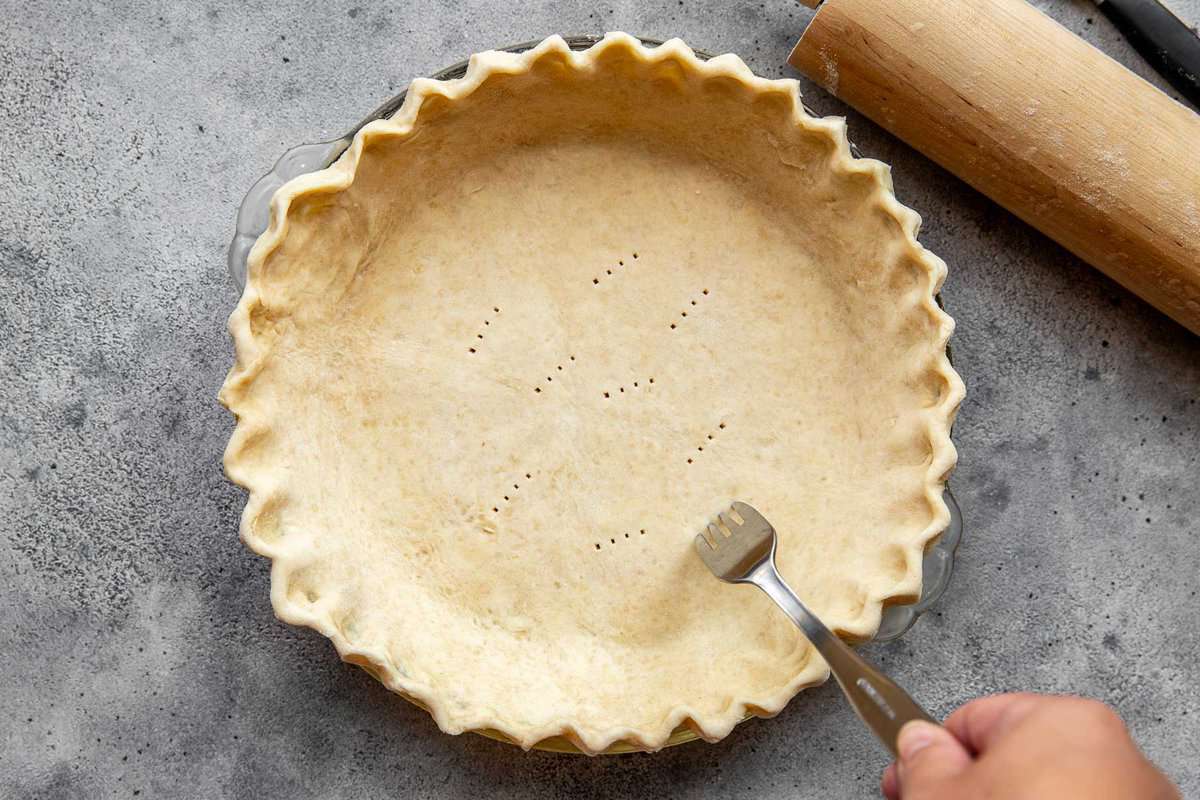
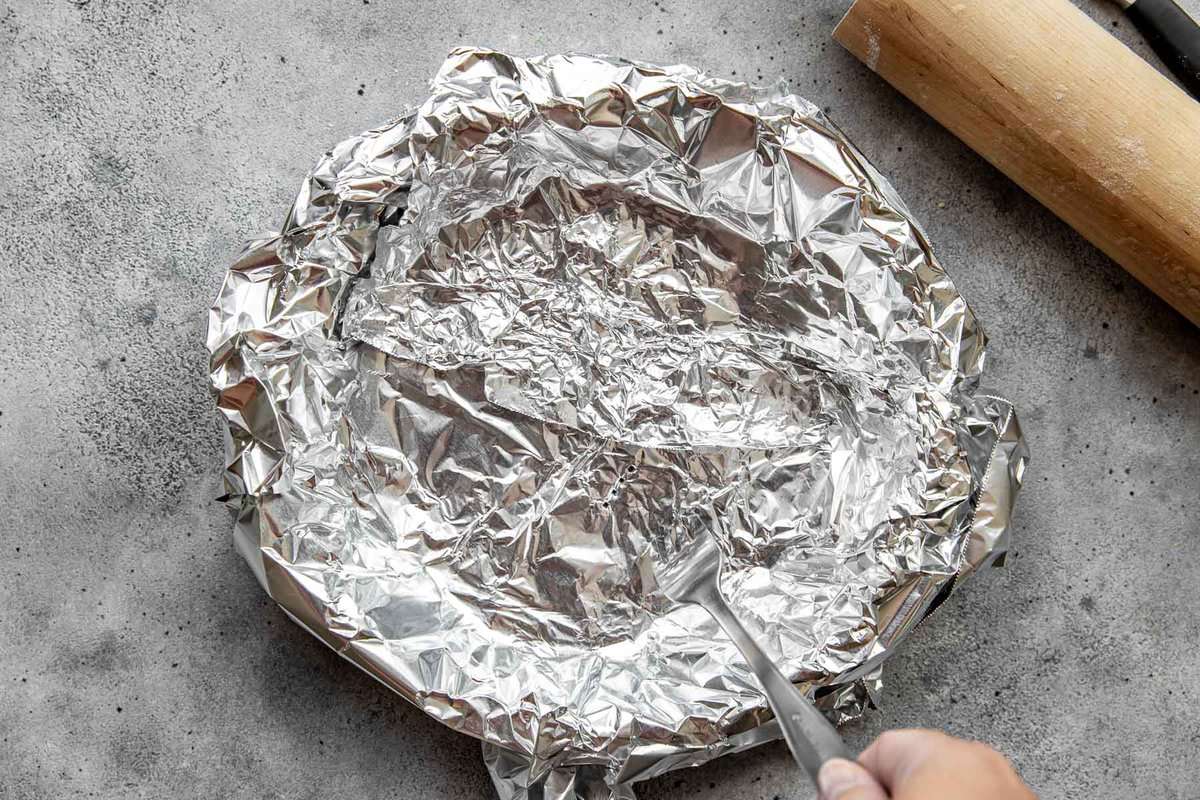
- Chill the dough-lined pie plate, then prick dough with a fork. Line crust with foil and prick through the foil as well; chill.
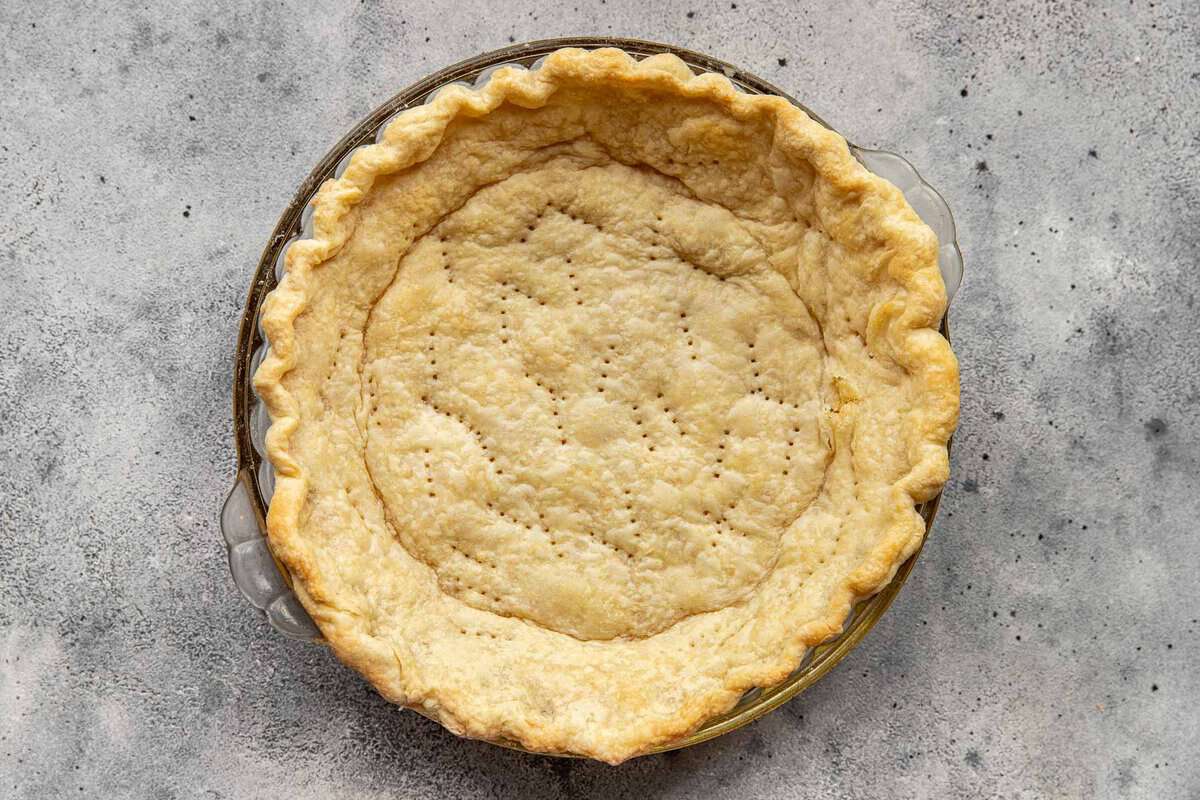
- Bake the crust until the edges are set and starting to brown. The bottom of the crust should puff up, once it starts to puff, push it down with an oven mitt every minute or so.
- Remove foil and continue baking until golden brown all over.
How to Use Butter Pie Crust
Tips to Make the Best Butter Pie Crust
Keep everything cold: it’s important that the butter doesn’t melt until it’s actively baking in the oven. Cold, hard butter melts and steams in the oven, which creates crisp, flaky layers. Warm pie crust melts into a greasy mess and creates a hard, dense crust.
The less you work with it, the more tender it will be: the less you work the dough, the colder the butter stays, and the less gluten formation occurs. And gluten=chewiness; we want crisp flakiness!
Roll from the center out, not top to bottom: to create a nice, round pie dough, start rolling from the center and roll out toward the edges. Rotate the dough frequently to ensure it isn’t sticking to the counter.
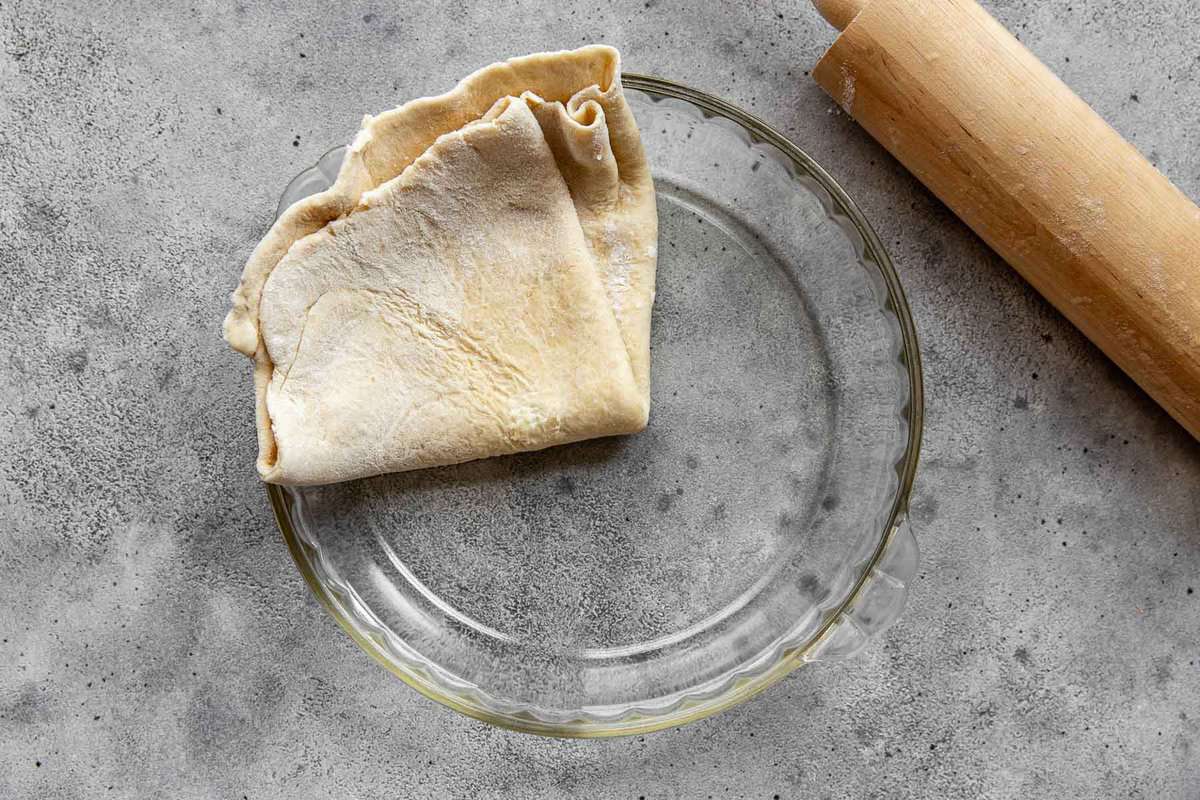
Transferring the dough to the pie plate: there are two ways I recommend doing this. One, roll the dough around your rolling pin and then unroll it over the plate. Two, quickly and gently fold the dough into quarters, then place the corner in the center of the pie plate and unfold it. Gently lift up the edges and press into the corners and up the sides.
Shrinkage is normal: it’s normal for your crust to shrink a bit. But there are two things to do that will keep it to a minimum. One, adequately chill the dough-lined pie plate before baking. And two, when you fold the crust edges under and crimp, make sure the edges sit on top of the pie plate edges, not inside. This will keep the pie dough from sliding down the edges too much.
How to Store Flaky Pie Crust
Pie Dough: store the plastic-wrapped pie dough in the fridge for up to 5 days or in a freezer bag in the freezer for up to 3 months.
Baked pie crust: store at room temperature for up to 1 day before filling and using as desired.
Flaky Pie Crust Recipe
Description
Video
Save This Recipe!
Ingredients
- 1¼ cups (154g) all-purpose flour, spooned and leveled
- ½ teaspoon Morton kosher salt or ¾ teaspoon Diamond Crystal
- 10 tablespoons (142g) unsalted butter, chilled and cut into ¼-inch pats
- 3–6 tablespoons ice water
Instructions
- Process flour and salt in a food processor. Scatter butter over flour; pulse until mixture resembles cornmeal, 7–12 pulses. Transfer mixture to a medium bowl.
- Drizzle 3 tablespoons ice water over flour mixture. Using a rubber spatula, mix dough together, pressing against sides of bowl, until a rough dough comes together. If it's still too dry, drizzle in additional water, by tablespoon, just until it comes together.
- Dump shaggy dough out onto a large piece of plastic wrap. Form dough into a 4-inch disk, then wrap tightly in plastic and refrigerate at least 30 minutes (or up to 3 days).
- Generously flour a work surface. Unwrap dough and lightly dust with flour. Roll dough out into an ⅛-inch thick 13-inch round.
- If dough is too firm, let it sit at room temperature for about 5 minutes before rolling out.
- Fold dough in quarters; place corner in center of a 9-inch pie plate. Gently unfold dough to cover plate, using one hand to pick up edges of dough and an index finger to press dough into corners and up sides. Trim dough overhang to ½-inch then tuck edges under and crimp using thumbs and pointer fingers. (*see note on crimping.) Dough edges should be somewhat one top of pan edges (to avoid shrinking during baking).
- Refrigerate dough-lined pie plate for 20 minutes. Prick bottom, sides and corners with a fork. Line dough with a piece of foil, pressing it firmly into corners and sides, and folding over rim. Prick foil about a dozen places with a fork. Refrigerate shell for at least 1 hour or up to 2 days.
- Heat oven to 400ºF (204ºC) with rack set in lowest position.
- Place pie plate on a baking sheet. Bake shell until edges are set and starting to brown, pressing down on foil with an oven mitt to deflate when it starts to puff up (this happens for me around 12 minutes—continue deflating every minute or so after that) 15–20 minutes total.
- For a partially-baked crust that will be filled and baked again: remove foil and continue to bake just until shell is light golden brown, about 10 minutes.
- For a fully-baked pie crust that will be filled with a no-bake filling: remove foil and continue to bake until shell is golden brown, 15–20 minutes.
Notes
- 2½ cups (300g) all-purpose flour
- 1 teaspoon kosher salt
- 16 tablespoons (226g) cold unsalted butter, cut into ½ inch cubes
- 6-10 tablespoons ice water
Very easy to make and was great for me boullie pie!